There’s nothing quite like the rich, savory depth of homemade chicken broth – it’s the secret weapon in my kitchen that makes everything from soups to stews taste incredible. I’ve been canning my own broth for years, ever since I discovered how much better (and cheaper!) it is than store-bought. When you can chicken broth at home, you’re not just saving money – you’re creating liquid gold that’s free from preservatives and packed with real flavor. My freezer used to be stuffed with ice cube trays of broth until I learned the magic of pressure canning. Now I’ve got perfectly preserved jars ready whenever inspiration strikes. Trust me, once you taste the difference homemade makes, you’ll never go back to those salty, tinny store versions again.
Why You’ll Love These Canning Chicken Broth Recipes
Once you start canning your own chicken broth, you’ll wonder how you ever lived without it. Here’s why it’s a game-changer:
- Total flavor control – No more mystery ingredients or excessive salt. You decide what goes in (and what stays out!).
- Meal prep magic – Nothing beats grabbing a shelf-stable jar of rich broth on busy weeknights.
- Budget-friendly – Those chicken bones you’d normally toss? They become liquid gold with this method.
- Zero waste – It’s the ultimate way to use every bit of your chicken, from Sunday roast leftovers to grocery store rotisserie birds.
My canning days feel like stocking my future self’s pantry with love – and you’ll feel the same way!
Ingredients for Canning Chicken Broth Recipes
Gathering the right ingredients is the first step to making the most flavorful canned chicken broth. Here’s what you’ll need:
- 4 lbs chicken bones or carcass – I save mine in the freezer until I have enough (rotisserie chicken leftovers work great!)
- 2 carrots, chopped – No need to peel, just give them a good scrub
- 2 celery stalks, chopped – Leaves and all for extra flavor
- 1 onion, quartered – Skins on for that gorgeous golden color
- 2 cloves garlic – Smashed to release all that goodness
- 1 tbsp salt – I use kosher, but any will do
- 1 tsp black peppercorns – Whole, not ground
- 2 bay leaves – The secret behind that “something special” taste
- 12 cups water – Enough to cover everything by about 2 inches
Pro tip: The better your ingredients, the better your broth. I always use the freshest veggies I can find – it makes all the difference in the final flavor!
Equipment Needed for Canning Chicken Broth Recipes
You don’t need anything fancy, but these tools are absolutely essential for safe and successful broth canning:
- Large stockpot (at least 12-quart capacity)
- Fine-mesh sieve or cheesecloth for super clear broth
- Pressure canner (this is non-negotiable for safety!)
- Canning jars, lids, and bands (pint or quart size)
- Jar lifter and canning funnel (trust me, these prevent messy burns)
I also love having a fat separator and a ladle with a pour spout – they make the whole process so much smoother!
How to Prepare Canning Chicken Broth Recipes
Making canned chicken broth is easier than you think, but it does require a little patience and attention to detail. Follow these steps, and you’ll end up with jars of rich, flavorful broth that will last for months!
Step 1: Simmering the Broth
Start by tossing your chicken bones, chopped veggies, garlic, salt, peppercorns, and bay leaves into a large stockpot. Pour in the water, making sure everything is covered by about 2 inches. Bring it to a boil, then reduce the heat to a gentle simmer. Let it bubble away for 4-6 hours, skimming off any foam that rises to the top. This step is key for a clear, beautiful broth – don’t skip it!
Step 2: Straining and Cooling
Once your broth is deeply golden and fragrant, it’s time to strain it. Carefully pour it through a fine-mesh sieve or cheesecloth into a large bowl. Let it cool completely – I usually leave it on the counter for about an hour. As it cools, you’ll see fat rise to the top. Skim this off with a spoon for a cleaner, lighter broth.
Step 3: Canning the Broth
While your broth cools, sterilize your jars and lids by boiling them for 10 minutes. I always keep them hot until I’m ready to fill them – cold jars can crack! Use a ladle and canning funnel to fill the jars with hot broth, leaving 1 inch of headspace. Wipe the rims clean, place the lids on, and screw the bands on fingertip-tight. Now, process the jars in your pressure canner: 20 minutes for pints, 25 minutes for quarts, at 10 psi. Let the canner cool completely before opening – patience is your friend here. Once the jars are cool, check the seals and store them in a cool, dark place. Voila – homemade broth at your fingertips!
Tips for Perfect Canning Chicken Broth Recipes
After years of trial and error (and a few messy kitchen moments), I’ve learned these tricks make all the difference:
- Salt smartly – I always start with less salt and adjust at the end. Remember, flavors concentrate as the broth reduces!
- Hands off the spoon – Resist stirring while simmering for crystal-clear broth. Those cloudy particles will settle if you leave them be.
- Headspace matters – That 1-inch gap isn’t just a suggestion – it’s your insurance against broken jars and messy canner explosions.
- Cool completely – Letting the broth chill overnight in the fridge makes fat removal a breeze before canning.
My biggest tip? Label your jars with the date – you’ll thank yourself later when reaching for that perfect broth!
Variations for Canning Chicken Broth Recipes
Once you’ve mastered the basic recipe, get creative with these easy twists! Sometimes I toss in a handful of fresh herbs – thyme sprigs or parsley stems add wonderful depth. For Asian-inspired broth, try adding ginger slices and star anise. In the summer, I love using tomatoes and corn cobs for a lighter, sweeter version. The best part? You can customize based on what’s in season or what’s sitting in your veggie drawer!
Storage and Reheating Instructions
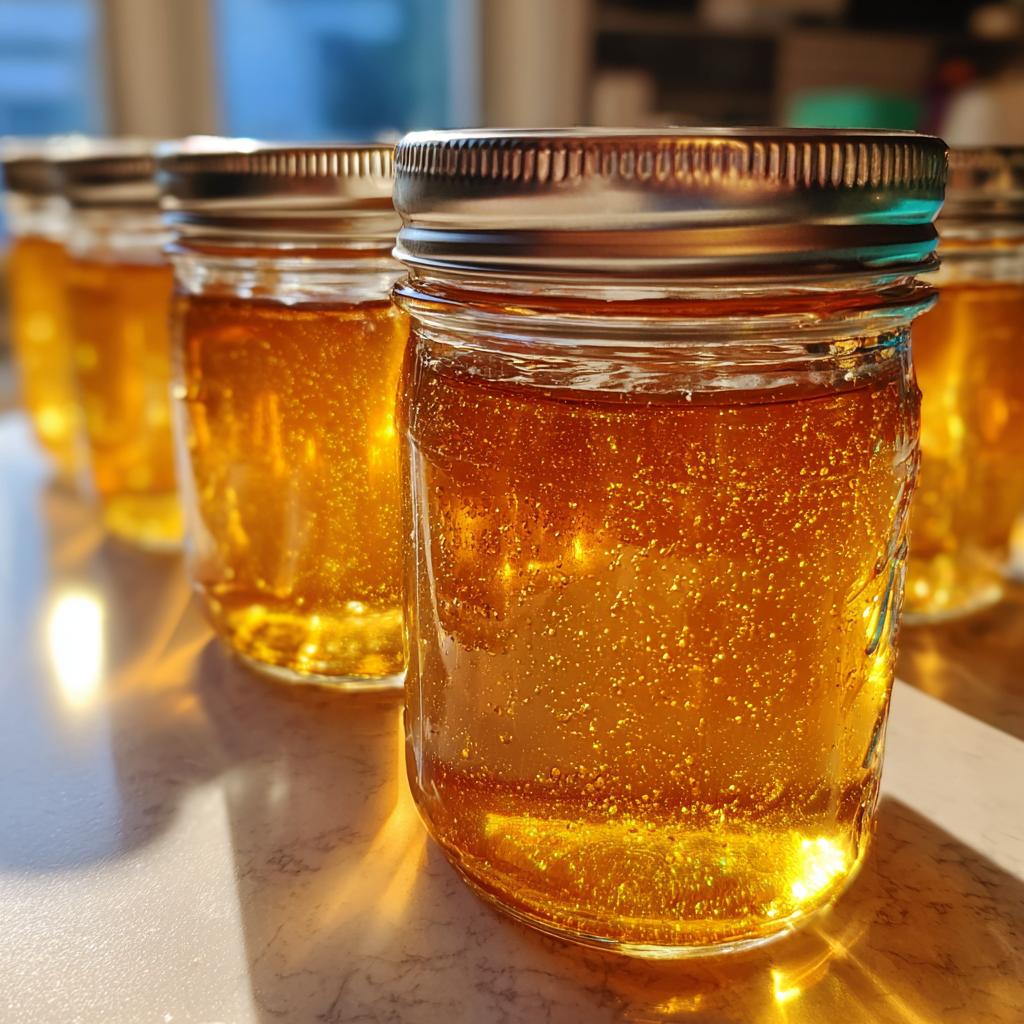
Properly canned chicken broth is shelf-stable gold – store those jars in a cool, dark place and they’ll stay delicious for up to 18 months. Once opened, keep refrigerated and use within 4 days. To reheat, just pour what you need into a saucepan – no need to boil unless you’re using it immediately in recipes. Oh, and that jelly-like consistency when cold? Totally normal! It’ll melt into silky perfection as soon as it hits the heat.
Nutritional Information
Just so you know, these numbers are estimates – your homemade broth’s nutrition will vary based on your chicken and veggies. But generally, per cup you’re looking at about 30 calories, 3g protein, and 200mg sodium in my basic recipe. It’s naturally low-fat (just 1g) and packed with minerals from those simmered bones. I always say it’s basically a vitamin in liquid form!
Frequently Asked Questions About Canning Chicken Broth Recipes
I get asked about canning chicken broth all the time – here are the questions that pop up most often in my kitchen and inbox:
How long does canned chicken broth last?
Properly processed jars will stay good for 12-18 months in your pantry, but I always use mine within a year for peak flavor. Just check for any signs of spoilage before using – if the lid’s popped or it smells off, toss it!
Can I use a water bath canner instead of a pressure canner?
Oh honey, no – and this is non-negotiable for safety. Chicken broth is a low-acid food that absolutely requires pressure canning to prevent dangerous bacteria. That water bath method works for pickles and jam, but broth needs that higher heat only a pressure canner provides.
Why is my broth jelly-like after canning?
That beautiful wobble means you did it right! All that natural collagen from the bones turns liquid gold into gelled perfection when chilled. It’ll melt back into silky broth the moment it hits heat. I actually judge my broth’s quality by the wiggle test!
Can I double the recipe?
Absolutely – just make sure your pot is big enough! I regularly make huge batches when I’ve collected enough chicken bones. The only limit is your stove space and jar supply. More broth means more future-you will be grateful during soup season!
Do I need to refrigerate after opening?
Yes indeed – treat opened jars like any other perishable. They’ll keep about 4 days in the fridge. Pro tip: write the open date on the lid with a marker so you don’t have to play the “when did I open this?” guessing game.
Share Your Experience
Did you try canning your own chicken broth? I’d love to hear how it turned out! Drop a comment below with your tips or questions – let’s swap kitchen stories and keep the canning tradition alive.
Print
5Star Canning Chicken Broth Recipes for Rich Flavor
- Total Time: 6 hours 30 minutes
- Yield: 6 pints 1x
- Diet: Low Fat
Description
Learn how to can chicken broth at home for long-term storage. This recipe ensures you have homemade broth ready whenever needed.
Ingredients
- 4 lbs chicken bones or carcass
- 2 carrots, chopped
- 2 celery stalks, chopped
- 1 onion, quartered
- 2 cloves garlic
- 1 tbsp salt
- 1 tsp black peppercorns
- 2 bay leaves
- 12 cups water
Instructions
- Place chicken bones, vegetables, garlic, salt, peppercorns, and bay leaves in a large pot.
- Add water and bring to a boil.
- Reduce heat and simmer for 4-6 hours, skimming foam as needed.
- Strain broth through a fine-mesh sieve.
- Let broth cool, then skim off fat.
- Sterilize canning jars and lids.
- Fill jars with hot broth, leaving 1-inch headspace.
- Process pints for 20 minutes and quarts for 25 minutes in a pressure canner at 10 psi.
Notes
- Use only fresh, high-quality ingredients.
- Adjust salt to taste.
- For clearer broth, don’t stir while simmering.
- Prep Time: 30 minutes
- Cook Time: 6 hours
- Category: Preserving
- Method: Canning
- Cuisine: American
Nutrition
- Serving Size: 1 cup
- Calories: 30
- Sugar: 1g
- Sodium: 200mg
- Fat: 1g
- Saturated Fat: 0g
- Unsaturated Fat: 1g
- Trans Fat: 0g
- Carbohydrates: 2g
- Fiber: 0g
- Protein: 3g
- Cholesterol: 5mg
Keywords: homemade chicken broth, canning recipes, pressure canning, preserved broth