Ah, the sweet aroma of cookies baking fills the air, and I can’t help but smile! Holiday baking is truly one of my favorite traditions, and nothing says festive quite like a beautifully arranged christmas cookie board. The joy of gathering with family, each of us contributing our favorite cookie recipes, has created memories I cherish deeply. I can still hear my grandma’s laughter as we decorated cookies with sprinkles and frosting, transforming them into little masterpieces. Every bite was a reminder of our love for each other and the holiday spirit. This year, I invite you to join me in creating your own cookie board that captures the magic of the season. With a delightful assortment of cookies, each one bursting with flavor and topped with colorful goodies, your holiday gatherings will be nothing short of spectacular. Trust me, once you make your first cookie board, you’ll never want to go back!
Ingredients List
Gathering the right ingredients is crucial for crafting the perfect cookies for your christmas cookie board. Here’s what you’ll need:
- 2 cups all-purpose flour
- 1 cup unsalted butter, softened to room temperature
- 1 cup granulated sugar
- 1 large egg
- 1 teaspoon pure vanilla extract
- 1 teaspoon baking powder
- 1/2 teaspoon salt
- 2 cups assorted toppings (e.g., colorful sprinkles, chocolate chips, chopped nuts)
Make sure to have everything measured out and ready to go. This way, you’ll be all set to dive into the fun of baking without any interruptions!
How to Prepare Instructions
Now that you’ve got all your ingredients ready, let’s dive into the step-by-step process of making these delightful cookies for your christmas cookie board. Follow along, and soon you’ll be enveloped in the sweet aroma of fresh-baked goodness!
Preheat and Cream
First things first, preheat your oven to 350°F (175°C). This step is super important because it ensures that your cookies bake evenly and come out just right. While the oven is warming up, take your softened butter and sugar and add them to a mixing bowl. Using an electric mixer or a good old-fashioned wooden spoon, cream them together until the mixture is light and fluffy. This usually takes about 2-3 minutes. You’ll know it’s ready when it looks pale and has a nice, airy texture. Trust me, this step makes a huge difference in the final cookie!
Combine Ingredients
Next, you’ll want to add in your large egg and vanilla extract. Mix them well into the creamed butter and sugar until everything is combined. Now, grab another bowl and whisk together your flour, baking powder, and salt. This is the secret to avoiding any lumps in your dough! Gradually add this dry mixture to your wet ingredients, stirring gently until just combined. Be careful not to overmix; you want to keep that lovely texture we created earlier!
Forming and Baking
It’s time to get your hands a little messy! Scoop out portions of dough and roll them into balls, about the size of a tablespoon. Place them on a baking sheet lined with parchment paper, leaving enough space between each cookie for them to spread out during baking. Now for the fun part—press your assorted toppings into the tops of each cookie! This is where you can get creative and make them look festive. Bake your cookies in the preheated oven for 10-12 minutes, or until the edges are golden brown. You’ll want to keep an eye on them, as every oven is a bit different!
Cooling and Arranging
Once they’re out of the oven, let your cookies cool on the baking sheet for about 5 minutes. This helps them firm up a bit before transferring them to a wire rack. Let them cool completely before arranging them on your cookie board. For a beautiful presentation, consider mixing different shapes and colors, and don’t be shy about layering them or adding some festive decorations around them. Your christmas cookie board will be a showstopper!
Why You’ll Love This Recipe
There are so many reasons to adore this christmas cookie board recipe! Here are just a few:
- Festive Presentation: The colorful toppings make your cookie board a stunning centerpiece for any holiday gathering.
- Quick Preparation: With just 20 minutes of prep and a short bake time, you can whip up a batch in no time!
- Customizable: Feel free to mix and match toppings to suit your taste or dietary needs—there’s no wrong way to make it!
- Family Fun: Baking these cookies is a wonderful opportunity to bond with loved ones, making memories while you create delicious treats.
Tips for Success
To make sure your cookies turn out perfect for your christmas cookie board, here are some pro tips I’ve learned along the way:
- Measure Carefully: Use a kitchen scale for the most accurate measurements, especially with flour. Fluff it up before scooping, and don’t pack it down!
- Room Temperature Ingredients: Make sure your butter and egg are at room temperature. This helps them blend more easily, resulting in a smoother dough.
- Watch the Baking Time: Keep a close eye on your cookies as they bake. They can go from perfectly golden to overdone in just a minute or two!
- Spice It Up: Want to elevate the flavor? Add a pinch of cinnamon or nutmeg to the dough for a warm, festive touch that’ll make your cookies even more inviting.
- Don’t Overmix: When combining the wet and dry ingredients, mix until just incorporated. Overmixing can make your cookies tough—yikes!
With these tips, you’ll be well on your way to creating a delightful cookie board that impresses everyone!
Variations
One of the best things about this christmas cookie board recipe is how easily it adapts to your taste and dietary needs! Here are some fun ideas to get you started:
- Different Toppings: Switch up your toppings by using crushed candy canes, coconut flakes, or dried fruit for a unique twist. You can even drizzle melted chocolate for an extra touch of indulgence!
- Flavor Variations: Add citrus zest like orange or lemon to the dough for a refreshing flavor. You could also try incorporating almond extract instead of vanilla for a lovely nutty taste.
- Gluten-Free Option: If you’re looking for a gluten-free version, simply substitute the all-purpose flour with a 1-to-1 gluten-free flour blend. It works beautifully!
- Nut-Free Version: For those with nut allergies, just skip the nuts altogether and use more chocolate chips or fun sprinkles instead.
These variations will keep your cookie board exciting and tailored just for you and your loved ones!
Storage & Reheating Instructions
Once your cookie board has been enjoyed, you’ll want to store any leftovers properly to keep them fresh and delicious. Place your cookies in an airtight container, separating layers with parchment paper to prevent sticking. They’ll stay tasty for about a week at room temperature. If you want to keep them longer, you can freeze them for up to three months! Just make sure they’re fully cooled before wrapping them tightly in plastic wrap and then placing them in a freezer-safe bag.
If you decide to reheat your cookies, simply pop them in a preheated oven at 350°F for about 5 minutes. This will bring back that freshly baked goodness and warmth!
Nutritional Information
When indulging in these delightful cookies from your christmas cookie board, it’s good to be aware of the nutritional content. Each cookie is approximately:
- Calories: 150
- Fat: 7g (Saturated Fat: 4g, Unsaturated Fat: 2g, Trans Fat: 0g)
- Protein: 2g
- Carbohydrates: 20g (Sugar: 10g, Fiber: 0g)
- Sodium: 50mg
- Cholesterol: 20mg
Keep in mind that these values are estimates and can vary based on the specific ingredients and toppings you choose. Enjoying these cookies as part of a balanced diet will make your holiday celebrations even sweeter!
FAQ Section
Got questions about your christmas cookie board? Don’t worry, I’ve got you covered! Here are some common queries that pop up:
- Q1: Can I make the dough ahead of time?
Absolutely! You can prepare the dough a day in advance. Just wrap it tightly in plastic wrap and refrigerate it. When you’re ready to bake, let it sit at room temperature for about 15 minutes before scooping and baking. - Q2: What’s the best way to arrange my cookies on the board?
For an eye-catching display, start with larger cookies as the base and layer smaller ones on top. Mix colors and shapes for a festive look, and don’t be shy with the decorations! - Q3: How can I make my cookies softer or crunchier?
If you prefer softer cookies, slightly underbake them. For crunchier cookies, bake them a little longer until the edges are golden brown. Adjusting baking time is key! - Q4: Can I use this recipe for cookie decorating?
Sure! If you want to decorate with icing, consider using a thicker dough and chilling it before rolling out. It holds its shape better for detailed designs. - Q5: How do I ensure my cookies don’t spread too much?
Make sure your butter is softened, not melted. Chilling your dough for about 30 minutes before baking also helps maintain their shape!
I hope these tips inspire you to create the most delightful christmas cookie board this holiday season!
Print
Christmas Cookie Board: 7 Magical Tips for Success
- Total Time: 32 minutes
- Yield: 24 cookies 1x
- Diet: Vegetarian
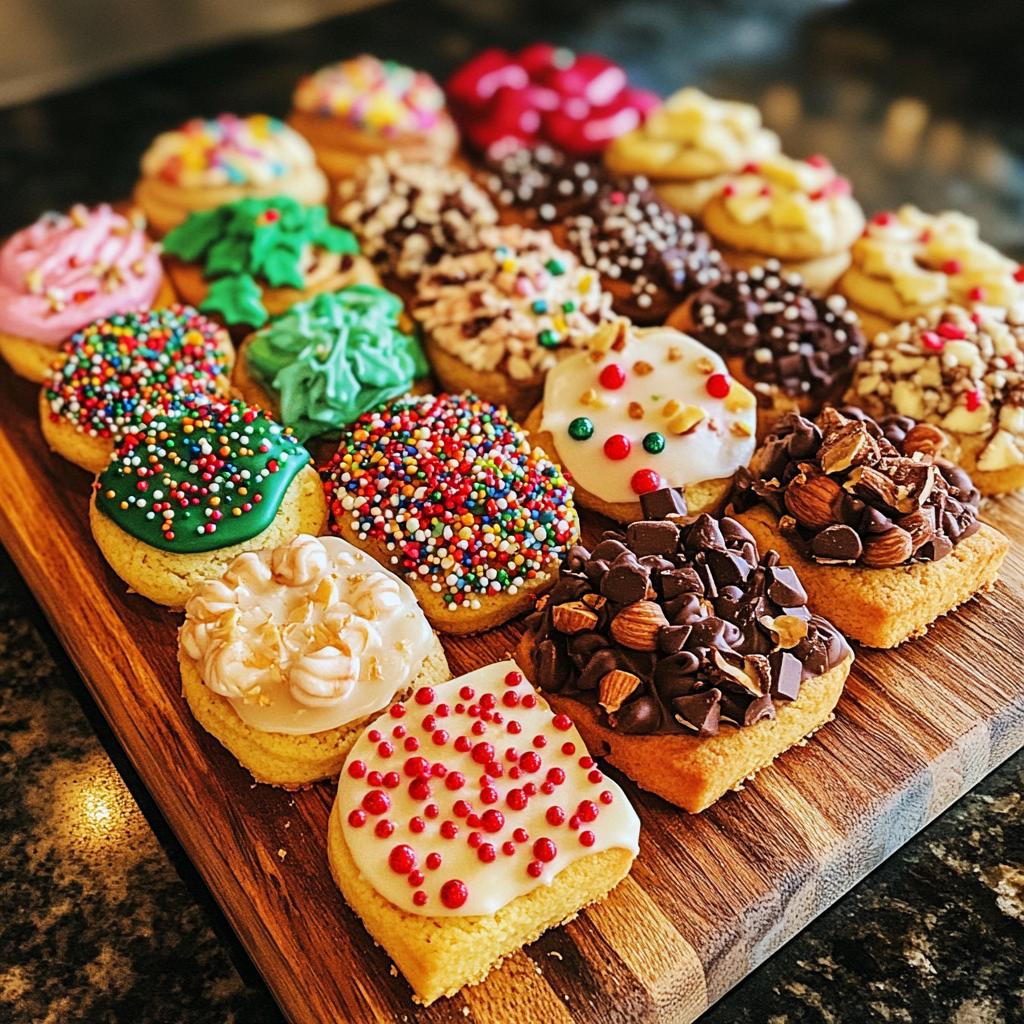
Description
A festive arrangement of assorted Christmas cookies.
Ingredients
- 2 cups all-purpose flour
- 1 cup unsalted butter
- 1 cup sugar
- 1 large egg
- 1 teaspoon vanilla extract
- 1 teaspoon baking powder
- 1/2 teaspoon salt
- 2 cups assorted toppings (sprinkles, chocolate chips, nuts)
Instructions
- Preheat oven to 350°F.
- Cream together butter and sugar until light and fluffy.
- Add egg and vanilla, mix well.
- In a separate bowl, combine flour, baking powder, and salt.
- Gradually add dry ingredients to wet ingredients.
- Form dough into balls and place on baking sheet.
- Press toppings into each cookie.
- Bake for 10-12 minutes until edges are golden.
- Let cookies cool before arranging on a board.
Notes
- Store cookies in an airtight container.
- Use a variety of toppings for visual appeal.
- Feel free to add spices like cinnamon or nutmeg for flavor.
- Prep Time: 20 minutes
- Cook Time: 12 minutes
- Category: Dessert
- Method: Baking
- Cuisine: American
Nutrition
- Serving Size: 1 cookie
- Calories: 150
- Sugar: 10g
- Sodium: 50mg
- Fat: 7g
- Saturated Fat: 4g
- Unsaturated Fat: 2g
- Trans Fat: 0g
- Carbohydrates: 20g
- Fiber: 0g
- Protein: 2g
- Cholesterol: 20mg
Keywords: christmas cookie board