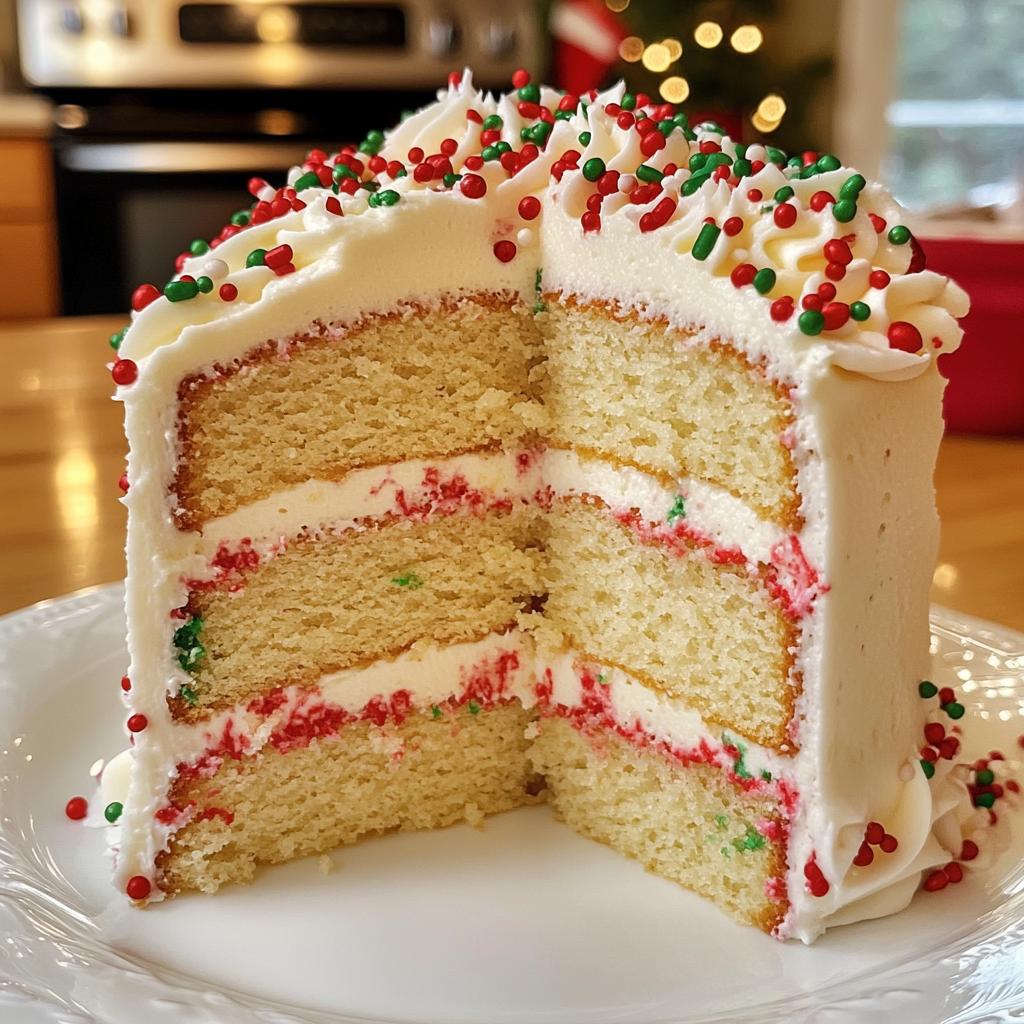
Oh, the magic of Christmas baking! There’s just something about filling the house with the warm, sweet aroma of freshly baked goods that instantly brings a smile to my face. This Christmas themed cake is a true centerpiece for holiday celebrations, with its fluffy texture and vibrant decorations that scream festive cheer. Picture a two-layer cake, perfectly moist and adorned with royal icing, topped off with a sprinkle of red and green that captures the spirit of the season. I love making this cake with my kids every year; it’s become our special tradition. As we mix the batter and decorate, we share stories and laughter, creating memories that will last a lifetime. Trust me, this cake isn’t just a dessert; it’s a celebration of joy, love, and everything wonderful about the holidays. You’ll want to make it part of your family’s festivities too!
Ingredients List
Gathering the right ingredients is the first step to creating your beautiful Christmas themed cake. Here’s what you’ll need:
- 2 cups all-purpose flour: Make sure to sift it for a lighter texture that helps the cake rise nicely.
- 1 1/2 cups sugar: Granulated sugar works best for the right sweetness and texture.
- 1 cup unsalted butter: Bring this to room temperature for easy creaming with the sugar.
- 4 large eggs: Fresh eggs help bind the ingredients and create a fluffy cake.
- 1 cup milk: Whole milk is ideal for richness, but you can use any milk you prefer.
- 2 tsp baking powder: This is your leavening agent, so don’t skip it for that perfect rise!
- 1 tsp vanilla extract: Use pure vanilla extract for the best flavor; it really enhances the cake.
- 1/2 tsp salt: Just a pinch to balance the sweetness and bring out the flavors.
- Red and green sprinkles: These festive decorations will bring holiday cheer to your cake!
- Royal icing for decoration: This will be used to frost the cake and hold those adorable sprinkles in place.
With these ingredients at hand, you’re all set to make a cake that’s not just delicious but also a feast for the eyes! Happy baking!
How to Prepare the Christmas Themed Cake
Prepping Your Workspace
Before diving into the magic of baking, it’s essential to set up your workspace. A clean, organized kitchen makes the process so much smoother and more enjoyable. Start by gathering all your ingredients and tools. You’ll need two 9-inch round cake pans, mixing bowls, a whisk or electric mixer, measuring cups, and spoons, and don’t forget a spatula for scraping down the sides! Having everything on hand will save you from scrambling around mid-bake.
Also, be sure to preheat your oven to 350°F (175°C) before you even start mixing. This little step ensures that the cakes go straight into a hot oven, promoting that beautiful rise we all love. Trust me, it makes a world of difference!
Mixing the Batter
Now, let’s get to the fun part—mixing! In a large bowl, cream together your softened unsalted butter and sugar. Using an electric mixer makes this part a breeze, but a good old-fashioned whisk works just fine too. Beat them together until the mixture is light and fluffy, which usually takes about 3-5 minutes. You want to see that beautiful pale color starting to emerge!
Next, add in your eggs one at a time, mixing well after each addition. This helps to incorporate air into the mixture, making your cake light and fluffy. Once all the eggs are in, stir in the milk and vanilla extract until everything is well combined. You’ll be amazed by the lovely aroma wafting through your kitchen!
In another bowl, whisk together the flour, baking powder, and salt. Gradually add this dry mixture to your wet ingredients. I like to do this in three additions, alternating with the milk mixture. This method helps to keep the batter from becoming too thick and ensures everything is evenly mixed. Just be careful not to overmix—stop as soon as you see no dry flour!
Baking the Cake
Once your batter is ready, it’s time to pour it into those greased and floured cake pans. Divide it evenly, and give the pans a gentle tap on the counter to remove any air bubbles trapped inside. Now, pop them into your preheated oven and set a timer for 25-30 minutes.
To check for doneness, insert a toothpick into the center of the cakes. If it comes out clean or with just a few moist crumbs, they’re ready! If not, give them a few more minutes, but keep an eye on them. Once baked, let the cakes cool in the pans for about 10 minutes before transferring them to a wire rack. Cooling completely is crucial before frosting, so resist the urge to frost while they’re still warm!
Decorating the Cake
Now for the best part—decorating your Christmas themed cake! Once the cakes are fully cooled, it’s time to frost them with royal icing. Spread a generous layer on top of one cake layer, then carefully place the second layer on top. Use the icing to cover the entire cake, smoothing it out with a spatula for that perfect finish.
To add your festive touch, sprinkle the red and green sprinkles all over the cake while the icing is still wet; this way, they’ll stick beautifully! For a personal touch, consider adding edible decorations like small candy canes or festive sugar shapes. You can even create a winter wonderland scene if you’re feeling adventurous! The sky’s the limit!
And there you have it—your beautiful Christmas themed cake, ready to take center stage at your holiday celebrations!
Why You’ll Love This Christmas Themed Cake
- Festive Flavors: The combination of vanilla and rich butter creates a delightful taste that captures the essence of the holidays.
- Easy to Prepare: With simple steps and common ingredients, even novice bakers can whip this cake up in no time!
- Visual Appeal: The vibrant red and green sprinkles, along with smooth royal icing, make this cake a stunning centerpiece for any holiday table.
- Family Tradition: It’s perfect for creating special memories, as you gather with loved ones to bake and decorate together.
- Deliciously Moist: Thanks to the careful mixing and ingredient balance, each slice is sure to be soft and moist, leaving everyone wanting more!
Tips for Success
To ensure your Christmas themed cake turns out absolutely perfect, here are some tried-and-true tips from my kitchen to yours!
- Room Temperature Ingredients: Make sure your butter and eggs are at room temperature. This helps them blend more easily, leading to a lighter cake.
- Don’t Overmix: Once you combine the wet and dry ingredients, mix just until you see no dry flour. Overmixing can lead to a dense texture.
- Proper Cooling: Always let your cakes cool completely before frosting. This prevents the icing from melting and sliding off.
- Storage: Keep any leftover cake covered at room temperature for up to three days. If you want to save it longer, wrap it tightly and freeze for up to a month.
With these tips in mind, you’ll be well on your way to creating a delicious and festive cake that everyone will love!
Nutritional Information
When it comes to holiday treats, knowing what’s in them can help you enjoy the celebrations even more! Here’s a general breakdown of the nutritional values for one slice of this delightful Christmas themed cake:
- Calories: 350
- Fat: 15g
- Saturated Fat: 10g
- Unsaturated Fat: 3g
- Trans Fat: 0g
- Cholesterol: 80mg
- Sodium: 200mg
- Carbohydrates: 50g
- Fiber: 1g
- Sugar: 25g
- Protein: 4g
Keep in mind that these values are estimates and can vary based on specific brands and ingredient choices. Enjoy your slice guilt-free and make the most of the festive season!
FAQ Section
Can I make this cake ahead of time?
Absolutely! This Christmas themed cake is perfect for making ahead. You can bake the cakes up to two days in advance. Just let them cool completely, then wrap them tightly in plastic wrap and store them at room temperature. If you want to keep them fresh for even longer, you can freeze the layers. Just make sure to double-wrap them to prevent freezer burn. When you’re ready to frost and decorate, simply thaw them in the refrigerator overnight. Easy peasy!
Can I use different decorations?
What can I substitute for royal icing?
If royal icing isn’t your thing, don’t worry—there are plenty of alternatives! You can use a simple buttercream frosting, which is just as delicious and can be colored to match your theme. Another fun option is cream cheese frosting, giving you that classic holiday flavor. For a quick and easy option, a glaze made from powdered sugar and milk can work wonders. Just drizzle it over the cake for a lovely finish!
Can I alter the flavor of the cake?
Serving Suggestions
To truly elevate your Christmas themed cake experience, consider pairing it with a few delightful accompaniments! A warm cup of spiced eggnog or a rich hot chocolate is perfect for complementing the cake’s sweetness. If you’re feeling festive, serve it alongside some homemade whipped cream flavored with a hint of vanilla or peppermint. For a refreshing twist, a side of tart cranberry sauce can balance the cake’s richness beautifully. And don’t forget a platter of seasonal fruits like pomegranates and citrus slices—these add a vibrant touch to your holiday table! Enjoy the deliciousness with your loved ones!
Print
Christmas Themed Cake: 7 Steps to Holiday Bliss
- Total Time: 1 hour
- Yield: 12 servings 1x
- Diet: Vegetarian
Description
A festive cake decorated for Christmas celebrations.
Ingredients
- 2 cups all-purpose flour
- 1 1/2 cups sugar
- 1 cup unsalted butter
- 4 large eggs
- 1 cup milk
- 2 tsp baking powder
- 1 tsp vanilla extract
- 1/2 tsp salt
- Red and green sprinkles
- Royal icing for decoration
Instructions
- Preheat your oven to 350°F (175°C).
- Grease and flour two 9-inch round cake pans.
- In a large bowl, cream together the butter and sugar until light and fluffy.
- Add the eggs one at a time, mixing well after each addition.
- Stir in the milk and vanilla extract.
- In another bowl, combine flour, baking powder, and salt.
- Gradually add the dry ingredients to the wet mixture, mixing until just combined.
- Pour the batter evenly into the prepared pans.
- Bake for 25-30 minutes or until a toothpick comes out clean.
- Allow the cakes to cool before frosting with royal icing and decorating with sprinkles.
Notes
- For a richer flavor, add a teaspoon of almond extract.
- Use food coloring to tint the icing for more festive colors.
- Prep Time: 30 minutes
- Cook Time: 30 minutes
- Category: Dessert
- Method: Baking
- Cuisine: American
Nutrition
- Serving Size: 1 slice
- Calories: 350
- Sugar: 25g
- Sodium: 200mg
- Fat: 15g
- Saturated Fat: 10g
- Unsaturated Fat: 3g
- Trans Fat: 0g
- Carbohydrates: 50g
- Fiber: 1g
- Protein: 4g
- Cholesterol: 80mg
Keywords: christmas themed cake