Ah, Christmas thumbprint cookies! Just saying the name brings back the sweetest memories of baking with my family during the holiday season. I remember the laughter, the flour clouds in the kitchen, and the unmistakable smell of buttery dough mixed with something truly magical. These cookies have always been a staple in our holiday traditions, and I can’t help but feel excited every time I make them. Each cookie is a delightful little package, perfectly filled with either a dollop of vibrant jam or rich, melty chocolate – it’s like a surprise in every bite!
What I love most about these cookies is their festive appeal. They’re not only adorable, but they also add a splash of color to any holiday cookie platter. Plus, they’re incredibly easy to whip up, making them perfect for baking marathons with kids or friends. Just roll the dough, make a thumbprint, and fill it up! Trust me; once you take that first bite, you’ll understand why these Christmas thumbprint cookies have a special place in my heart and on our holiday table. They’re the perfect blend of nostalgia and cheer, embodying the spirit of the season in every delicious morsel!
Ingredients List
Gathering the right ingredients is the first step to creating your delightful Christmas thumbprint cookies. Here’s what you’ll need:
- 1 cup butter, softened: Make sure it’s at room temperature for easy creaming with sugar.
- 1 cup sugar: Regular granulated sugar works best for sweetness and texture.
- 1 egg yolk: This adds richness and helps bind the ingredients together.
- 2 teaspoons vanilla extract: Go for pure vanilla extract for the best flavor.
- 2 cups all-purpose flour: This is the base of your cookie dough, providing structure.
- 1/2 teaspoon salt: Just a pinch to enhance the sweetness and balance the flavors.
- 1/2 cup jam or chocolate for filling: Choose your favorite jam (like raspberry or apricot) or use chocolate chips for a decadent touch!
Having these ingredients prepped and ready to go will make the baking process smooth and fun. Trust me, the smell of these cookies baking will fill your kitchen with holiday cheer!
How to Prepare Christmas Thumbprint Cookies
Now that you’ve got your ingredients ready, let’s dive into the magic of making these delightful Christmas thumbprint cookies! The process is so straightforward, and the result is absolutely scrumptious. I promise, you’ll be amazed at how easy it is to bring a little holiday cheer into your kitchen!
Step-by-Step Instructions
First, preheat your oven to 350°F (175°C). This is key because you want your cookies to bake evenly and perfectly! While the oven warms up, grab a large mixing bowl and start creaming together the softened butter and sugar. Use a hand mixer or a sturdy wooden spoon, and beat until the mixture is light and fluffy – about 2-3 minutes. This step is crucial for that lovely texture!
Next, add in the egg yolk and vanilla extract, mixing well until everything combines beautifully. Now, it’s time to gently stir in the all-purpose flour and salt. Mix until the dough just comes together; overmixing can lead to tough cookies, so be careful here!
Once your dough is ready, roll it into small balls – about 1 inch in diameter – and place them on a baking sheet lined with parchment paper. Here comes the fun part! Make a little indentation in the center of each ball using your thumb. This is where the magic happens when you fill them! Spoon in your chosen jam or chocolate, filling each thumbprint generously.
Pop those beauties in the oven and bake for 12-15 minutes, or until the edges are lightly golden. The aroma will be heavenly! Once baked, let them cool on the tray for a few minutes before transferring them to a wire rack. You’ll want to let them cool completely before diving in, but trust me, the wait will be worth it!
Why You’ll Love Christmas Thumbprint Cookies
- Festive Delight: These cookies are not just delicious but also bring a burst of color and joy to your holiday celebrations.
- Effortlessly Easy: With just a few simple steps, you can whip up a batch, making them perfect for last-minute baking sessions or cozy afternoons with loved ones.
- Customizable Fillings: Whether you prefer fruity jams like raspberry or a rich chocolate filling, you can tailor each cookie to suit your taste or the occasion.
- Perfect for Gifting: Pack them in pretty boxes or tins, and you’ve got a delightful homemade gift for friends and family that shows you care.
- Great for Gatherings: These cookies are always a hit at parties, adding a special touch to dessert tables and holiday cookie exchanges!
Tips for Success
To ensure your Christmas thumbprint cookies turn out perfectly every time, here are some handy tips that I’ve learned through years of baking and experimenting in the kitchen:
- Dough Consistency: Your dough should be soft but not sticky. If it feels too wet, you can add a little more flour, a tablespoon at a time, until it reaches the right consistency. The goal is to roll it into smooth balls without it sticking to your hands.
- Chilling the Dough: If you find the dough is too soft to handle, don’t hesitate to chill it in the refrigerator for about 30 minutes. This helps it firm up, making it easier to roll into balls and create those perfect thumbprints.
- Filling Options: Get creative with your fillings! While classic jam or chocolate is always a hit, consider trying lemon curd, nut butter, or even a combination of different jams for a fun twist. Experimenting with flavors can lead to delightful surprises!
- Don’t Overfill: When adding your filling, be careful not to overdo it. A little goes a long way! Too much filling can overflow while baking, creating a mess and ruining the pretty thumbprint.
- Watch the Baking Time: Every oven is different, so keep an eye on your cookies as they bake. Start checking around the 12-minute mark. You want them to be lightly golden around the edges but still soft in the center when you pull them out.
- Cooling is Key: Allow the cookies to cool on the baking sheet for a few minutes before transferring them to a wire rack. This helps them set and prevents them from breaking apart!
With these tips, you’ll be well on your way to creating delicious, festive Christmas thumbprint cookies that will wow your family and friends. Happy baking!
Nutritional Information
When it comes to enjoying Christmas thumbprint cookies, it’s always nice to know what you’re indulging in! Here’s a breakdown of the typical nutritional values for one cookie, keeping in mind that these are estimates:
- Calories: 120
- Fat: 6g
- Saturated Fat: 4g
- Unsaturated Fat: 2g
- Trans Fat: 0g
- Sodium: 50mg
- Carbohydrates: 15g
- Fiber: 0g
- Sugar: 8g
- Protein: 1g
- Cholesterol: 20mg
These little treats can certainly fit into your holiday festivities, just remember to enjoy them in moderation! Each cookie packs a delightful punch of flavor that’s worth every bite. Happy indulging!
FAQ Section
Common Questions About Christmas Thumbprint Cookies
Can I use other fillings for my Christmas thumbprint cookies?
Absolutely! While traditional jam and chocolate are delightful choices, you can get creative with your fillings. Consider using lemon curd, nut butter, or even a cream cheese filling. The fun part is experimenting with flavors to see what you and your loved ones enjoy the most!
How should I store these cookies?
To keep your Christmas thumbprint cookies fresh, store them in an airtight container at room temperature. They’ll stay delicious for about a week. If you want to keep them longer, you can freeze them! Just make sure they’re completely cool before placing them in a single layer in a freezer-safe container.
Can I make the dough ahead of time?
Yes, you can! If you’re planning ahead, prepare the dough and wrap it tightly in plastic wrap. It can be stored in the refrigerator for up to 2-3 days. Just remember to let it sit out for a few minutes before rolling into balls, as it will be a bit firm after chilling.
What if my cookie dough is too sticky?
If you find your dough is too sticky to handle, don’t worry! Just sprinkle a little flour on your hands and work surface while rolling the dough into balls. Alternatively, chilling the dough for about 30 minutes in the fridge can help it firm up and make rolling much easier.
Can I double the recipe?
Definitely! These Christmas thumbprint cookies are so popular, you’ll want to make a big batch. Just double all the ingredients and follow the same steps. They’re perfect for sharing at holiday gatherings or gifting to friends and family!
Storage & Reheating Instructions
Storing your delicious Christmas thumbprint cookies properly is key to keeping them fresh and tasty! Once your cookies have cooled completely, place them in an airtight container. This will help maintain their soft texture and keep them from drying out. If you’re anything like me, they’ll rarely last long, but if you do have leftovers, they can be stored at room temperature for about a week.
If you want to keep them for an extended period, consider freezing them! Just make sure they’re completely cool, then layer them in a freezer-safe container, separating each layer with parchment paper to prevent sticking. They’ll last well in the freezer for up to three months. When you’re ready to enjoy them, take out as many as you’d like and let them thaw at room temperature for about 30 minutes.
Reheating isn’t necessary since they’re delightful at room temperature, but if you love a warm cookie (who doesn’t?), pop them in a preheated oven at 300°F (150°C) for about 5-8 minutes. This will bring back their soft, chewy goodness without overbaking them. Trust me, there’s nothing quite like the smell of warm cookies wafting through your kitchen!
Serving Suggestions
Christmas thumbprint cookies are such versatile little treats that you can enjoy them in so many delightful ways! Here are a few serving suggestions to elevate your cookie experience during the holiday season:
- With a Warm Beverage: Pair these cookies with a steaming cup of coffee or hot chocolate. The rich flavors of chocolate or jam filling complement the warmth of your drink perfectly!
- As Part of a Desserts Platter: Create a stunning dessert platter by mixing your Christmas thumbprint cookies with other holiday favorites, like gingerbread cookies, peppermint bark, and festive fudge. It’s sure to be a hit at any gathering!
- Gift-Worthy Treats: Package your cookies in a decorative tin or box, and they make incredible homemade gifts for friends, family, or neighbors. A little note about the cookies adds that personal touch!
- With Festive Ice Cream: Serve these cookies alongside a scoop of vanilla or peppermint ice cream for a delightful dessert experience. The warm cookie combined with cold ice cream creates a heavenly contrast!
- At Holiday Parties: Bring these cookies to your next holiday party or cookie exchange. They’re always a crowd-pleaser and add a touch of homemade charm to any festive gathering!
No matter how you choose to serve them, these Christmas thumbprint cookies will surely bring smiles and joy to everyone who gets to enjoy them. Happy celebrating!
Print
Christmas Thumbprint Cookies: 5 Steps to Festive Joy
- Total Time: 35 minutes
- Yield: 24 cookies 1x
- Diet: Vegetarian
Description
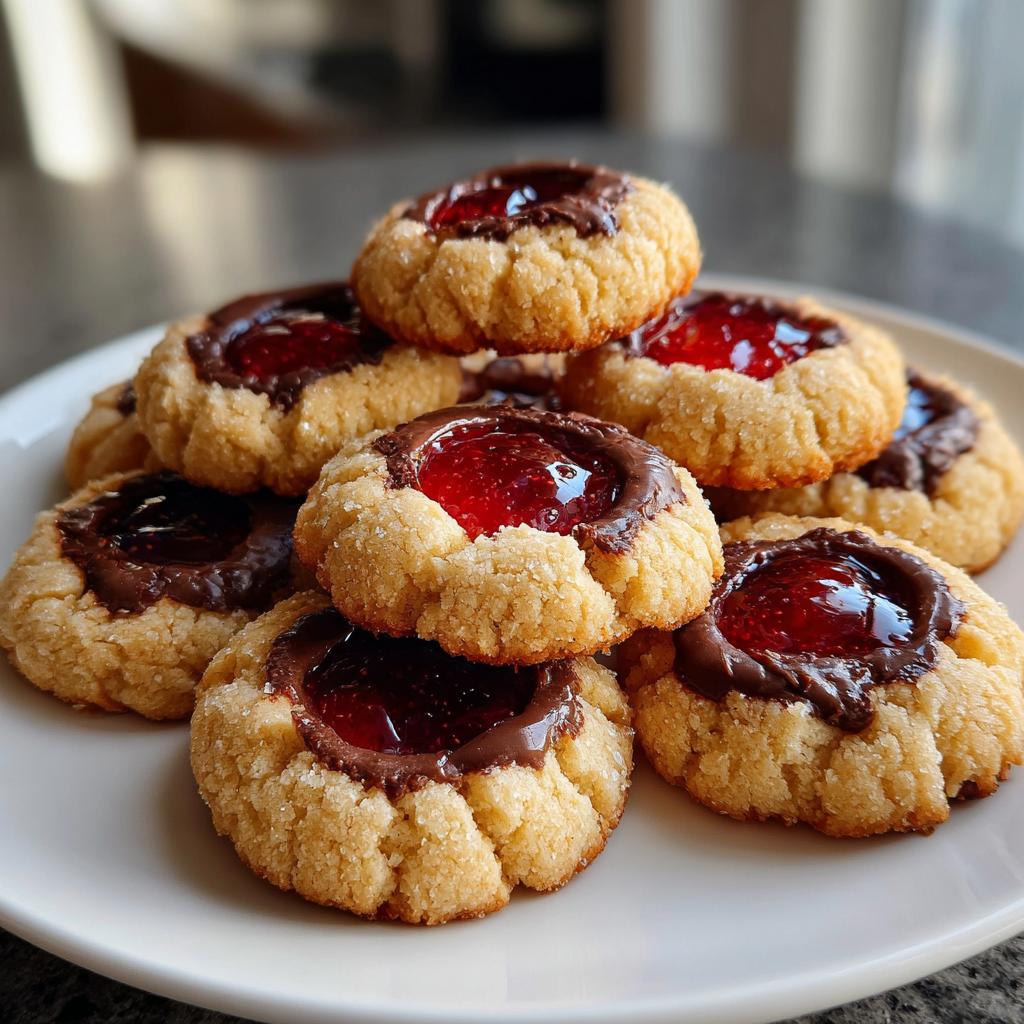
These Christmas thumbprint cookies are festive treats filled with jam or chocolate.
Ingredients
- 1 cup butter, softened
- 1 cup sugar
- 1 egg yolk
- 2 teaspoons vanilla extract
- 2 cups all-purpose flour
- 1/2 teaspoon salt
- 1/2 cup jam or chocolate for filling
Instructions
- Preheat your oven to 350°F (175°C).
- In a bowl, cream together butter and sugar.
- Add egg yolk and vanilla, mix well.
- Stir in flour and salt until combined.
- Roll dough into balls and place on baking sheet.
- Make an indentation in the center of each ball with your thumb.
- Fill the indentations with jam or chocolate.
- Bake for 12-15 minutes until edges are lightly golden.
- Let cool before serving.
Notes
- Store in an airtight container.
- Use your favorite jam for variety.
- Prep Time: 20 minutes
- Cook Time: 15 minutes
- Category: Dessert
- Method: Baking
- Cuisine: American
Nutrition
- Serving Size: 1 cookie
- Calories: 120
- Sugar: 8g
- Sodium: 50mg
- Fat: 6g
- Saturated Fat: 4g
- Unsaturated Fat: 2g
- Trans Fat: 0g
- Carbohydrates: 15g
- Fiber: 0g
- Protein: 1g
- Cholesterol: 20mg
Keywords: christmas thumbprint cookies