Oh, Easter! It’s one of my favorite times of year filled with bright colors, blooming flowers, and of course, sweet treats that bring everyone together. I can still remember the excitement of waking up on Easter morning, the promise of hidden goodies waiting to be discovered. And what better way to celebrate than with homemade *Easter sweets* that fill the house with warmth and love? This recipe is a delightful treat that’s quick and easy to whip up, making it perfect for those last-minute baking sessions.
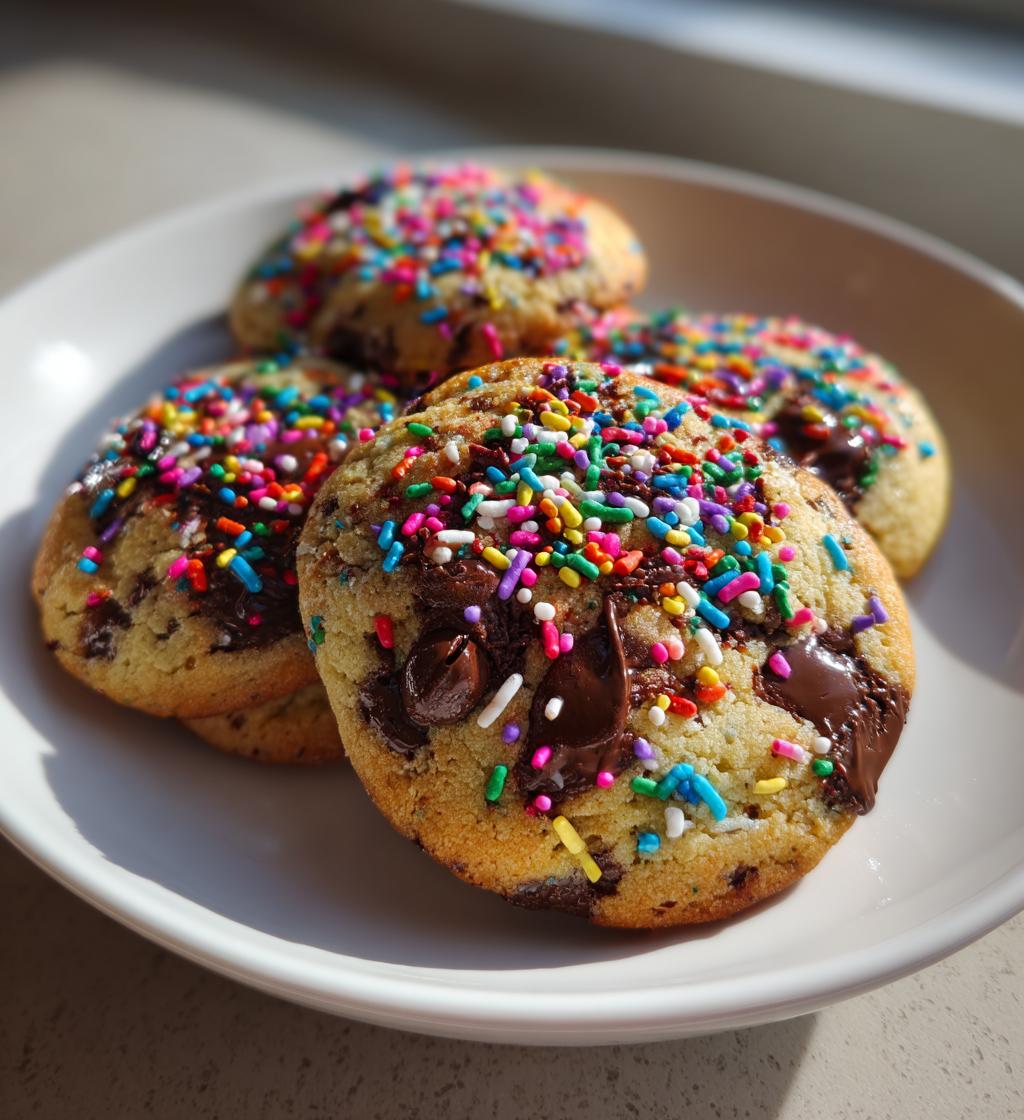
These cookies are a family favorite, and I love how they bring smiles to everyone’s faces. Imagine biting into a soft, chewy cookie packed with gooey chocolate chips, while the vibrant colors of sprinkles dance on top like confetti! It’s a simple recipe that brings joy and creates memories. Plus, they’re easy enough for the kids to help out with—just make sure to keep an eye on the sprinkles; they tend to get a little carried away! Trust me, these *Easter sweets* will become a cherished part of your holiday celebrations, just like they are in my home.
Oh, Easter! It’s one of my favorite times of year filled with bright colors, blooming flowers, and of course, sweet treats that bring everyone together. I can still remember the excitement of waking up on Easter morning, the promise of hidden goodies waiting to be discovered. And what better way to celebrate than with homemade Easter sweets that fill the house with warmth and love? This recipe is a delightful treat that’s quick and easy to whip up, making it perfect for those last-minute baking sessions.
These cookies are a family favorite, and I love how they bring smiles to everyone’s faces. Imagine biting into a soft, chewy cookie packed with gooey chocolate chips, while the vibrant colors of sprinkles dance on top like confetti! It’s a simple recipe that brings joy and creates memories. Plus, they’re easy enough for the kids to help out with—just make sure to keep an eye on the sprinkles; they tend to get a little carried away! Trust me, these Easter sweets will become a cherished part of your holiday celebrations, just like they are in my home.
Ingredients List
To make these delightful Easter sweets, you’ll need the following ingredients:
- 1 cup granulated sugar
- 1/2 cup softened butter
- 2 large eggs
- 1 teaspoon pure vanilla extract
- 2 cups all-purpose flour
- 1 teaspoon baking powder
- 1/2 teaspoon salt
- 1 cup semi-sweet chocolate chips
These ingredients come together to create a cookie that’s soft, chewy, and bursting with flavor. Don’t forget to gather some colorful sprinkles if you’re feeling festive! They really make these treats pop and add that extra touch of fun that Easter is all about. Happy baking!
How to Prepare Easter Sweets
Let’s dive into the fun part—making these scrumptious cookies! Follow these simple steps, and you’ll have the sweetest treats ready for your Easter celebrations in no time.
Step-by-Step Instructions
Preheat the Oven
First things first, preheat your oven to 350°F (175°C). This step is crucial because you want your cookies to bake evenly and come out perfectly golden. While the oven heats up, you can get everything else ready!
Creaming Sugar and Butter
In a large mixing bowl, cream together 1 cup of granulated sugar and 1/2 cup of softened butter. Use a wooden spoon or an electric mixer on medium speed until the mixture becomes light and fluffy. This process usually takes about 2-3 minutes. You’ll know it’s ready when it looks pale and creamy—like whipped honey!
Mixing Wet Ingredients
Next, add in your 2 large eggs and 1 teaspoon of pure vanilla extract. Mix everything together until the eggs are fully incorporated. Don’t worry if it looks a bit curdled at this stage; that’s completely normal! Just keep mixing until the batter is smooth.
Preparing Dry Ingredients
In a separate bowl, combine 2 cups of all-purpose flour, 1 teaspoon of baking powder, and 1/2 teaspoon of salt. Make sure to whisk them together well—this helps to evenly distribute the baking powder and salt throughout the flour.
Combining Wet and Dry Ingredients
Now, it’s time to bring the two mixtures together! Gradually add the dry ingredient mix to the wet mixture, stirring gently. You want to fold it in rather than mix vigorously to avoid overworking the dough. You’ll know you’re done when just a few flour streaks remain—don’t worry, they’ll disappear as you fold in the magic!
Baking the Cookies
Finally, drop spoonfuls of the cookie dough onto a baking sheet lined with parchment paper. Leave space between each spoonful, as they will spread while baking. Pop them in the oven and bake for 10-12 minutes or until the edges are lightly golden. You’ll want to keep an eye on them because every oven is a little different. The smell will be irresistible, and trust me, your patience will be rewarded!
Nutritional Information
When whipping up these delightful Easter sweets, it’s good to know what you’re treating yourself to! Here’s a typical nutritional breakdown for one of these delicious cookies:
- Calories: 150
- Fat: 7g
- Saturated Fat: 4g
- Trans Fat: 0g
- Cholesterol: 20mg
- Sodium: 50mg
- Carbohydrates: 20g
- Fiber: 1g
- Sugar: 10g
- Protein: 2g
Keep in mind that these values are estimates and can vary based on specific ingredients and portion sizes. So, while you’re enjoying these sweet treats, you can feel a bit better knowing they pack a little bit of everything! Happy indulging!
Tips for Success
To make sure your Easter sweets turn out perfectly every time, I’ve got a few tried-and-true tips that will elevate your cookie game. Trust me; these little tweaks can make a big difference!
First off, always use room temperature ingredients. This means letting your butter and eggs sit out for about 30 minutes before you start mixing. Room temperature butter creams better with sugar, resulting in a lighter, fluffier texture. Plus, your eggs will blend more seamlessly into the batter, giving you that perfect consistency!
Next, be cautious with mixing. It’s tempting to stir and mix vigorously, but overmixing can lead to tough cookies. Once you combine the wet and dry ingredients, mix just until everything is incorporated. Remember, a few flour streaks are okay—don’t stress! The dough will come together beautifully when you fold in those chocolate chips.
Also, be mindful of your baking time. Every oven is a bit different, so keep an eye on those cookies as they bake. You want that lovely golden edge but still a soft center. If the cookies look just slightly underbaked, that’s actually perfect! They’ll continue to firm up as they cool, ensuring a chewy, delightful bite.
And don’t overlook the importance of chilling your dough if you have time. If the dough feels too soft or sticky, popping it in the fridge for 15-30 minutes can help. This little trick can prevent spreading, resulting in thicker, yummier cookies!
Lastly, have fun with it! Baking should be a joyful experience, so don’t hesitate to add your touch—whether that’s colorful sprinkles, a pinch of cinnamon, or even a dash of your favorite extract. Enjoy the process and the sweet rewards that come from it!
Variations of Easter Sweets
One of the best things about these delightful cookies is how easily they can be customized to suit your taste or whatever you have on hand. Here are some fun variations to consider that will keep your Easter sweets exciting and fresh!
First up, try swapping out the semi-sweet chocolate chips for different kinds! Dark chocolate chips add a rich intensity, while white chocolate chips can bring a lovely sweetness. And if you’re feeling adventurous, why not mix them together? A combination of dark, milk, and white chocolate creates a beautiful, colorful cookie that’s sure to impress.
If you’re a nut lover, adding chopped walnuts or pecans can introduce a delightful crunch and flavor that complements the chocolate perfectly. Just fold in about a half-cup of your favorite nuts when you add the chocolate chips. It’s an easy way to add texture and richness!
Looking for something fruity? Dried fruits like cranberries, apricots, or raisins can be a wonderful addition. They lend a natural sweetness and chewiness that pairs beautifully with the cookies. Just keep the quantity similar to the chocolate chips, around 1 cup, and you’ll create a cookie bursting with flavor!
And if you really want to go wild, consider adding a sprinkle of your favorite spice, like cinnamon or nutmeg, to the dry ingredients. This can add a warm, festive touch that’s perfect for Easter celebrations. Just a teaspoon can elevate the flavor profile and make your kitchen smell heavenly.
Finally, for a fun twist, try rolling the cookie dough balls in colorful sprinkles or coconut flakes before baking. This not only adds a festive touch but gives each cookie a unique appearance that’s sure to delight everyone at your Easter gathering. The possibilities are endless, so don’t hesitate to get creative!
Storage & Reheating Instructions
Now that you’ve made a batch of these delicious Easter sweets, you might be wondering how to store them and keep them fresh. Don’t worry; I’ve got you covered!
First, let your cookies cool completely on a wire rack. This step is crucial because storing warm cookies can lead to soggy bottoms—no one wants that! Once they’re cooled, you can store them in an airtight container at room temperature. This will keep them soft and chewy for up to a week. If you’re planning to keep them longer, you can freeze them for up to three months. Just layer them in a freezer-safe bag or container, separating each layer with parchment paper to prevent sticking.
When you’re ready to enjoy some of those frozen cookies, simply take out what you need and let them thaw at room temperature for about 15-20 minutes. If you want that fresh-baked taste, pop them in a preheated oven at 350°F (175°C) for about 5 minutes. It’s a great way to revive that warm, gooey texture!
And if you happen to have leftovers after your Easter celebrations (which is rare, but hey, it happens!), you can also microwave them for about 10-15 seconds to get that melty chocolate chip goodness back. Just be careful not to overdo it, as you don’t want them to turn tough!
So, whether you’re storing them for later or reheating to relive that sweet moment, these tips will help keep your cookies as delightful as the day you baked them. Enjoy every last bite!
Why You’ll Love This Recipe
- Quick and Easy: You can whip up these cookies in just 27 minutes from start to finish, making them perfect for any last-minute Easter celebration!
- Family-Friendly: This recipe is simple enough for kids to join in on the fun. They’ll love mixing the ingredients and decorating with sprinkles!
- Deliciously Chewy: With a soft, chewy texture and gooey chocolate chips, these cookies are sure to be a hit with everyone in the family.
- Customizable: You can easily switch up the ingredients to suit your taste—try different chocolate types, nuts, or even dried fruits for a unique twist!
- Perfect for Sharing: This recipe yields 24 cookies, making it great for sharing with friends, family, or even as a sweet treat for your Easter egg hunt!
- Memorable Moments: Baking these cookies creates delightful memories that you’ll cherish for years to come. They’re more than just sweets; they’re a part of your holiday traditions!
FAQ Section
Q1: Can I substitute the chocolate chips?
Absolutely! If you’re not a fan of chocolate, you can replace the semi-sweet chocolate chips with dried fruits like cranberries or raisins. You could even try white chocolate chips for a sweeter twist! Just keep the quantity the same for the best results.
Q2: How should I store the cookies?
After baking, let your cookies cool completely on a wire rack. Once cooled, store them in an airtight container at room temperature for up to a week. If you want to keep them longer, freeze them for up to three months. Just separate layers with parchment paper to prevent sticking!
Q3: Can I make the dough ahead of time?
Yes! You can prepare the cookie dough a day in advance. Just cover it tightly and refrigerate. When you’re ready to bake, let it sit at room temperature for about 15 minutes before scooping and baking. This ensures your cookies maintain a great texture!
Q4: What if my cookies spread too much while baking?
If your cookies spread too much, it might be due to warm dough or not enough flour. Be sure to chill your dough for about 30 minutes before baking if it feels too soft. Also, make sure you’re measuring your flour correctly—spoon it into the measuring cup and level it off for the best results!
Q5: Can I double the recipe?
Of course! This recipe is easily doubled if you’re expecting a crowd or want to stock up for later. Just ensure you have enough baking sheets and space in your oven. You might need to bake in batches, but the sweet smell of cookies is always worth it!

Easter Sweets: 7 Joyful Treats for Your Holiday Celebration
- Total Time: 27 minutes
- Yield: 24 cookies 1x
- Diet: Vegetarian
Description
Delicious treats for Easter celebrations.
Ingredients
- 1 cup sugar
- 1/2 cup butter
- 2 eggs
- 1 teaspoon vanilla extract
- 2 cups flour
- 1 teaspoon baking powder
- 1/2 teaspoon salt
- 1 cup chocolate chips
Instructions
- Preheat the oven to 350°F (175°C).
- Cream together sugar and butter.
- Add eggs and vanilla; mix well.
- Combine flour, baking powder, and salt in another bowl.
- Gradually add dry ingredients to the wet mixture.
- Fold in chocolate chips.
- Drop spoonfuls onto a baking sheet.
- Bake for 10-12 minutes.
Notes
- Store in an airtight container.
- Use colorful sprinkles for decoration.
- Can substitute chocolate chips with dried fruits.
- Prep Time: 15 minutes
- Cook Time: 12 minutes
- Category: Dessert
- Method: Baking
- Cuisine: American
Nutrition
- Serving Size: 1 cookie
- Calories: 150
- Sugar: 10g
- Sodium: 50mg
- Fat: 7g
- Saturated Fat: 4g
- Unsaturated Fat: 2g
- Trans Fat: 0g
- Carbohydrates: 20g
- Fiber: 1g
- Protein: 2g
- Cholesterol: 20mg
Keywords: Easter sweets, holiday treats, cookies