There’s nothing quite like a big bowl of homemade mac and cheese to make everything feel right in the world. This recipe has been my go-to comfort food since I was a kid – my grandma would make it for me whenever I needed cheering up. Now I make it for my own family, and let me tell you, it disappears faster than you can say “seconds please!”
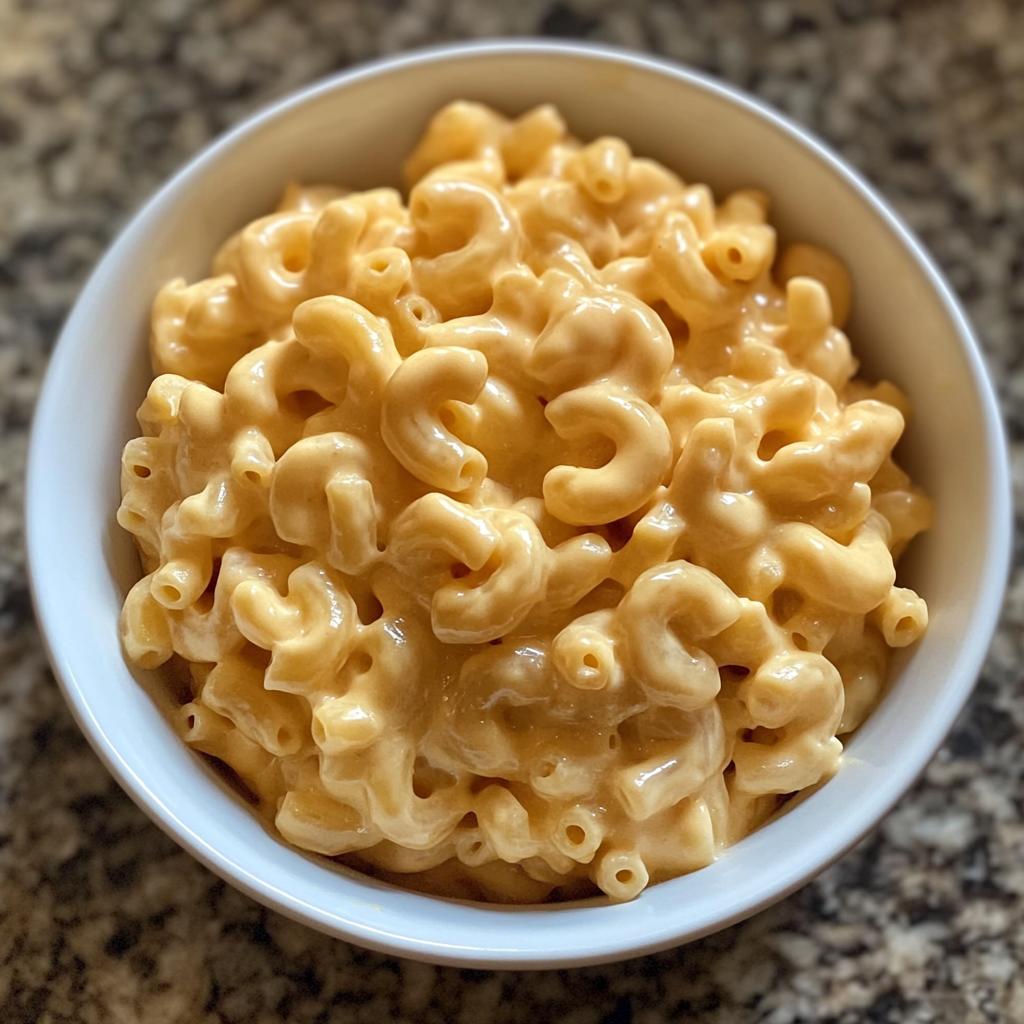
What makes this mac and cheese recipe special? It’s creamy, it’s cheesy, and best of all – it’s ready in about 25 minutes flat. No fancy ingredients needed, just good old-fashioned elbow macaroni swimming in a velvety cheese sauce that coats every single noodle perfectly. The secret’s in the simple roux that makes the sauce thick enough to cling to your fork but still pour beautifully when it’s hot.
I’ve tried dozens of mac and cheese recipes over the years, but this stovetop version remains my favorite for weeknight dinners. It’s the kind of dish that brings everyone running when they smell that cheddar melting into the warm milk. Whether you’re cooking for picky kids or just craving some serious comfort food, this mac and cheese never disappoints.
Why You’ll Love This Mac and Cheese Recipe
This isn’t just any mac and cheese – it’s the kind that makes you close your eyes and sigh after the first bite. Here’s why it’s become my family’s favorite:
- Creamy perfection: That silky cheese sauce coats every noodle without being gloppy or thin – just the right consistency to make your fork stand up straight!
- Quick stovetop magic: Done in under 30 minutes (yes, really!), which means cheesy comfort is never far away when cravings strike.
- Endless customizations: Throw in crispy bacon, sautéed mushrooms, or a dash of hot sauce to make it your own – the base recipe welcomes all kinds of tasty friends.
- Kid-approved (and adult-loved): Picky eaters devour it, while foodies appreciate the perfect cheese balance. Win-win!
Ingredients for Mac and Cheese Recipe
Here’s what you’ll need to make the creamiest, dreamiest mac and cheese:
- 8 oz elbow macaroni (uncooked)
- 2 cups shredded cheddar cheese (packed)
- 1/2 cup grated Parmesan cheese
- 3 cups milk (whole milk for extra creaminess, but 2% works too)
- 1/4 cup butter (unsalted, so you can control the salt level)
- 1/4 cup all-purpose flour
- 1/2 tsp salt (adjust to taste)
- 1/4 tsp black pepper (freshly ground if you have it)
- 1/4 tsp paprika (trust me, it’s the secret flavor boost!)
Ingredient Notes
Every ingredient here plays a role in making this mac and cheese shine:
- Elbow macaroni: The classic shape holds onto that creamy sauce perfectly. If you’re feeling adventurous, you can swap in shells or cavatappi, but I’m a purist when it comes to this recipe.
- Cheddar cheese: Sharp cheddar gives that bold, tangy flavor. I always shred it myself because pre-shredded cheese doesn’t melt as smoothly. (Plus, it’s a little arm workout!)
- Parmesan: The nutty, salty kick from Parmesan takes the flavor up a notch. Freshly grated melts way better than the pre-grated stuff in the green can.
- Milk: Whole milk makes the sauce extra creamy, but 2% works in a pinch. Avoid skim milk—it’s just not the same.
- Butter and flour: This dynamic duo creates the roux, which thickens the sauce. Don’t skimp on the butter—it’s what makes the sauce rich and velvety.
- Paprika: It’s not just for color! A little paprika adds a hint of smokiness that balances the cheese’s richness. It’s subtle but makes a big difference.
How to Make Mac and Cheese Recipe
Alright, let’s get cooking! This mac and cheese comes together in just a few simple steps, but I’ll walk you through each one to make sure you get that perfect creamy texture every time.
Stovetop Method
- Cook the pasta: Bring a large pot of salted water to boil and add your elbow macaroni. Cook for 8-9 minutes until al dente (that means it should still have a little bite to it). Drain it but don’t rinse – we want that starchy goodness to help thicken our sauce later!
- Make the roux: In a separate saucepan, melt the butter over medium heat. Once it’s bubbling, whisk in the flour, salt, pepper, and paprika. Keep whisking for about 1 minute until it forms a smooth paste and smells slightly nutty. This is your flavor base!
- Create the sauce: Slowly pour in the milk while whisking constantly – I mean it, don’t stop whisking! This prevents lumps from forming. Keep cooking and stirring until the mixture thickens enough to coat the back of a spoon (about 5-7 minutes). You’ll know it’s ready when you can drag your finger through the sauce on the spoon and the line holds.
- Add the cheese: Turn the heat down to low and stir in the cheddar and Parmesan a handful at a time, letting each addition melt completely before adding more. This patience pays off with a smooth, velvety sauce instead of a grainy mess.
- Combine it all: Fold the cooked macaroni into the cheese sauce until every noodle is perfectly coated. If the sauce seems too thick, splash in a little reserved pasta water or extra milk until it’s just right.
Baking Option
Want that golden, crispy top? Here’s how to take your mac and cheese to the next level:
- Preheat your oven to 350°F while making the stovetop version above.
- Transfer the mac and cheese to a greased baking dish and sprinkle with breadcrumbs (I like panko mixed with a little melted butter and extra Parmesan).
- Bake for about 15 minutes until the top is golden and the edges are bubbly. Watch it carefully – that perfect crunch can turn to burnt in a flash!
Either way you choose, serve it piping hot – the cheese pulls are half the fun!
Tips for the Best Mac and Cheese Recipe
After making this mac and cheese more times than I can count (and taste-testing every batch, of course), I’ve picked up some tricks that’ll take your dish from good to “Oh my goodness, can I have the recipe?” levels of delicious:
Shred your own cheese: I know those pre-shredded bags are tempting when you’re in a hurry, but trust me – freshly shredded cheese melts so much smoother. The anti-caking agents in pre-shredded can make your sauce grainy. Bonus: grating it yourself lets you control the texture – I like a mix of fine and coarse shreds for maximum meltiness.
Reserve that pasta water: Before you drain your macaroni, scoop out about a cup of the starchy cooking liquid. If your sauce thickens up too much (or if leftovers get stiff in the fridge), a splash of this magic water brings it right back to creamy perfection. It’s like a reset button for your mac and cheese!
Low and slow with the cheese: When adding cheese to your sauce, patience is key. Turn the heat to low and add it gradually, letting each handful melt completely before adding more. Rushing this step is the #1 reason sauces turn grainy. If your sauce does break, a teaspoon of lemon juice can often bring it back together.
Taste as you go: Cheese brands vary in saltiness, so I always taste my sauce before adding the pasta. Sometimes it needs an extra pinch of salt or pepper – and don’t be afraid to adjust the paprika too! The best mac and cheese is the one seasoned exactly how you like it.
Variations for Your Mac and Cheese Recipe
One of my favorite things about this mac and cheese recipe is how easily you can dress it up or down depending on your mood (or what’s hanging out in your fridge). Here are some of my go-to ways to mix things up when I’m feeling adventurous:
- The Classic Upgrade: Toss in crispy bacon bits and caramelized onions – the sweet and salty combo takes this to gourmet status. My husband swears this version is “restaurant quality” (I’ll take the compliment!).
- Spicy Kick: Add diced jalapeños (fresh or pickled) and a dash of hot sauce for those who like it with some heat. Top with crushed Flamin’ Hot Cheetos if you’re really feeling wild – my college roommate’s signature move that somehow works!
- Veggie Loaded: Stir in sautéed mushrooms, spinach, or roasted broccoli florets when combining the pasta and sauce. It’s how I sneak extra greens into my kids’ diets (they never suspect a thing).
- Crunchy Toppers: Mix panko breadcrumbs with melted butter, garlic powder, and extra Parmesan, then sprinkle generously before baking. That golden, crispy crust makes every bite textural heaven.
- Smoky BBQ Twist: Fold in pulled pork and a spoonful of your favorite barbecue sauce. Perfect for using up leftover meats – my summer potluck secret weapon!
- Lobster Luxe: For special occasions, I’ll add chunks of cooked lobster meat and a splash of sherry to the sauce. It’s outrageously indulgent, but birthdays and anniversaries deserve the royal treatment.
The beauty is you can start with the basic creamy base and go in any direction your tastebuds desire. Half the fun is experimenting – I’ve even stirred in buffalo chicken dip once when we had leftovers (no regrets!). What will you try first?
Serving Suggestions
This mac and cheese is rich enough to stand on its own, but I love rounding out the meal with some fresh, crisp sides to balance all that cheesy goodness. My go-to is a simple green salad with vinaigrette – the tangy dressing cuts right through the richness. Roasted broccoli or Brussels sprouts also make perfect partners, their caramelized edges playing nicely with the creamy pasta. For a heartier meal, add some garlic bread (because let’s be real, you can never have too many carbs!). And if it’s game day? Serve it alongside crispy chicken tenders – my kids call this combo “the ultimate comfort food plate.”
Storing and Reheating Mac and Cheese
Let’s be real – leftovers are half the joy of making mac and cheese! But nothing’s sadder than opening the fridge to find your once-creamy masterpiece has turned into a stiff, dry block. Here’s how I keep mine tasting fresh:
Storing: Pop any leftovers into an airtight container within 2 hours of cooking (food safety first!). It’ll keep happily in the fridge for about 3 days. Pro tip: press plastic wrap directly onto the surface before sealing the lid – this prevents that weird skin from forming on top.
Reheating: The microwave is your friend here, but you’ve got to be gentle! I transfer portions to a microwave-safe bowl, splash in a tablespoon or two of milk (whole milk works best), cover loosely with a damp paper towel, and heat in 30-second bursts, stirring between each. This slow-and-steady approach brings back that silky texture without turning your mac into rubber.
If you’re reheating a larger batch, the stovetop works wonders. Just warm it over low heat with a splash of milk, stirring constantly until it’s creamy again. And here’s my secret weapon – a tiny pat of butter stirred in at the end makes it taste freshly made!
One thing to note: freezing changes the texture (the dairy can separate when thawed), so I don’t recommend it unless you’re okay with a slightly grainier result. But honestly? Between my husband’s midnight snacks and my lunchbox raids, ours never lasts long enough to freeze anyway!
Mac and Cheese Recipe FAQs
I’ve gotten so many questions about this mac and cheese recipe over the years – and I love helping fellow cheese lovers avoid common pitfalls! Here are the answers to the ones I hear most often:
Can I use pre-shredded cheese?
Technically yes, but I don’t recommend it if you can avoid it. Those convenient pre-shredded bags contain anti-caking agents that prevent clumping in the package but can make your sauce grainy. Freshly shredded cheese melts so much smoother! If you’re really in a pinch, look for pre-shredded cheese labeled as “good for melting” – and maybe add an extra splash of milk to help it along.
How do I fix a grainy sauce?
First, don’t panic! Grainy sauce usually happens when the cheese gets too hot or is added too quickly. Try whisking in a teaspoon of lemon juice or white vinegar – the acidity can help bring it back together. If that doesn’t work, blending the sauce with an immersion blender (or regular blender in batches) can sometimes save the day. Next time, remember: low heat and patience when adding the cheese!
Can I freeze leftovers?
Honestly? I don’t recommend it for this particular recipe. The dairy tends to separate when frozen and thawed, giving you a grainy texture when reheated. But if you must freeze it, portion it into individual servings and reheat slowly with extra milk on the stovetop. That said, between the fridge and creative leftovers (think mac and cheese grilled cheese!), ours never lasts long enough to freeze!
Nutritional Information
Now, let’s be real – we’re not eating mac and cheese for its health benefits, but I know some of you like to keep track (maybe to balance out that second helping?). Here’s the nutritional breakdown per serving – remember these are estimates since cheese brands and pasta types can vary:
- Serving Size: About 1 cup (you know you’re going back for more!)
- Calories: 450 (worth every single one if you ask me)
- Fat: 22g (13g saturated – it’s cheese, what did you expect?)
- Carbohydrates: 45g (2g fiber from that pasta goodness)
- Protein: 18g (cheese and milk pack a protein punch!)
- Sugar: 5g (mostly from the milk)
- Sodium: 600mg (go easy on the salt if you’re watching this)
A quick disclaimer: these numbers can change depending on whether you use whole milk or 2%, different cheese brands, or add mix-ins like bacon. My philosophy? Enjoy your mac and cheese mindfully – savor every creamy, cheesy bite without guilt. Life’s too short to stress about numbers when comfort food’s involved!
Final Thoughts
There you have it – my ultimate mac and cheese recipe that’s seen me through everything from lazy weeknights to potlucks to “I need comfort food STAT” moments. It never fails to make my kitchen smell amazing and my family come running. The best part? Hearing how this recipe becomes part of your traditions too!
I’d love to hear how yours turns out – did you stick with the classic version or go wild with mix-ins? Tag me on social or leave a comment below with your brilliant twists (I’m always looking for new ideas to try!). And if this becomes your new go-to like it is mine, don’t forget to give it a star rating so others know it’s a winner. Happy cheesy cooking, friends – may your sauce always be smooth and your noodles perfectly al dente!
Print
25-Minute Mac and Cheese Recipe – Pure Creamy Bliss
- Total Time: 25 mins
- Yield: 4 servings 1x
- Diet: Vegetarian
Description
A classic mac and cheese recipe that’s creamy, cheesy, and easy to make.
Ingredients
- 8 oz elbow macaroni
- 2 cups shredded cheddar cheese
- 1/2 cup grated Parmesan cheese
- 3 cups milk
- 1/4 cup butter
- 1/4 cup all-purpose flour
- 1/2 tsp salt
- 1/4 tsp black pepper
- 1/4 tsp paprika
Instructions
- Cook macaroni according to package instructions. Drain and set aside.
- Melt butter in a saucepan over medium heat.
- Stir in flour, salt, pepper, and paprika. Cook for 1 minute.
- Gradually whisk in milk. Cook until thickened.
- Add cheddar and Parmesan cheese. Stir until melted.
- Combine cheese sauce with cooked macaroni.
- Serve hot.
Notes
- For extra creaminess, use whole milk.
- Add breadcrumbs on top for a crispy finish.
- You can bake it at 350°F for 15 minutes if preferred.
- Prep Time: 10 mins
- Cook Time: 15 mins
- Category: Main Dish
- Method: Stovetop
- Cuisine: American
Nutrition
- Serving Size: 1 cup
- Calories: 450
- Sugar: 5g
- Sodium: 600mg
- Fat: 22g
- Saturated Fat: 13g
- Unsaturated Fat: 7g
- Trans Fat: 0g
- Carbohydrates: 45g
- Fiber: 2g
- Protein: 18g
- Cholesterol: 60mg
Keywords: mac and cheese, homemade mac and cheese, easy mac and cheese recipe