Fruit Tray Designs Step by Step: Create Stunning Displays
Creating stunning fruit tray designs step by step not only elevates your presentation skills but also enhances the enjoyment of your guests. Imagine a vibrant array of colors and textures, all arranged artfully on a platter, ready to impress. This guide will help you craft beautiful fruit displays that are not only visually appealing but also incredibly delicious, making them a family favorite. Have you ever considered how a well-presented fruit tray can transform a simple gathering into a memorable event? With the right approach, you can create a centerpiece that dazzles the senses and invites everyone to indulge.
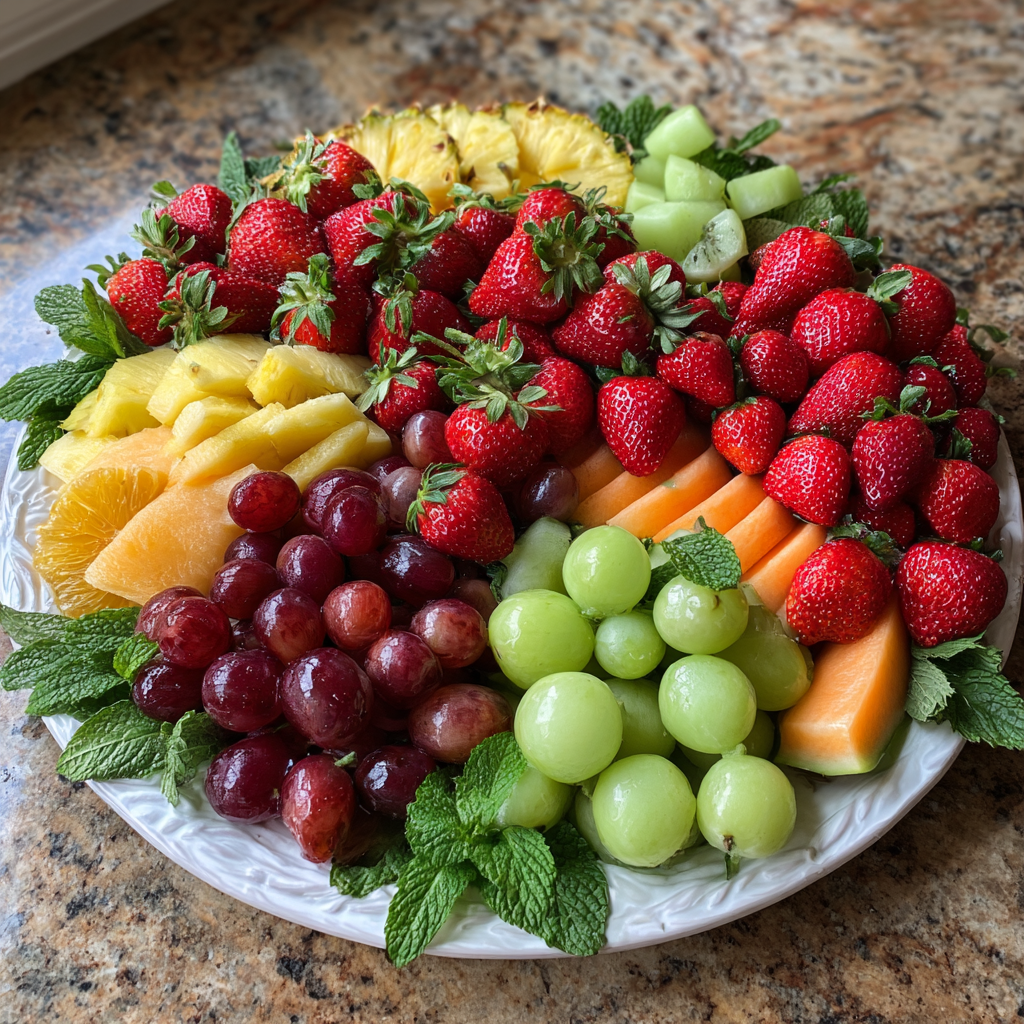
The sight of a carefully arranged fruit tray is captivating, with bright reds, lush greens, and sunny yellows harmoniously blending together. As you approach, the sweet aroma of ripe fruits fills the air, and your mouth waters in anticipation. Each piece of fruit beckons with its unique texture and flavor; the juicy burst of a ripe strawberry, the crispness of a fresh apple, or the tropical sweetness of pineapple. When served on a large platter, these fruits come together to create a feast for both the eyes and the palate.
Moreover, preparing a fruit tray is a fantastic way to encourage healthier eating habits among your family and friends. A colorful selection of fruits not only looks appealing but is packed with essential vitamins and minerals that contribute to overall health. For instance, fruits like strawberries are rich in Vitamin C, while bananas provide a good source of potassium. This article will explore the health benefits of various fruits, ensuring that you not only showcase their beauty but also promote their nutritional value.
In addition to their health benefits, fruit trays are incredibly versatile. They can serve as an appetizer, a side dish, or a refreshing dessert. This specific version of fruit tray designs is better than others because it incorporates various presentation techniques, making it unique and visually striking. Whether you are preparing for a special occasion or a casual get-together, these designs will impress your guests and create a delightful atmosphere. Families and beginners alike will find this guide useful, as it provides easy-to-follow instructions that make the process enjoyable and engaging.
To summarize, you will learn how to prepare a fruit tray that is not only stunning in appearance but also beneficial for health. The prep time is minimal, and the skill level is suitable for beginners. This fruit tray design is perfect for weeknight dinners, meal prep, or when hosting guests. Let’s dive into the delicious world of fruit tray designs!
What is a Fruit Tray?
A fruit tray is a beautifully arranged platter that features a variety of fresh fruits. It serves as an inviting centerpiece for gatherings and is a healthy snack option. The layout can vary from simple to elaborate, depending on the occasion and personal preference.
Why You Will Love This Recipe
- Visually stunning, making it a great centerpiece for any event.
- Encourages healthy eating with a variety of fruits.
- Quick and easy to prepare, perfect for last-minute gatherings.
- Customizable based on the season or preferences.
- Perfect for all occasions—birthdays, holidays, or casual get-togethers.
Ingredients You Need
- Assorted fruits (e.g., strawberries, grapes, melons, pineapple, kiwi) – Each fruit adds unique flavors and textures.
- Mint leaves (for garnish) – Provides a refreshing aroma and enhances presentation.
- Honey or yogurt (for dipping, optional) – Adds a sweet touch and creamy texture.
- Skewers or toothpicks (for fruit bites, optional) – Makes serving easier and adds fun to the presentation.
- Large platter or tray – A beautiful base for your fruit display.
How to Make Fruit Tray Designs Step by Step
- Start by washing all your fruits thoroughly under running water. Dry them with a clean towel to ensure they are free of moisture.
- Next, peel and cut the larger fruits, such as melons and pineapples, into bite-sized pieces. For smaller fruits, like grapes and strawberries, simply remove any stems.
- Begin arranging the fruits on your large platter. Place larger pieces towards the center and smaller fruits around the edges for a balanced look.
- Add mint leaves as garnish around the tray to enhance the visual appeal and add a pop of green.
- If using, prepare a small bowl of honey or yogurt for dipping. Position it in the center or at one side of the tray.
- Finally, if you have skewers or toothpicks, assemble fruit bites by threading small pieces of fruit onto them. This makes for easy serving and consumption.
Pro Tip: Use a salad spinner for leafy greens to remove excess water effectively.
Pro Tip: Consider color contrast; place vibrant fruits next to neutral ones for a more appealing presentation.
Pro Tip: Choose a decorative bowl that complements your platter for added elegance.
Expert Tips for Best Results
- Choose seasonal fruits for the best flavor and freshness.
- Mix textures by including both soft fruits (like bananas) and crunchy fruits (like apples).
- Incorporate a variety of colors to make your tray visually appealing.
- Consider adding a few edible flowers for an elegant touch.
- Prepare the tray close to serving time to maintain freshness.
- Experiment with different shapes by using cookie cutters on fruits like melons for fun designs.
Variations and Substitutions
- For a gluten-free option, stick to fruits and avoid any processed dips.
- Include tropical fruits like mangoes and papayas for a summer-themed tray.
- For a low-carb presentation, focus on berries and melons.
- Incorporate dried fruits for a unique texture contrast.
How to Serve and Store
Serving suggestions include placing the fruit tray on a large table for guests to help themselves. For storage, cover the tray with plastic wrap and keep it in the fridge for up to 2 days. Freezing is not recommended as it alters the texture of the fruits. For reheating, there is no need; serve chilled for the best experience.
Frequently Asked Questions
Can I make a fruit tray the night before?
Yes, but it’s best to prepare it a few hours before serving to maintain freshness.
What fruits are best for a fruit tray?
Popular choices include strawberries, grapes, melons, and pineapple for variety.
How long does a fruit tray last?
A fruit tray can last up to 2 days in the refrigerator if properly stored.
Can I use canned fruits?
Yes, but fresh fruits provide better flavor and texture.
Is it safe to leave a fruit tray out at a party?
It is safe for a couple of hours, but refrigerate leftovers promptly.
What dips pair well with a fruit tray?
Yogurt, honey, or chocolate sauce are excellent choices for dipping.
In conclusion, with this guide on fruit tray designs step by step, you can create visually stunning displays that not only appeal to the eyes but also promote healthy eating. Enjoy the health benefits of fresh fruits and the joy of sharing them with others. Try this recipe today and leave a comment below!
Print
Fruit Tray Designs Step by Step: Create Stunning Displays
Description
Learn how to create beautiful and visually appealing fruit trays with this step-by-step guide. Perfect for parties, events, or just a healthy snack!
Ingredients
- Assorted fruits (e.g., strawberries, grapes, melons, pineapple, kiwi)
- Mint leaves (for garnish)
- Honey or yogurt (for dipping, optional)
- Skewers or toothpicks (for fruit bites, optional)
- Large platter or tray
Instructions
- Choose a variety of fresh fruits to create a colorful and diverse fruit tray. Popular options include strawberries, grapes, melons, pineapple, and kiwi.
- Wash and prepare the fruits. Cut larger fruits into bite-sized pieces and leave smaller fruits whole. Remove any stems or seeds as needed.
- Arrange the fruits on a large platter or tray. Start with larger pieces (like melon slices) and fill in with smaller fruits (like grapes and berries) to create a balanced look.
- Create sections or patterns with the fruits for visual appeal. You can make rows, circles, or even a rainbow pattern using different colored fruits.
- For added flair, use mint leaves to garnish around the tray. This adds a pop of green and enhances the presentation.
- If desired, include small bowls of honey or yogurt for dipping. Place them strategically on the tray.
- If using skewers or toothpicks, create fruit bites by threading pieces of fruit onto the skewers. This makes it easy for guests to grab and enjoy.
- Once finished, serve immediately or refrigerate until ready to serve. Enjoy your beautiful fruit tray!
Notes
- Feel free to customize your fruit tray based on seasonal fruits or personal preferences.
- Consider adding nuts or cheese for a more varied platter.
- For a themed event, match the fruit colors to your decor for added effect.
Nutrition
- Serving Size: 1 cup
- Calories: 100
- Sugar: 15
- Sodium: 1
- Fat: 0
- Carbohydrates: 25
- Fiber: 3
- Protein: 1
Keywords: fruit tray designs, step by step fruit tray, fruit platter ideas, healthy snacks, party fruit tray