You know those nights when you want something delicious but don’t want to spend hours in the kitchen? That’s exactly why I fell in love with these Juicy Garlic Parmesan Skewers. They’re my go-to when I need a quick, flavorful meal that feels like I put way more effort into it than I actually did. The garlic-parmesan crust is everything—savory, slightly salty, and just packed with flavor. And the best part? You can throw them on the grill or pop them in the oven, no fuss. Trust me, once you try these, they’ll become a regular in your dinner rotation too.

Why You’ll Love These Juicy Garlic Parmesan Skewers
Oh, let me count the ways! These skewers are my weeknight superheroes, and here’s why they’ll become yours too:
- Lightning fast – From fridge to table in 30 minutes flat (perfect when hunger strikes suddenly!)
- Flavor bombs – That garlic-parmesan crust? Pure magic. It’s like your favorite garlic bread met juicy chicken and had a delicious baby
- Super adaptable – Swap chicken for shrimp, add some bell peppers – make it your own!
- No grill? No problem! Works beautifully in the oven when rain ruins your BBQ plans
- Crowd-pleaser – Kids and adults alike go crazy for these (I’ve seen it happen at three potlucks this summer!)
Ingredients for Juicy Garlic Parmesan Skewers
Here’s everything you’ll need to make these flavor-packed skewers (I’ve learned the hard way – measure twice, skewer once!):
- 500g chicken breast – cubed into 1-inch pieces (boneless, skinless works best)
- 3 cloves garlic – minced (fresh is non-negotiable here! Bottled just won’t give that punch)
- 1/4 cup grated parmesan – the good stuff, freshly grated if you can (none of that powdery shelf-stable business)
- 2 tbsp olive oil – extra virgin for maximum flavor
- 1 tsp salt – I use kosher, but table salt works too (just use a pinch less)
- 1/2 tsp black pepper – freshly cracked if you’ve got it
- 1 tsp dried oregano – rub it between your palms to wake up the oils
- Wooden skewers – soaked in water for 30 minutes (or metal ones if you’re fancy like that)
Equipment You’ll Need
Gather these trusty kitchen helpers – nothing fancy required!
- Skewers – wooden (don’t forget to soak them!) or metal if you’ve got ’em
- A good mixing bowl – big enough to toss everything without making a mess
- Grill or oven – whichever you prefer (I’ve burned enough skewers to know both work great!)
How to Make Juicy Garlic Parmesan Skewers
Alright, let’s get these beauties cooking! I promise it’s easier than you think, and in less than 30 minutes you’ll have the most flavorful skewers you’ve ever tasted. Here’s exactly how I do it:
Step 1: Prep the Garlic Parmesan Mixture
First, grab your favorite mixing bowl (I always use my big yellow one – it’s seen more garlic than I can count!). Toss in the minced garlic, grated parmesan, olive oil, salt, pepper, and oregano. Now here’s my trick – mix it with your hands! The warmth helps release all those amazing flavors. Add your chicken cubes and toss until every piece is completely coated. Don’t be shy – really massage that mixture in there. Let it sit for 5 minutes while you preheat your grill or oven to 375°F (190°C).
Step 2: Skewer the Chicken
Now for the fun part! Take your soaked wooden skewers (or metal ones if you’re using them) and start threading the chicken. Leave about 1/4 inch between pieces – this ensures they cook evenly instead of steaming together. I usually fit about 4-5 pieces per skewer depending on their size. Pro tip: wipe your hands occasionally with a damp towel – that garlic-parm coating gets sticky!
Step 3: Grill or Bake
Time to cook! If grilling, place the skewers directly over medium heat. For baking, line them on a foil-covered sheet pan. Either way, cook for 12-15 minutes total, flipping them halfway through. You’ll know they’re done when the chicken reaches 165°F (74°C) inside and has that gorgeous golden-brown crust. And oh, that smell! Pure garlicky heaven. Just try not to burn your fingers when stealing the first bite – trust me, it’s tempting!
Tips for Perfect Juicy Garlic Parmesan Skewers
After burning my fair share of skewers (and learning some hard lessons!), here are my can’t-miss tips:
- Skewer soaking is non-negotiable – 30 minutes minimum, or you’ll have burnt sticks and raw chicken (been there!)
- Taste your marinade – Dab a bit on your finger to check seasoning before adding chicken
- Metal skewers are game-changers – No soaking needed, and they won’t snap when flipping
- Don’t overcrowd – Leave space between pieces so they cook evenly, not steam
- Double the recipe – These disappear fast, and leftovers make killer wraps or salads
Serving Suggestions
These skewers shine brightest with simple sides! I love them with a crisp green salad or garlicky roasted potatoes. For dipping? A quick yogurt-lemon sauce or extra marinade warmed up (just boil it first!). They’re also amazing tossed into pita with tzatziki – lunch sorted!
Storage & Reheating
Got leftovers? Lucky you! These keep beautifully in the fridge for up to 3 days – just pop them in an airtight container. When reheating, I always use the oven (350°F for 8-10 minutes) to keep that crispy crust. The microwave works in a pinch, but they’ll lose that perfect texture.
Nutritional Information
Just so you know what you’re biting into (not that you’ll stop at just one!): Each juicy skewer packs about 180 calories, with 8g of good fats and a whopping 25g of protein. These are estimates, of course – your exact amounts might vary slightly depending on chicken size and how much of that garlic-parm goodness sticks!
FAQs About Juicy Garlic Parmesan Skewers
Got questions? I’ve got answers! Here are the most common things people ask me about these garlicky wonders:
Can I use chicken thighs instead of breasts?
Absolutely! Thighs stay extra juicy and take the flavors beautifully. Just adjust cooking time by 2-3 minutes since they’re a bit fattier.
What if I don’t have wooden skewers?
Metal skewers work great (no soaking needed!), or you can skip skewers entirely and bake the chicken pieces on a sheet pan – they’ll still taste amazing!
Can I make these ahead?
You bet! Prep the coated chicken up to 4 hours ahead and keep it chilled. Skewer just before cooking for best results.
How do I know when they’re done?
Chicken should reach 165°F internally. The parmesan crust will be golden, and juices will run clear when pierced.
Can I freeze these?
Yes! Freeze cooked skewers for up to 2 months. Thaw overnight in fridge and reheat in oven to keep that crispy crust.
Ready to Make Juicy Garlic Parmesan Skewers?
There you have it – my foolproof way to garlicky, cheesy perfection! Now it’s your turn. Whip up a batch this week and let me know how they turn out in the comments below. Snap a pic of your golden skewers and tag me – I love seeing your kitchen wins! Happy skewering!
Print
Juicy Garlic Parmesan Skewers Ready in Just 30 Minutes
- Total Time: 30 minutes
- Yield: 4 skewers 1x
- Diet: Low Calorie
Description
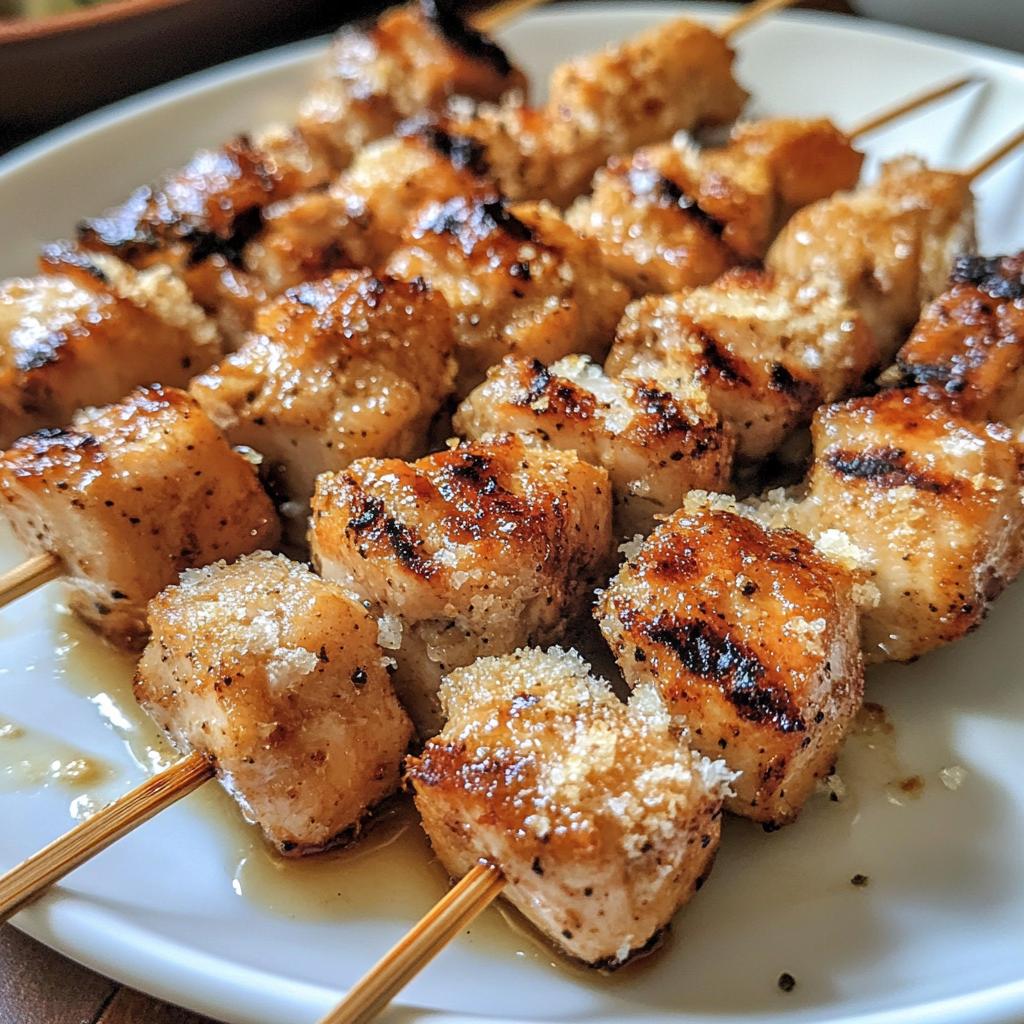
Juicy Garlic Parmesan Skewers are a flavorful and easy-to-make dish, perfect for grilling or baking. Tender meat with a garlic-parmesan crust.
Ingredients
- 500g chicken breast, cubed
- 3 cloves garlic, minced
- 1/4 cup grated parmesan
- 2 tbsp olive oil
- 1 tsp salt
- 1/2 tsp black pepper
- 1 tsp dried oregano
- Wooden skewers, soaked in water
Instructions
- Preheat grill or oven to 375°F (190°C).
- Mix garlic, parmesan, olive oil, salt, pepper, and oregano in a bowl.
- Toss chicken cubes in the mixture until coated.
- Thread chicken onto skewers.
- Grill or bake for 12-15 minutes, turning halfway.
- Serve hot.
Notes
- Soak skewers for 30 minutes to prevent burning.
- Use metal skewers for easier handling.
- Adjust seasoning to taste.
- Prep Time: 15 minutes
- Cook Time: 15 minutes
- Category: Main Course
- Method: Grilling/Baking
- Cuisine: Italian
Nutrition
- Serving Size: 1 skewer
- Calories: 180
- Sugar: 0g
- Sodium: 450mg
- Fat: 8g
- Saturated Fat: 2g
- Unsaturated Fat: 5g
- Trans Fat: 0g
- Carbohydrates: 2g
- Fiber: 0g
- Protein: 25g
- Cholesterol: 65mg
Keywords: garlic parmesan skewers, grilled chicken, easy skewers