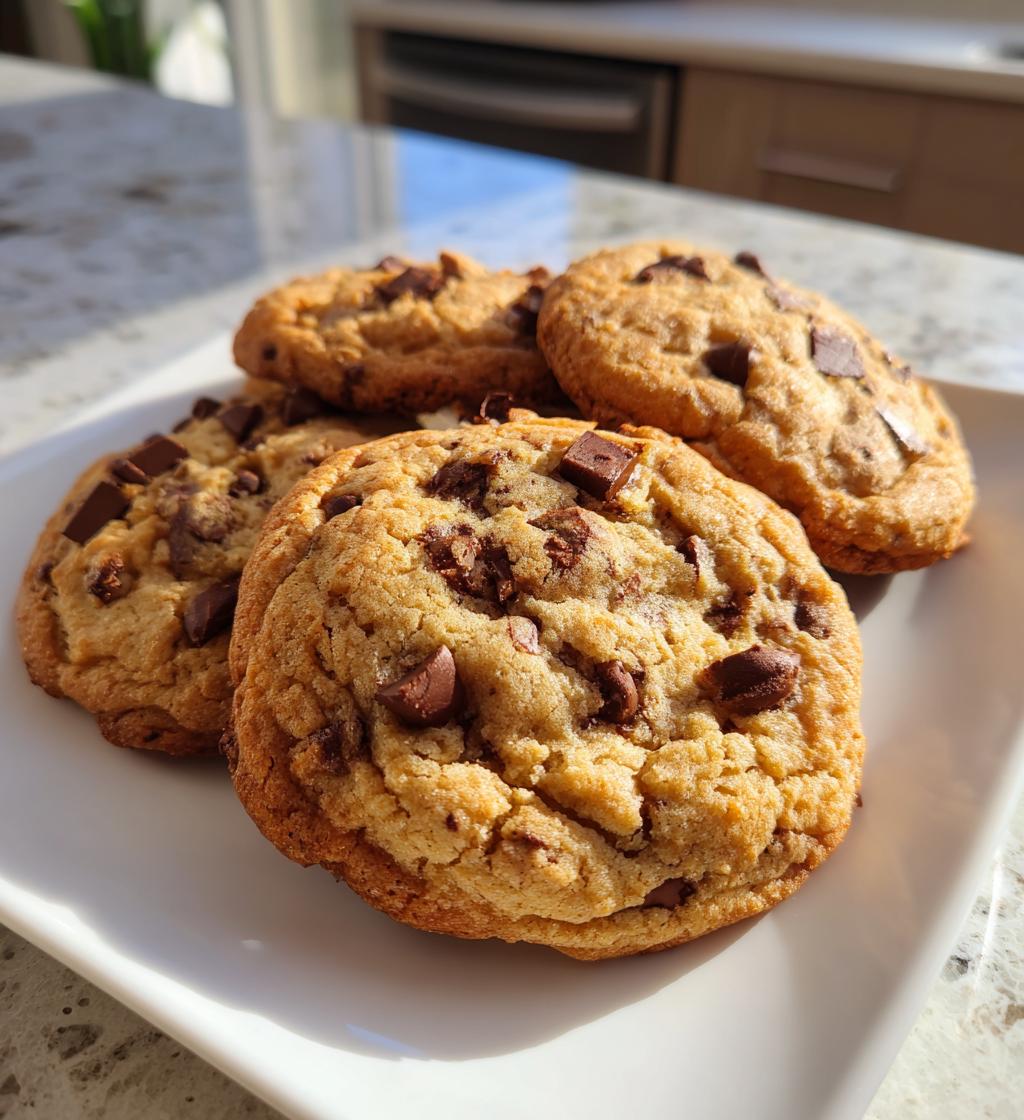
There’s something magical about baking milk cookies that just brings joy to my heart! The aroma fills the kitchen and wraps around you like a warm hug, instantly making everything feel cozier. I mean, who doesn’t love a delicious homemade cookie that’s soft and chewy? That perfect texture is what sets these milk cookies apart from the rest, and trust me, once you take that first bite, you’ll be hooked. My favorite way to enjoy them is with a tall glass of cold milk – it’s the ultimate comfort combo! Whether it’s a rainy afternoon or a cheerful gathering with friends, these cookies are always a hit. So, roll up your sleeves, and let’s dive into the delightful world of milk cookies together!
Ingredients List
To whip up a batch of these delightful milk cookies, you’ll need the following ingredients. I recommend gathering everything ahead of time to make the process smooth and enjoyable:
- 1 cup unsalted butter, softened – Make sure it’s softened to room temperature for easy creaming.
- 1 cup granulated sugar – This adds a lovely sweetness to the cookies.
- 1 cup brown sugar – I love using light brown sugar for that rich, caramel flavor.
- 2 large eggs – Fresh eggs make a big difference in texture, so go for large ones!
- 2 teaspoons vanilla extract – This brings warmth and depth to the cookies.
- 3 cups all-purpose flour – Measure it accurately for the best results.
- 1 teaspoon baking soda – This is your leavening agent for that perfect rise.
- 1/2 teaspoon salt – A must for balancing the sweetness.
- 1 cup chocolate chips – Choose your favorite type; I can never resist semi-sweet!
- 1/2 cup milk – This ties everything together and keeps the cookies moist.
Gather these ingredients, and you’re ready to create something truly delicious! Trust me, you’ll be in for a treat!
How to Prepare Milk Cookies
Now that we’ve got our ingredients ready, let’s get down to the fun part: making these delicious milk cookies! The process is simple, but I’ll guide you through each step to ensure your cookies turn out perfectly soft and chewy.
- Preheat your oven. Start by preheating your oven to 350°F (175°C). This is crucial for getting that perfect bake!
- Cream the butter and sugars. In a large mixing bowl, combine the softened unsalted butter, granulated sugar, and brown sugar. Use a hand mixer or a sturdy wooden spoon to cream them together until the mixture is light and fluffy, about 3-4 minutes. You want it to look like whipped honey!
- Add the eggs and vanilla. Crack in the two large eggs, and pour in the vanilla extract. Mix until everything is well combined. It’ll be a bit glossy, and that’s just what you want!
- Mix the dry ingredients. In a separate bowl, whisk together the all-purpose flour, baking soda, and salt. This helps incorporate the leavening agent evenly into the flour.
- Combine wet and dry mixtures. Gradually add the dry ingredients to the wet mixture. I like to do this in three parts, mixing gently after each addition until just combined. Don’t overmix – you want it to be soft and tender!
- Fold in the chocolate chips and milk. Now, it’s time for the good stuff! Gently fold in the chocolate chips and the half cup of milk until everything is evenly distributed. The dough should be soft but not too sticky.
- Chill the dough (optional). If you have a bit of extra time, chill the dough in the refrigerator for about 30 minutes. This helps the cookies hold their shape better while baking and makes them even thicker!
- Drop the dough onto the baking sheet. Using a spoon or a cookie scoop, drop rounded spoonfuls of dough onto a lined baking sheet, leaving enough space between each cookie for spreading.
- Bake to perfection. Pop the baking sheet into your preheated oven and bake for 10-12 minutes. You’ll want to keep an eye on them – the edges should be golden, while the center may still look slightly underbaked. That’s perfect!
- Cool before serving. Once baked, let the cookies cool on the baking sheet for a few minutes before transferring them to a wire rack. This helps them set up just right. Trust me, the aroma will drive you wild!
And there you have it! Your homemade milk cookies are ready to be enjoyed. I can already imagine the warm, gooey chocolate melting in your mouth as you take that first bite. Yum!
Why You’ll Love This Recipe
- Quick preparation: You can whip up a batch of these milk cookies in just about 27 minutes from start to finish. Perfect for those spontaneous cravings!
- Soft and chewy texture: These cookies come out of the oven with that irresistible soft and chewy bite that’ll have you reaching for seconds (or thirds!).
- Delightful chocolate and milk combination: The rich chocolate chips combined with the creamy milk create a flavor explosion that’s pure bliss in every bite.
- Perfect for sharing: With a yield of 24 cookies, they’re great for sharing at gatherings or simply to brighten someone’s day.
- Customizable: You can easily add your favorite mix-ins or swap ingredients to personalize them to your taste!
Trust me, once you bake these milk cookies, you’ll be counting down the days until you can make them again!
Tips for Success
Want to make sure your milk cookies turn out perfectly every time? Here are some pro tips that I swear by to elevate your cookie game:
- Chill the dough: If you have the time, chilling the dough for about 30 minutes before baking is a game-changer! It helps the cookies hold their shape and results in thicker, chewier treats.
- Keep an eye on baking time: Every oven is different, so it’s a good idea to check your cookies a minute or two before the recommended baking time. You want those edges golden, but the centers should still look a bit soft.
- Use a cookie scoop: For uniform cookies, a cookie scoop is your best friend! It ensures even sizes, which means even baking and a lovely presentation.
- Don’t overmix: Once you add the dry ingredients, mix just until combined. Overmixing can lead to tough cookies, and nobody wants that!
- Experiment with add-ins: Feel free to get creative! Add nuts, dried fruit, or even a sprinkle of sea salt on top before baking for an extra flavor boost.
- Store properly: To keep your cookies fresh and chewy, store them in an airtight container. They can last for several days, but trust me, they won’t last that long!
With these tips in your back pocket, you’ll be well on your way to baking the best milk cookies ever. Happy baking!
Variations on Milk Cookies
Now that you’ve got the classic milk cookies down, let’s have some fun with variations! The beauty of this recipe is how versatile it is, allowing you to mix things up based on your mood or what you have on hand. Here are some of my favorite twists on the original recipe:
- Nutty goodness: Add 1 cup of chopped nuts like walnuts or pecans for a delightful crunch. They add a lovely texture and pair beautifully with the chocolate!
- Different chocolate types: Swap out the semi-sweet chocolate chips for white chocolate or dark chocolate for a richer flavor. You can even mix different types for a fun surprise in every bite!
- Cinnamon kick: For a warm, cozy twist, add 1 teaspoon of ground cinnamon to the dry ingredients. It gives the cookies a lovely aroma and a hint of spice that’s perfect for chilly days.
- Oatmeal addition: Stir in 1 cup of rolled oats for a heartier cookie. It adds a nice chewiness and makes the cookies feel a bit more wholesome!
- Seasonal flavors: Get creative with seasonal spices or add-ins! Try pumpkin spice during the fall or even a splash of peppermint extract around the holidays for a festive touch.
- Dried fruits: Incorporate 1 cup of dried cranberries, raisins, or chopped dried apricots for a burst of fruity flavor. They add a delightful chewy texture that complements the milkiness of the cookies.
With these variations, you can easily put your personal stamp on the classic milk cookies. Feel free to experiment and find your own favorite combinations. Happy baking, and enjoy discovering new flavors!
Nutritional Information
As you indulge in these delightful milk cookies, it’s always good to know what you’re treating yourself to! Here’s the estimated nutritional data per cookie, which I’ve calculated to give you a rough idea of what’s in each delicious bite:
- Calories: 150
- Sugar: 10g
- Sodium: 100mg
- Fat: 7g
- Carbohydrates: 20g
- Protein: 2g
Keep in mind, these values are estimates and can vary based on specific ingredients and portion sizes. Enjoy these cookies with a smile, knowing you’ve got a tasty treat that’s not just delicious but also fits into your day! Happy baking!
Storage & Reheating Instructions
Now that you’ve baked a scrumptious batch of milk cookies, let’s talk about how to store them so they stay fresh and delicious! Proper storage is key to keeping that soft and chewy texture intact.
Storing your cookies: Allow the cookies to cool completely on a wire rack before storing them. Once they’re cool, place them in an airtight container. I usually layer parchment paper between the cookies to prevent them from sticking together, especially if I’ve made a big batch. Trust me, this little trick works wonders!
These milk cookies can be stored at room temperature for up to a week. If you want to keep them for longer, you can freeze them! Just make sure to wrap them tightly in plastic wrap or store them in a freezer-safe container. They’ll stay good for about 2-3 months in the freezer. When you’re ready to enjoy, simply let them thaw at room temperature.
Reheating for optimal freshness: If you want to enjoy that freshly baked taste again, reheating is super easy! Just pop the cookies in a preheated oven at 350°F (175°C) for about 5 minutes. This will warm them up and restore that delightful soft texture. You can also microwave them for about 10-15 seconds, but be careful not to overdo it, or they might get a bit too soft!
With these simple storage and reheating tips, your milk cookies will stay as delightful as the day you baked them. So, whether you’re sharing or saving them all for yourself, you’ll always have a delicious treat ready to enjoy!
FAQ Section
Got questions about making the perfect milk cookies? Don’t worry, I’ve got you covered! Here are some common queries I hear, along with my best tips and tricks to help you bake like a pro.
Q1: Can I use margarine instead of butter?
While I always recommend using real unsalted butter for the best flavor and texture, you can use margarine in a pinch. Just keep in mind that the cookies might not have the same rich taste and might spread a bit more during baking.
Q2: What can I substitute for eggs if I want to make these cookies vegan?
If you’re looking to make egg-free milk cookies, you can substitute each egg with 1/4 cup of unsweetened applesauce or a flax egg (1 tablespoon ground flaxseed mixed with 2.5 tablespoons of water, let sit for a few minutes until it gels). The texture will be slightly different, but they’ll still be delicious!
Q3: How can I make sure my cookies don’t spread too much?
To prevent spreading, make sure your butter is softened but not melted. Chilling the dough for 30 minutes before baking helps too! If you find your cookies still spread too much, try adding an extra tablespoon of flour next time.
Q4: Can I freeze the cookie dough before baking?
Absolutely! You can scoop the dough into balls and freeze them on a baking sheet. Once they’re frozen solid, transfer them to an airtight container or freezer bag. When you’re ready to bake, just add a couple of extra minutes to the baking time directly from the freezer.
Q5: How should I store leftover cookies?
To keep your milk cookies fresh and chewy, store them in an airtight container at room temperature. They’ll stay delicious for about a week. If you want to keep them longer, wrap them tightly and freeze them for up to three months. Just remember to thaw them at room temperature before enjoying!
Q6: Can I add more chocolate chips or other mix-ins?
Definitely! Feel free to add extra chocolate chips, nuts, or dried fruits. Just keep in mind that adding too many mix-ins can alter the texture, so you might want to adjust the flour a little if you go overboard. Happy experimenting!
If you have any other questions, don’t hesitate to reach out! I’m always here to help you create the most amazing milk cookies. Enjoy the baking adventure!
Print
Milk Cookies: 7 Comforting Bites to Savor Today
- Total Time: 27 minutes
- Yield: 24 cookies 1x
- Diet: Vegetarian
Description
Delicious homemade milk cookies that are soft and chewy.
Ingredients
- 1 cup unsalted butter, softened
- 1 cup granulated sugar
- 1 cup brown sugar
- 2 large eggs
- 2 teaspoons vanilla extract
- 3 cups all-purpose flour
- 1 teaspoon baking soda
- 1/2 teaspoon salt
- 1 cup chocolate chips
- 1/2 cup milk
Instructions
- Preheat the oven to 350°F (175°C).
- In a bowl, cream together butter, granulated sugar, and brown sugar.
- Add eggs and vanilla extract, mix until combined.
- In another bowl, whisk together flour, baking soda, and salt.
- Gradually add the dry ingredients to the wet mixture.
- Fold in chocolate chips and milk.
- Drop spoonfuls of dough onto a baking sheet.
- Bake for 10-12 minutes or until edges are golden.
- Let cool before serving.
Notes
- Store cookies in an airtight container.
- Use dark chocolate chips for a richer flavor.
- Chill the dough for 30 minutes for thicker cookies.
- Prep Time: 15 minutes
- Cook Time: 12 minutes
- Category: Dessert
- Method: Baking
- Cuisine: American
Nutrition
- Serving Size: 1 cookie
- Calories: 150
- Sugar: 10g
- Sodium: 100mg
- Fat: 7g
- Saturated Fat: 4g
- Unsaturated Fat: 2g
- Trans Fat: 0g
- Carbohydrates: 20g
- Fiber: 1g
- Protein: 2g
- Cholesterol: 20mg
Keywords: milk cookies, homemade cookies, baking recipes