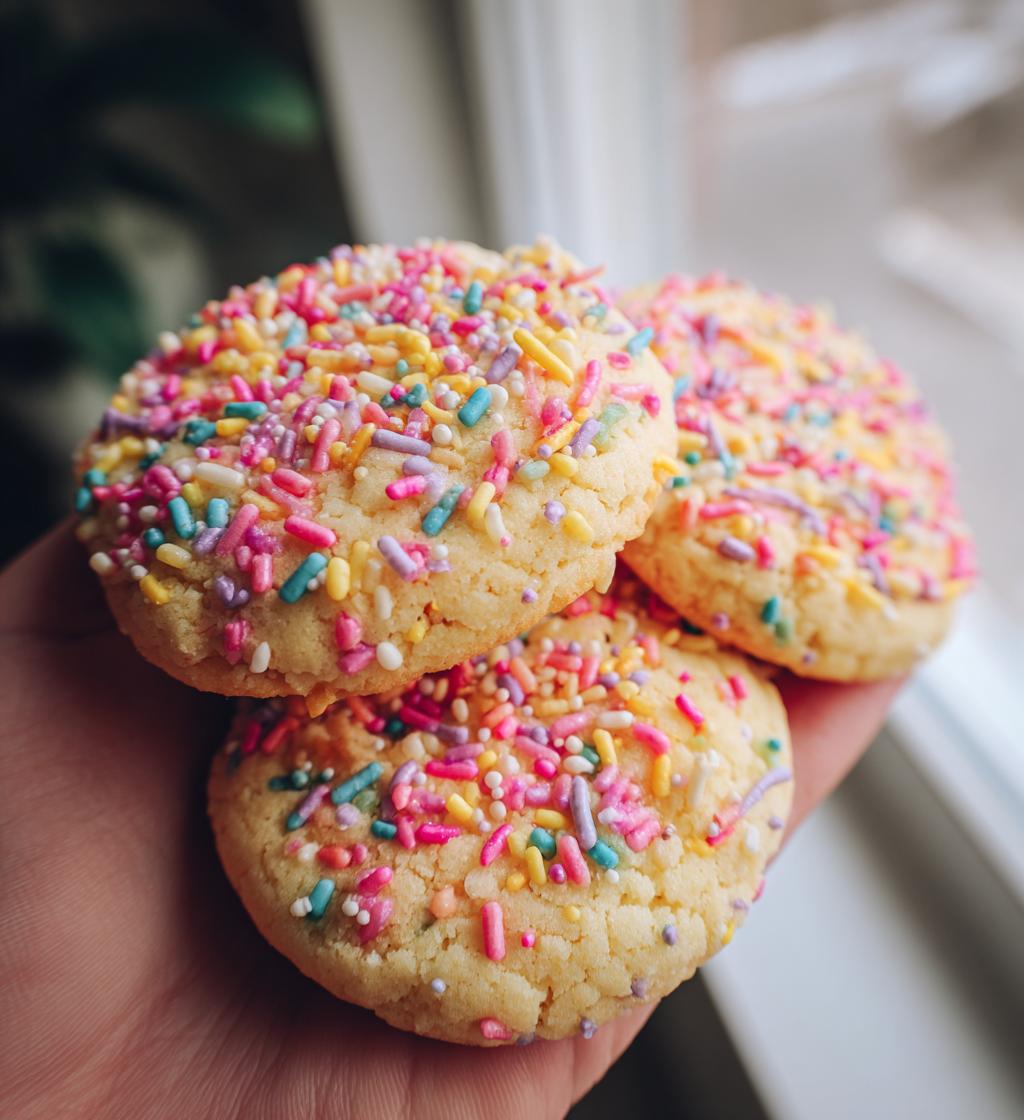
Ah, spring! The season of blooming flowers, fresh air, and, of course, the irresistible joy of baking! I can still remember the thrill of waking up to chirping birds and the smell of blooming lilacs. It always inspired me to whip up a batch of my favorite *spring cookies* as a way to celebrate the new season. These cookies are like little bites of sunshine – they’re colorful, cheerful, and absolutely delightful to share.
Every time I bake them, I think back to those sunny afternoons spent in the kitchen with my kids, covered in flour and laughter. We’d mix the dough, sprinkle in vibrant colors, and sneak bites of the raw dough when no one was looking (shh!). The best part? Watching them transform in the oven, puffing up and turning golden around the edges. These *spring cookies* are perfect for any occasion, whether it’s a family picnic or a garden party with friends. They’re not just cookies; they’re a celebration of the season. Trust me, once you bake these, you’ll be hooked!
Ingredients List
To whip up these delightful *spring cookies*, you’ll need the following ingredients. Each one plays a crucial role in creating that perfect balance of sweetness and texture:
- 2 cups all-purpose flour
- 1 cup granulated sugar
- 1/2 cup unsalted butter, softened
- 1 egg
- 1 teaspoon vanilla extract
- 1/2 teaspoon baking powder
- 1/4 teaspoon salt
- 1 cup colorful sprinkles
Make sure to have everything measured out before you start — it makes the baking process so much smoother! Happy baking!
How to Prepare *Spring Cookies*
Getting those delightful *spring cookies* ready is a breeze! Just follow these simple steps, and you’ll have a batch of colorful cookies that will brighten any occasion.
Step-by-Step Instructions
First things first, preheat your oven to 350°F (175°C). This is crucial because a properly preheated oven ensures even baking. While that’s warming up, let’s get our ingredients mixed!
In a large mixing bowl, cream together the softened unsalted butter and granulated sugar. Use a hand mixer or a sturdy wooden spoon to beat them until the mixture is light and fluffy, about 2-3 minutes. You’ll know it’s ready when it looks pale and airy. Next, add in the egg and vanilla extract, mixing well until fully combined.
Now, grab another bowl and whisk together the all-purpose flour, baking powder, and salt. This step helps evenly distribute the leavening agent and salt throughout the flour. Gradually add this dry mixture to your wet ingredients, stirring gently until just combined. Be careful not to overmix; a few flour streaks are okay!
Here’s the fun part: fold in those colorful sprinkles! They’re what make these cookies so festive and fun. Using a spatula, gently incorporate them into the dough.
Now, drop spoonfuls of the dough onto a baking sheet lined with parchment paper, leaving some space between each cookie. Bake them in your preheated oven for 10-12 minutes or until the edges are lightly golden. Keep an eye on them; every oven is a little different!
Once baked, let them cool on the baking sheet for a few minutes before transferring them to a wire rack to cool completely. And voila! Your *spring cookies* are ready to be devoured!
Tips for Success
To ensure your cookies turn out perfect every time, here are a few tips I swear by:
- Room Temperature Ingredients: Make sure the butter is softened and your egg is at room temperature. This helps create a smooth batter and ensures even baking.
- Don’t Overmix: When combining the dry and wet ingredients, mix gently until just combined. Overmixing can lead to tough cookies, and nobody wants that!
- Chill the Dough (Optional): If you have time, chill the dough for about 30 minutes before baking. This helps the cookies hold their shape and enhances the flavors.
- Watch Baking Time: Keep an eye on your cookies as they bake. The perfect *spring cookie* should be slightly soft in the center but set around the edges. If they’re too golden, they may be overbaked.
- Experiment with Add-Ins: Feel free to swap out the sprinkles for chocolate chips, nuts, or dried fruit for a twist on the classic recipe!
With these tips, you’ll be well on your way to creating the most delightful *spring cookies* that will impress everyone!
Nutritional Information
When it comes to enjoying my *spring cookies*, knowing their nutritional content can be helpful, but keep in mind that these values can vary based on the specific ingredients and brands you use. Here’s a general idea of what to expect per cookie:
- Calories: 120
- Fat: 5g
- Saturated Fat: 3g
- Unsaturated Fat: 2g
- Trans Fat: 0g
- Cholesterol: 15mg
- Sodium: 50mg
- Carbohydrates: 18g
- Sugar: 10g
- Fiber: 0g
- Protein: 1g
These values are approximate and can change depending on how you choose to customize your cookies or which brands you select. It’s always a good idea to check your labels if you’re closely monitoring your nutrition! Enjoy your baking adventure!
FAQ Section
Got questions about making those delightful *spring cookies*? You’re not alone! Here are some common inquiries I often hear, along with my best tips to help you out:
Can I use different types of sprinkles?
Absolutely! While colorful sprinkles add a festive touch, feel free to swap them out for chocolate chips, chopped nuts, or even dried fruit. Just keep in mind that the texture and flavor will change a bit, but it’s all about what you love!
How should I store my *spring cookies*?
To keep your cookies fresh, store them in an airtight container at room temperature. They should last about a week, but trust me, they’ll probably be gone before that! If you want to keep them longer, you can freeze them for up to three months. Just make sure to layer them with parchment paper to prevent sticking.
Can I make the dough ahead of time?
You can definitely prepare the dough in advance! Just wrap it tightly in plastic wrap and refrigerate it for up to two days. When you’re ready to bake, let it sit at room temperature for about 10-15 minutes before scooping and baking.
What’s the best way to decorate my cookies?
If you want to amp up the cuteness factor, consider icing your *spring cookies*! A simple glaze made from powdered sugar and a splash of milk works wonders. You can add food coloring or even lemon zest for a nice twist. Just let the cookies cool completely before decorating to avoid any melty mess!
What if my cookies spread too much while baking?
If your cookies spread a little too much, it could be due to warm ingredients or overmixing the dough. To fix this, try chilling the dough for about 30 minutes before baking. It helps the cookies hold their shape and gives you those lovely, thick cookies we all adore!
With these tips in hand, you’ll be a *spring cookie* pro in no time! Happy baking!
Why You’ll Love This Recipe
Trust me, once you try making these *spring cookies*, you’ll understand why they’re a must-bake! Here are just a few reasons why this recipe has a special place in my heart:
- Quick Preparation: With just 15 minutes of prep time, you can have these delightful cookies ready to bake! Perfect for when you need a sweet treat in a hurry.
- Easy to Make: The straightforward steps mean that even beginner bakers can create these cookies with confidence. No fancy techniques required!
- Festive Appeal: Those colorful sprinkles make these cookies a cheerful addition to any gathering, whether it’s a spring picnic or a birthday party. They’re sure to bring smiles!
- Customizable: Feel free to swap out the sprinkles for your favorite add-ins like chocolate chips or nuts. Each batch can be a new adventure!
- Perfect for Sharing: These cookies are ideal for sharing with friends and family. Make a batch and watch them disappear in no time!
With all these wonderful reasons, you’ll find that baking *spring cookies* isn’t just about enjoying a sweet treat; it’s about creating memories and celebrating the season’s joy!
Storage & Reheating Instructions
After you’ve baked your delightful *spring cookies*, it’s important to store them properly to keep them as fresh and delicious as the day they came out of the oven! Here’s how to do it:
First, let your cookies cool completely on a wire rack to avoid any sogginess. Once they’re cool, transfer them to an airtight container. I like to layer sheets of parchment paper between the cookies to keep them from sticking together. This simple trick helps maintain their lovely texture!
If you plan to enjoy your *spring cookies* within a week, storing them at room temperature is just fine. But if you want to save them for later, you can pop them in the freezer! Just make sure they’re well-wrapped in plastic wrap or stored in a freezer-safe container. They’ll stay good for up to three months. When you’re ready for a cookie fix, simply take them out and let them thaw at room temperature – easy peasy!
As for reheating, if you prefer your cookies warm (who doesn’t?), you can pop them in the microwave for about 10-15 seconds. Just be careful not to overheat them, or you might end up with a chewy texture instead of that perfect soft bite. If you’re using an oven, preheat it to 350°F (175°C) and warm the cookies for about 5 minutes. This method brings back that freshly baked taste!
With these tips, your *spring cookies* will stay delightful and ready to enjoy whenever the craving strikes. Happy snacking!
Serving Suggestions
Now that you’ve baked those scrumptious *spring cookies*, it’s time to think about how to enjoy them to the fullest! These cookies are perfect for a variety of occasions, and I’ve got some delightful serving suggestions to elevate your cookie experience:
- Garden Parties: Picture this: a sunny afternoon, vibrant flowers blooming, and a plateful of colorful *spring cookies* to share with friends. They’re the ideal treat for outdoor gatherings, adding a cheerful touch to any picnic or brunch.
- Tea Time: Serve your *spring cookies* alongside a variety of teas for a lovely afternoon pick-me-up. The sweetness of the cookies pairs beautifully with green or herbal teas, making for a cozy and relaxing moment.
- Birthday Celebrations: Whether it’s a child’s birthday party or a spring-themed celebration, these cookies can be a fun addition to the dessert table. You can even decorate them with icing to match your party theme!
- Potluck Dishes: Bring a batch of your *spring cookies* to your next potluck, and watch them disappear! They’re easy to transport and guaranteed to put a smile on everyone’s face.
- Gift Giving: Consider packaging these cookies in cute bags or boxes tied with a colorful ribbon. They make a delightful homemade gift for friends or neighbors, especially during holidays or just because!
With these suggestions, you’ll find that your *spring cookies* can shine in so many delightful ways. So go ahead, share the joy, and let those cookies bring a little sunshine to everyone around you!
Print
spring cookies: 5 Sweet Ways to Celebrate the Season
- Total Time: 27 minutes
- Yield: 24 cookies 1x
- Diet: Vegetarian
Description
Delicious spring-themed cookies perfect for any occasion.
Ingredients
- 2 cups all-purpose flour
- 1 cup granulated sugar
- 1/2 cup unsalted butter, softened
- 1 egg
- 1 teaspoon vanilla extract
- 1/2 teaspoon baking powder
- 1/4 teaspoon salt
- 1 cup colorful sprinkles
Instructions
- Preheat your oven to 350°F (175°C).
- In a bowl, cream together the butter and sugar until light and fluffy.
- Add the egg and vanilla extract, mixing well.
- In another bowl, combine the flour, baking powder, and salt.
- Gradually add the dry ingredients to the wet ingredients, mixing until combined.
- Fold in the sprinkles.
- Drop spoonfuls of dough onto a baking sheet lined with parchment paper.
- Bake for 10-12 minutes or until edges are lightly golden.
- Let cool on the baking sheet for a few minutes before transferring to a wire rack.
Notes
- Store cookies in an airtight container.
- These cookies can be decorated with icing for extra flair.
- Feel free to substitute sprinkles with chocolate chips or nuts.
- Prep Time: 15 minutes
- Cook Time: 12 minutes
- Category: Dessert
- Method: Baking
- Cuisine: American
Nutrition
- Serving Size: 1 cookie
- Calories: 120
- Sugar: 10g
- Sodium: 50mg
- Fat: 5g
- Saturated Fat: 3g
- Unsaturated Fat: 2g
- Trans Fat: 0g
- Carbohydrates: 18g
- Fiber: 0g
- Protein: 1g
- Cholesterol: 15mg
Keywords: spring cookies, seasonal cookies, dessert recipes