There’s something absolutely magical about making crispy chicken spring rolls at home! The joy of biting into that crunchy exterior, only to find a burst of freshness from tender chicken and vibrant veggies inside, is just unbeatable. I remember the first time I tried making these; I was in college, and my friends and I decided to have an Asian-inspired night. We gathered in the kitchen, laughter filling the air as we rolled our spring rolls, getting flour everywhere. Trust me, the first bite was pure bliss, and we couldn’t stop raving about how much they tasted like the ones from our favorite local restaurant.
What I love most about these spring rolls is their versatility! You can fill them with whatever fresh ingredients you have on hand. Plus, they’re surprisingly easy to whip up! So, if you’re ready for a crunchy snack that’s bursting with flavor and freshness, let’s dive into this simple and delightful recipe for chicken spring rolls!
Ingredients List
To create these delicious crispy chicken spring rolls, you’ll need the following fresh ingredients:
- 1 cup shredded chicken (I love using leftover rotisserie chicken for added flavor!)
- 1 cup shredded carrots (freshly shredded gives the best crunch)
- 1 cup bean sprouts (adds a nice crunch and texture)
- 1/2 cup chopped green onions (for a burst of fresh flavor)
- 1 package spring roll wrappers (you can find these in the refrigerated section of your grocery store)
- 2 tablespoons soy sauce (for that umami kick!)
- 1 tablespoon sesame oil (adds a wonderful nutty flavor)
- Oil for frying (vegetable or canola oil works great)
These ingredients come together to create a spring roll that’s not only crispy but also loaded with fresh flavors! Make sure to gather everything before you start so you can enjoy the process!
How to Prepare Instructions
Making these crispy chicken spring rolls is a fun and simple process! Let’s break it down step by step, so you can enjoy these delicious bites in no time!
Preparing the Filling
First things first, let’s get that filling ready! In a large mixing bowl, combine the shredded chicken, shredded carrots, bean sprouts, and chopped green onions. The fresh veggies add such a delightful crunch! Then, drizzle in the soy sauce and sesame oil. The soy sauce brings a savory depth, while the sesame oil adds that lovely nutty flavor that ties everything together. Mix everything well until it’s evenly combined. I like to use my hands for this part; it feels more personal, like you’re really getting in there!
Wrapping the Spring Rolls
Now, let’s wrap these babies up! Start by laying a spring roll wrapper on a clean, flat surface, pointing one corner toward you, like a diamond shape. Take about 2 tablespoons of your filling mixture and place it in the center of the wrapper. Fold the bottom corner up over the filling, tucking it in snugly. Next, fold the sides over the filling, kind of like you’re making a little envelope. Then, roll it tightly from the bottom up to the top corner. To seal the edge, just dab a bit of water on it to make sure it sticks. Don’t worry if you don’t get it perfect on your first try; practice makes perfect!
Frying the Spring Rolls
Alright, it’s frying time! Grab a large pan and pour in enough oil to cover the bottom, about an inch deep. Heat the oil over medium heat until it’s hot but not smoking—this usually takes about 5-7 minutes. You can test if it’s ready by dropping in a small piece of leftover wrapper; if it sizzles, you’re good to go! Carefully add the spring rolls to the hot oil, making sure not to overcrowd the pan. Fry them for about 3-4 minutes on each side, or until they’re golden brown and crispy. Use a slotted spoon to transfer them to a plate lined with paper towels to drain any excess oil. This step is crucial—nobody wants soggy spring rolls!
And voilà! You’ve just made a batch of crispy chicken spring rolls that are sure to impress!
Nutritional Information
When it comes to enjoying these crispy chicken spring rolls, it’s nice to know what you’re putting into your body! Here’s an estimated breakdown of the nutritional values for these delightful bites:
- Serving Size: 2 spring rolls
- Calories: 250
- Fat: 12g
- Saturated Fat: 2g
- Unsaturated Fat: 8g
- Trans Fat: 0g
- Sodium: 300mg
- Sugar: 2g
- Carbohydrates: 30g
- Fiber: 2g
- Protein: 10g
- Cholesterol: 40mg
Keep in mind that these values are estimates and can vary based on the specific ingredients you use. But isn’t it nice to know that you can enjoy a tasty snack that also packs a decent amount of protein and fiber? Enjoy your spring rolls guilt-free!
Why You’ll Love This Recipe
- Quick Prep Time: With just 20 minutes of prep, you can whip up a delicious snack or appetizer that’s perfect for any occasion!
- Crispy Texture: These spring rolls deliver that satisfying crunch with every bite, making them a hit at parties or family gatherings.
- Versatility with Fillings: Feel free to get creative! You can customize the filling with whatever fresh vegetables, proteins, or even spices you have on hand.
- Gluten-Free Option: By choosing gluten-free spring roll wrappers, you can easily cater to dietary restrictions without sacrificing flavor!
Tips for Success
Ready to take your crispy chicken spring rolls to the next level? Here are my top pro tips to ensure you get perfect results every time!
Check the Oil Temperature
One of the biggest secrets to perfectly crispy spring rolls is ensuring your oil is at the right temperature. If it’s too cool, your rolls will soak up oil and become greasy. If it’s too hot, they’ll burn on the outside before the inside gets a chance to cook. I like to test it by dropping in a small piece of wrapper; if it sizzles immediately, you’re good to go!
Don’t Overcrowd the Pan
When frying, give your spring rolls some space! If you overcrowd the pan, they’ll steam instead of fry, resulting in a soggier texture. Fry them in batches if necessary, and make sure to keep an eye on them as they cook to achieve that golden perfection.
Experiment with Fillings
While chicken is absolutely delicious, don’t be afraid to switch things up! You can use shrimp, tofu, or even a medley of your favorite vegetables like bell peppers, zucchini, or spinach. Just remember to adjust the seasoning and cooking time accordingly. Each variation brings its own unique flavor!
Seal with Confidence
When wrapping your spring rolls, make sure to seal them well. A little water goes a long way! If you’re worried about them unrolling during frying, you can brush the edges with a bit of cornstarch mixed with water to create a stronger seal. This ensures your delicious filling stays put!
Serve Fresh
These spring rolls are best served immediately after frying. If you need to make them ahead of time, you can prepare the filling and wrap them, then store them in the fridge for a few hours before frying. Just remember, they’ll lose some of that fabulous crunch if left sitting too long!
With these tips in your back pocket, you’ll be a spring roll pro in no time! Happy frying!
Variations
One of the best things about making crispy chicken spring rolls is the endless possibilities for variations! Seriously, you can get as creative as you want, and each twist brings a whole new flavor experience.
First up, why not switch out the chicken for shrimp? Just sauté some peeled and deveined shrimp with a bit of garlic and ginger for an extra burst of flavor. You’ll get that lovely seafood taste that pairs perfectly with fresh vegetables.
If you’re looking for a vegetarian option, try using tofu as your protein. Just make sure to press the tofu to remove excess moisture, then cube it and toss it in soy sauce before mixing it with your veggies. You can also add some mushrooms for that umami kick!
Feeling adventurous? Add some spices to your filling! A sprinkle of chili flakes or a dash of sriracha will spice things up. You can even mix in some fresh herbs like cilantro or basil for a fragrant twist. Trust me, the aromatic herbs take these spring rolls to the next level!
And don’t forget about the veggies! You can swap out the bean sprouts for thinly sliced bell peppers or zucchini, or even throw in some cabbage for extra crunch. The key is to keep everything fresh and colorful!
With these variations, you can tailor your spring rolls to your taste and make them special for every occasion. So go ahead and mix it up—your taste buds will thank you!
Serving Suggestions
Now that you’ve mastered making these crispy chicken spring rolls, let’s talk about how to elevate your meal experience with some delightful accompaniments! Trust me, the right sides can take your spring rolls from delicious to absolutely divine!
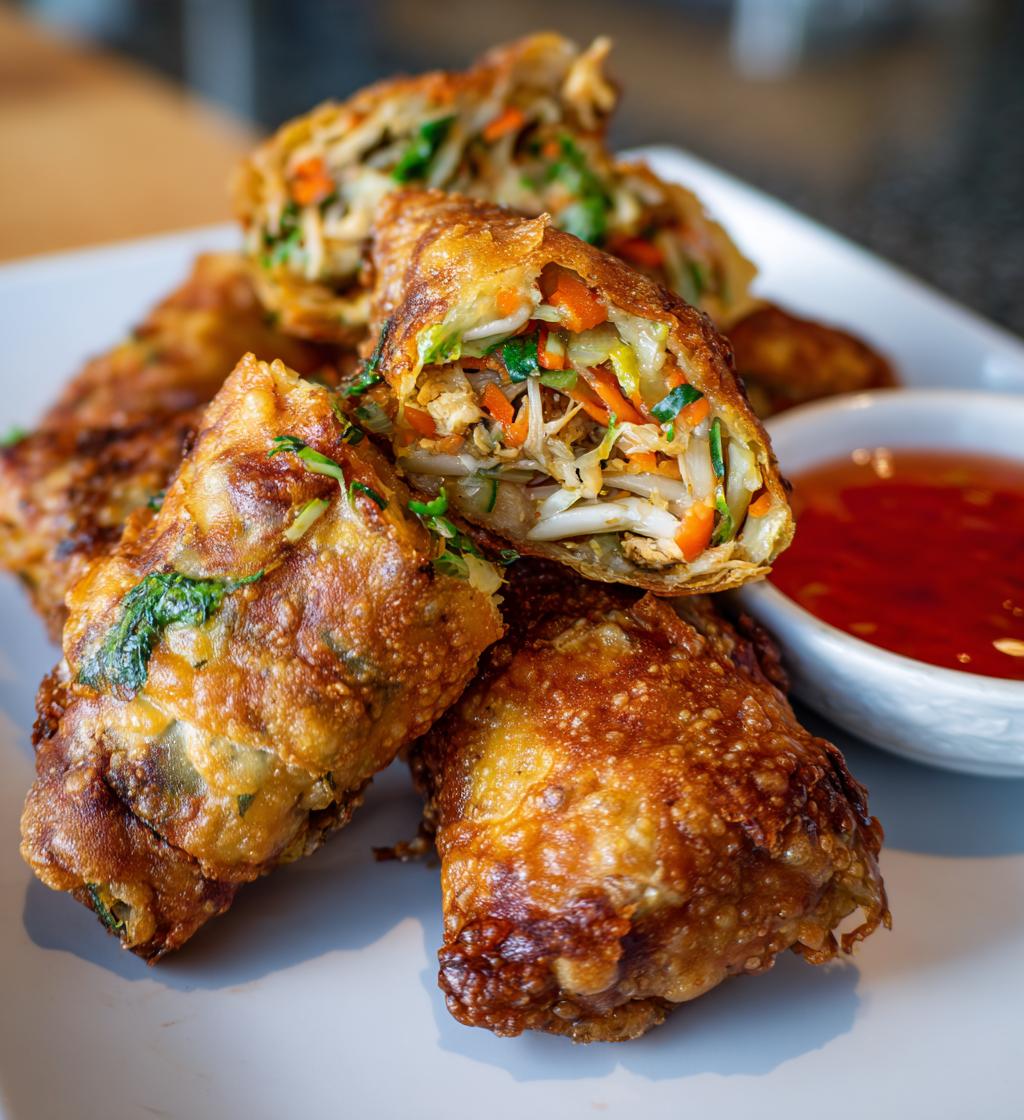
First up, you can’t go wrong with a classic sweet chili sauce. Its sweet and slightly spicy kick perfectly complements the savory flavors of the spring rolls. Just a little drizzle or a side for dipping makes each bite even more enjoyable!
If you’re looking for something fresh, how about serving your spring rolls with a vibrant fresh salad? A light mix of greens, cucumber, and maybe some shredded carrots tossed with a tangy vinaigrette adds a refreshing crunch that pairs beautifully with the crispy rolls.
Another fantastic option is to whip up a dipping sauce made from soy sauce, rice vinegar, and a splash of sesame oil. This simple blend enhances the flavors and adds an extra layer of deliciousness to every bite.
Feeling a bit more adventurous? Try serving your spring rolls with a side of pickled vegetables! The tangy crunch of pickled carrots, radishes, and cucumbers provides a delightful contrast to the rich, crispy rolls. Plus, it adds a pop of color to your plate!
And let’s not forget about herbs! A sprinkle of fresh cilantro or mint on top can bring a refreshing herbal note that brightens up the dish. These little touches really make a difference!
With these serving suggestions, your homemade crispy chicken spring rolls will be the star of the meal. Enjoy the flavorful combinations and happy eating!
Storage & Reheating Instructions
So, you’ve made a delicious batch of crispy chicken spring rolls, and now you have some leftovers? Don’t worry, I’ve got you covered on how to store and reheat them so they stay as delightful as when they were first made!
First things first, let your spring rolls cool completely before storing them. This helps prevent condensation from forming, which can make them soggy. Once cooled, you can place them in an airtight container, separating layers with parchment paper to keep them from sticking together. If you’re planning to store them for more than a day or two, I recommend wrapping each spring roll individually in plastic wrap before placing them in the container. This extra step helps keep them crispy!
Now, let’s talk reheating. The key to keeping that glorious crunch is to avoid the microwave if you can. Instead, preheat your oven to 375°F (190°C). Place the spring rolls on a baking sheet lined with parchment paper and heat them for about 10-15 minutes, or until they’re warmed through and crispy again. This method allows the outer layer to crisp up nicely without drying out the filling.
If you’re in a hurry, you can also pan-fry them briefly in a bit of oil over medium heat. Just a couple of minutes on each side should do the trick! This method brings back that delightful crunch but requires a bit more attention to avoid burning.
And there you have it! With these storage and reheating tips, you can enjoy your crispy chicken spring rolls even days after making them. Happy snacking!
Print
spring rolls chicken: 7 Reasons You’ll Crave This Recipe
- Total Time: 30 minutes
- Yield: 12 spring rolls 1x
- Diet: Gluten Free
Description
Crispy chicken spring rolls filled with fresh vegetables.
Ingredients
- 1 cup shredded chicken
- 1 cup shredded carrots
- 1 cup bean sprouts
- 1/2 cup chopped green onions
- 1 package spring roll wrappers
- 2 tablespoons soy sauce
- 1 tablespoon sesame oil
- Oil for frying
Instructions
- In a bowl, mix chicken, carrots, bean sprouts, green onions, soy sauce, and sesame oil.
- Place a spring roll wrapper on a clean surface.
- Put 2 tablespoons of the mixture on the wrapper.
- Fold the sides of the wrapper over the filling.
- Roll the wrapper tightly from the bottom up.
- Seal the edge with a bit of water.
- Heat oil in a pan over medium heat.
- Fry the spring rolls until golden brown on all sides.
- Remove and drain on paper towels.
Notes
- Serve with sweet chili sauce.
- Can substitute vegetables as desired.
- Ensure oil is hot enough to avoid sogginess.
- Prep Time: 20 minutes
- Cook Time: 10 minutes
- Category: Appetizer
- Method: Frying
- Cuisine: Asian
Nutrition
- Serving Size: 2 spring rolls
- Calories: 250
- Sugar: 2g
- Sodium: 300mg
- Fat: 12g
- Saturated Fat: 2g
- Unsaturated Fat: 8g
- Trans Fat: 0g
- Carbohydrates: 30g
- Fiber: 2g
- Protein: 10g
- Cholesterol: 40mg
Keywords: spring rolls chicken, chicken spring rolls, crispy spring rolls