There’s something magical about baking thumbprint cookies that just warms the heart, isn’t there? The moment you pop those little rounds in the oven, the sweet aroma fills your kitchen, and you can’t help but smile. This *thumbprint cookies recipe* is not just simple; it’s deliciously nostalgic for me. I remember the first time I made these cookies for a family gathering—my younger cousin, who had never tried them before, practically inhaled them! She declared them her new favorite, and I felt like a baking rock star. These cookies are perfect for any occasion, whether it’s a cozy family get-together or a festive holiday celebration. They bring everyone together, and what’s better than bonding over scrumptious, jam-filled treats? Plus, they’re so easy to whip up! Trust me, once you try this recipe, you’ll be hooked on making these delightful little bites time and time again, each batch filled with love and laughter. So, let’s get those ovens preheated, and I’ll show you how to make the best thumbprint cookies ever!
Ingredients List
- 1 cup unsalted butter, softened
- 1 cup granulated sugar
- 2 cups all-purpose flour
- 1/2 teaspoon salt
- 1 teaspoon vanilla extract
- 1/2 cup fruit preserves or jam (any flavor you love!)
How to Prepare Instructions
Let’s get started on these delightful thumbprint cookies! First, preheat your oven to 350°F (175°C). This step is crucial because you want your cookies to bake evenly and come out perfectly golden.
Now, grab a mixing bowl and cream together the softened butter and granulated sugar until the mixture is smooth and fluffy. I like to use a hand mixer for this, but a good old wooden spoon works just fine too! Once it’s nice and creamy, mix in that lovely vanilla extract. The aroma will make your kitchen smell divine!
Next, gradually add in the flour and salt, mixing until everything is just combined. Don’t overmix – we want tender cookies, not tough ones! Once your dough comes together, it’s time to shape it. Scoop out small amounts of dough and roll them into balls, about 1 inch in diameter, and place them on a baking sheet lined with parchment paper.
Here comes the fun part! Use your thumb (or the back of a spoon if you prefer) to make an indentation in the center of each ball. Be generous with the space because we’re filling them with delicious fruit preserves! Now, spoon a little bit of your favorite jam into each thumbprint.
Pop the baking sheet in the preheated oven and bake for 12-15 minutes. You’ll know they’re ready when the edges are lightly golden. Let them cool for a few minutes on the baking sheet before transferring them to a wire rack to cool completely. Enjoy these sweet little bites of joy!
Why You’ll Love This Recipe
- Simplicity: This thumbprint cookies recipe is incredibly easy to follow, making it perfect for bakers of all skill levels. You’ll be amazed at how quickly you can whip up a batch!
- Delicious Flavor: The combination of buttery goodness and sweet fruit preserves creates a delightful burst of flavor in every bite. Each cookie is a little taste of happiness!
- Versatility: You can customize these cookies with any jam or preserves you love, from classic raspberry to exotic mango. Feel free to experiment with flavors to find your perfect match!
- Fun for Everyone: Making thumbprint cookies is a fun activity to share with family and friends, especially when it comes to filling those indents with your favorite jams!
- Perfect for Any Occasion: Whether it’s a holiday gathering, a bake sale, or just a cozy evening at home, these cookies are the ideal treat to share and enjoy.
Tips for Success
To ensure your thumbprint cookies turn out perfectly every time, here are some handy tips! First, consider chilling the dough for about 30 minutes before rolling it into balls. This step makes it easier to handle and helps the cookies keep their shape while baking.
When making those signature indentations, use your thumb gently but firmly, aiming for a nice, even dip that’s deep enough to hold a good amount of jam. Remember, the more jam, the better!
Speaking of jam, choose high-quality fruit preserves or homemade jam if you can. The flavor really shines through, and you can experiment with different varieties like apricot or blackberry for a delightful twist. Trust me, once you nail these tips, you’ll be on your way to baking the most scrumptious thumbprint cookies ever!
Variations
One of the best things about thumbprint cookies is how easily you can customize them! For a fun twist, why not swap out the fruit preserves for some rich chocolate ganache or creamy nut butter? Just imagine a chocolate-filled thumbprint—pure bliss! You could even try peanut butter or almond butter for a nutty flavor that pairs beautifully with the buttery cookie base.
If you’re feeling adventurous, consider adding different flavorings to the dough itself. A touch of almond extract can elevate the taste, or you might add a bit of citrus zest for a refreshing zing. Lemon or orange zest will add a delightful brightness to your cookies!
Don’t forget to experiment with toppings as well! Sprinkle some chopped nuts or coconut flakes on top of the jam before baking for an extra crunch. The possibilities are endless, so let your imagination run wild and create your own signature thumbprint cookie!
Storage & Reheating Instructions
To keep your delicious thumbprint cookies fresh, store them in an airtight container at room temperature. They’ll stay tasty for about a week, but I doubt they’ll last that long—they’re just too irresistible! If you want to keep them for longer, you can freeze them. Just make sure they’re completely cooled, then place them in a single layer in a freezer-safe bag or container. They can last up to three months in the freezer.
When you’re ready to enjoy them again, there’s no need to thaw—just pop them in a preheated oven at 350°F (175°C) for about 5-7 minutes to warm them up. This little trick brings back that fresh-baked taste and makes the jam a bit gooey again. Perfect for a cozy treat anytime! Enjoy every last crumb!
Nutritional Information Section
When it comes to thumbprint cookies, it’s nice to have an idea of what’s in those delightful little bites! Each cookie packs about 120 calories, making them a sweet treat without going overboard.
Here’s a quick breakdown of the estimated nutritional values per cookie:
- Calories: 120
- Fat: 7g
- Saturated Fat: 4g
- Trans Fat: 0g
- Cholesterol: 20mg
- Sodium: 50mg
- Carbohydrates: 12g
- Fiber: 0g
- Sugar: 8g
- Protein: 1g
Keep in mind, these values are estimates and can vary based on the specific ingredients you choose. But hey, a little indulgence is part of the fun, right? Enjoy your cookies!
FAQ Section
Got questions about this thumbprint cookies recipe? Don’t worry, I’ve got you covered! Here are some of the most common queries I get:
Q1: Can I use different types of jam for the thumbprint cookies?
Absolutely! The beauty of this recipe lies in its versatility. You can use any flavor of fruit preserves or jam that tickles your taste buds. Raspberry, strawberry, apricot, or even lemon curd—go wild!
Q2: What if I don’t have unsalted butter?
If you only have salted butter, just reduce the amount of added salt in the recipe to about 1/4 teaspoon to keep the flavor balanced. It’ll still work like a charm!
Q3: How can I make sure my cookies don’t spread too much?
Chilling the dough for about 30 minutes before shaping it into balls can help maintain their shape in the oven. This step is key for those perfectly puffed thumbprint cookies!
Q4: Can I make the dough ahead of time?
Yes! You can prepare the dough in advance, wrap it tightly, and refrigerate it for up to 3 days. Just remember to let it sit at room temperature for a few minutes before rolling it into balls.
Q5: How should I store leftover thumbprint cookies?
Store them in an airtight container at room temperature for up to a week. If you want to keep them longer, freeze them as mentioned earlier. They’re so good, you might want to keep some for later!

Thumbprint Cookies Recipe: 5 Steps to Pure Joy
- Total Time: 35 minutes
- Yield: 24 cookies 1x
- Diet: Vegetarian
Description
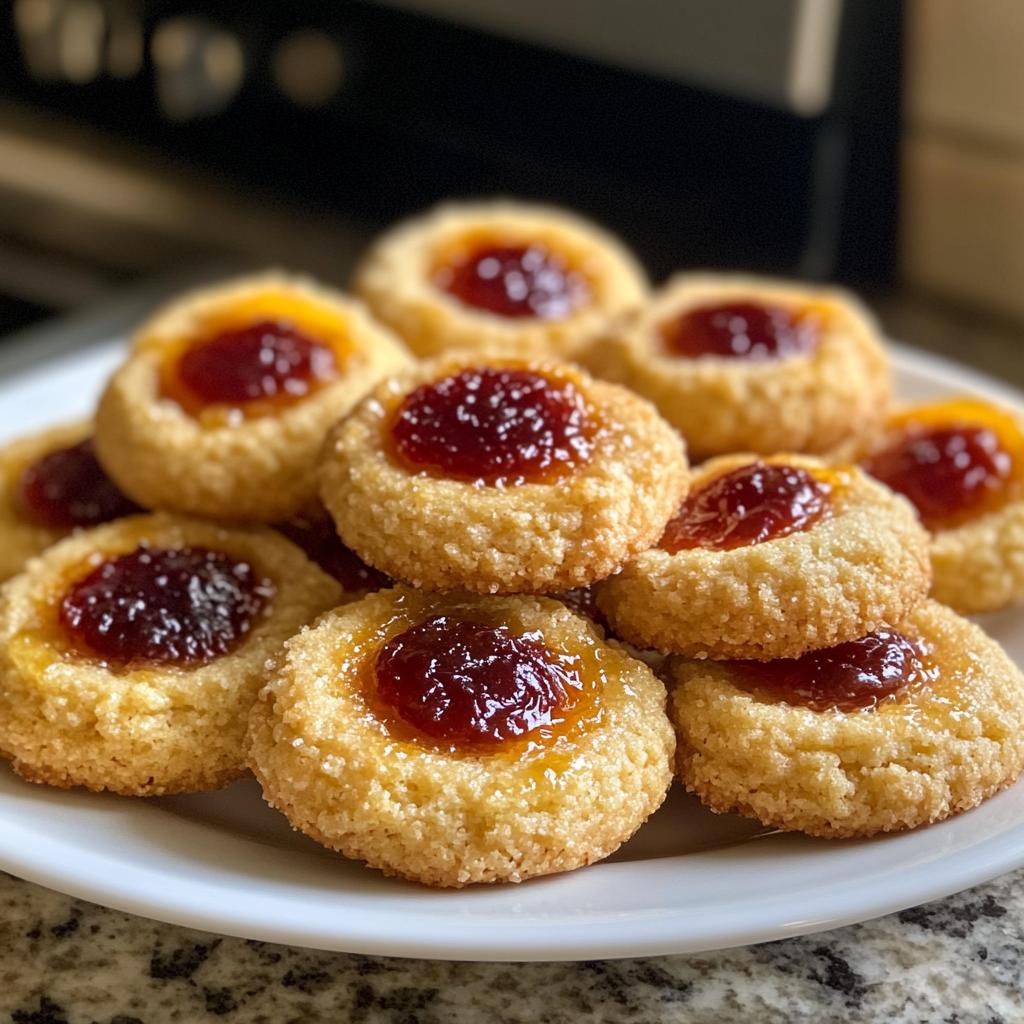
A simple and delicious thumbprint cookies recipe.
Ingredients
- 1 cup unsalted butter, softened
- 1 cup granulated sugar
- 2 cups all-purpose flour
- 1/2 teaspoon salt
- 1 teaspoon vanilla extract
- 1/2 cup fruit preserves or jam
Instructions
- Preheat your oven to 350°F (175°C).
- In a bowl, cream together the butter and sugar until smooth.
- Mix in the vanilla extract.
- Gradually add the flour and salt, mixing until combined.
- Shape the dough into small balls and place them on a baking sheet.
- Use your thumb to make an indentation in the center of each ball.
- Fill each indentation with fruit preserves.
- Bake for 12-15 minutes until the edges are lightly golden.
Notes
- Store cookies in an airtight container.
- You can use any flavor of jam you like.
- Chill the dough for 30 minutes for easier handling.
- Prep Time: 20 minutes
- Cook Time: 15 minutes
- Category: Dessert
- Method: Baking
- Cuisine: American
Nutrition
- Serving Size: 1 cookie
- Calories: 120
- Sugar: 8g
- Sodium: 50mg
- Fat: 7g
- Saturated Fat: 4g
- Unsaturated Fat: 2g
- Trans Fat: 0g
- Carbohydrates: 12g
- Fiber: 0g
- Protein: 1g
- Cholesterol: 20mg
Keywords: thumbprint cookies recipe