There’s just something magical about the smell of homemade yeast cinnamon rolls wafting through the house, isn’t there? Whenever I decide to make these delightful treats, it feels like a warm hug for the soul. I remember the first time I attempted this recipe; I was a bundle of nerves, but oh boy, the moment those rolls started rising, I knew I was onto something special. The fluffy texture and rich, buttery flavor are truly unmatched. Trust me, once you try making yeast cinnamon rolls homemade, you’ll never want to go back to store-bought!
What makes this recipe stand out is the perfect balance of sweet and spice, thanks to the warm cinnamon and brown sugar filling. Plus, the icing drizzled on top? Absolute perfection! I love how each bite is a delightful mix of soft dough and gooey sweetness. It’s perfect for cozy weekends or when you want to impress friends at brunch. So, gather your ingredients and let’s dive into this delicious experience together. You’ll be so glad you did!
Ingredients for Yeast Cinnamon Rolls Homemade
Before we get rolling (pun intended!), let’s gather everything you’ll need for these scrumptious yeast cinnamon rolls homemade. Here’s what you’ll want to have on hand:
- 4 cups all-purpose flour
- 1/2 cup granulated sugar
- 1 packet active dry yeast (make sure it’s fresh for the best rise!)
- 1 cup warm milk (not too hot, just warm to the touch)
- 1/2 cup unsalted butter, melted
- 2 large eggs (room temperature works best)
- 1 teaspoon salt
- 1 tablespoon ground cinnamon
- 1/2 cup brown sugar (for that extra caramel-like flavor)
- 1 cup powdered sugar (for icing – because who can resist?)
- 2 tablespoons milk (for the icing drizzle)
Having all your ingredients prepped and measured before you start is a game changer. It makes the process so much smoother and helps ensure your rolls turn out perfectly every time. Trust me, you’ll want to savor every fluffy bite!
How to Prepare Yeast Cinnamon Rolls Homemade
Alright, let’s get down to the nitty-gritty of making these incredible yeast cinnamon rolls homemade! The process may seem a little daunting at first, but don’t worry; I’m here to guide you every step of the way. Just follow along, and you’ll have the most delightful rolls in no time!
Step-by-Step Instructions
- Activate the yeast: Start by combining the warm milk and the active dry yeast in a mixing bowl. Let it sit for about 5 minutes until it gets frothy. This step is super important—if your yeast doesn’t bubble, your rolls won’t rise!
- Mix wet ingredients: Once the yeast is ready, add in the granulated sugar, melted butter, eggs, and salt. Mix everything well until it’s nice and smooth. You can use a whisk or a hand mixer for this. It should look creamy and inviting!
- Add the flour: Gradually add the all-purpose flour, one cup at a time, mixing until a dough starts to form. Don’t rush this part; it’s all about that fluffy texture! You may not need all the flour, so keep an eye on the dough’s consistency.
- Knead the dough: Once your dough is formed, turn it out onto a lightly floured surface. Knead it for about 5-7 minutes until it’s smooth and elastic. You want it to feel soft but not sticky. If it sticks to your hands, sprinkle a little more flour as needed.
- First rise: Place your kneaded dough into a greased bowl, covering it with a clean kitchen towel. Let it rise in a warm place for about 1 hour, or until it has doubled in size. This is the time to start dreaming about those warm rolls!
- Prepare for rolling: After the dough has risen, punch it down gently to release the air. Roll it out on a floured surface into a rectangle—about 16 x 12 inches. Make it as even as possible; it’ll help with the filling later!
- Add the filling: Spread melted butter over the rolled-out dough, then sprinkle the brown sugar and ground cinnamon evenly across the top. Trust me, this is where the magic happens, and it smells heavenly!
- Roll it up: Starting from one long side, carefully roll the dough tightly into a log. Pinch the seam to seal it at the end. Now, slice the log into 12 even rolls. A sharp knife or unflavored dental floss works wonders here!
- Second rise: Place the rolls in a greased baking dish, making sure they’re close but not touching. Cover them with a towel again and let them rise for another 30 minutes. They’ll puff up beautifully, and the anticipation will be real!
- Bake: Preheat your oven to 350°F (175°C). Bake the rolls for 25-30 minutes, or until they’re golden brown on top. Keep an eye on them; you want them to be lightly browned, not overdone!
- Ice and serve: While the rolls cool slightly, mix the powdered sugar and 2 tablespoons of milk to create a smooth icing. Drizzle it over the warm rolls, and then get ready for the best part—enjoying them fresh out of the oven!
And there you have it! Each step is designed to bring out the best flavor and texture in your yeast cinnamon rolls homemade. Just remember, patience is key, and the results will be oh-so-worth it!
Why You’ll Love This Recipe
You’re going to fall head over heels for these yeast cinnamon rolls homemade, and here’s why they’re simply the best:
- Fluffy and Soft: The texture of these rolls is incredibly soft and airy, making each bite like a little cloud of cinnamon goodness.
- Easy to Make: Don’t let the idea of yeast intimidate you! This recipe is straightforward and perfect for both beginners and seasoned bakers alike.
- Incredible Flavor: The combination of warm cinnamon and sweet brown sugar creates a mouthwatering filling that’s simply irresistible.
- Perfect for Any Occasion: Whether it’s a cozy Sunday morning or a festive gathering, these rolls are a hit every time.
- Customizable: Feel free to add your favorite nuts or dried fruits to the filling, or top them with cream cheese icing for an extra indulgent treat!
- Made with Love: There’s something special about homemade treats that store-bought just can’t replicate. The joy of baking fills your home with warmth and happiness!
Trust me, once you’ve tried these rolls, you’ll be craving them again and again! They’re the kind of treat that brings people together and creates lasting memories.
Tips for Success
Now that you’re all set to make these delightful yeast cinnamon rolls homemade, let me share some of my favorite tips to ensure they turn out perfectly every single time. Trust me, these little nuggets of wisdom will make a big difference in your baking experience!
- Use Fresh Yeast: Always check the expiration date on your yeast packet. Fresh yeast ensures that your rolls rise beautifully. If it doesn’t foam when mixed with warm milk, it’s time to get a new packet!
- Warm Milk is Key: When warming the milk, aim for a temperature that’s just warm to the touch, like a cozy bath. Too hot, and it can kill the yeast; too cold, and it won’t activate properly.
- Don’t Skip the Kneading: Kneading is crucial for developing gluten, which gives the dough its structure. Aim for a smooth, elastic texture. If it’s sticky, add a little more flour, but avoid adding too much, or your rolls could turn out dense.
- Keep it Warm: For the best rise, find a warm spot for your dough. A sunny kitchen or near a preheated oven works wonders. If it’s chilly, you can even turn the oven on low for a few minutes, then turn it off and let the dough rise inside!
- Be Gentle with the Dough: When you punch down the dough after its first rise, do it gently. You want to release the air, but not completely flatten it. This preserves that fluffy texture we all love!
- Even Rolls Matter: When slicing your rolled dough, aim for even pieces. If one roll is larger than the others, it may bake differently. Use a sharp knife or unflavored dental floss for clean cuts!
- Check for Doneness: Keep an eye on your rolls while they bake. They should be golden brown on top, and if you tap the bottom, it should sound hollow. This is your cue that they’re done!
- Drizzle the Icing While Warm: Let the rolls cool slightly before icing, but drizzle while they’re still warm. This way, the icing melts just enough to seep into those fluffy layers, taking flavor to the next level!
With these tips in your back pocket, you’re ready to create the most amazing yeast cinnamon rolls homemade! Enjoy the process, and remember that every roll you bake is made with love. Happy baking!
Variations on Yeast Cinnamon Rolls Homemade
Now, let’s get a little creative with our yeast cinnamon rolls homemade! While the classic cinnamon and brown sugar combo is absolutely divine, there are so many fun ways to mix things up and surprise your taste buds. Here are some of my favorite variations that you can try:
- Nutty and Fruity: Add chopped nuts like pecans or walnuts into the filling for an extra crunch. You can even toss in some dried fruits like raisins or cranberries for a burst of sweetness that pairs beautifully with the cinnamon.
- Chocolate Lovers: If you’re a chocoholic like me, sprinkle some mini chocolate chips over the butter before rolling it up. The melty chocolate mixed with the cinnamon and sugar is pure bliss!
- Maple Twist: Swap out the brown sugar for maple sugar or drizzle some pure maple syrup into the filling. It adds a lovely depth of flavor that’s perfect for cozy mornings.
- Orange Zest Delight: Brighten up your rolls by adding a teaspoon of orange zest to the filling. It adds a refreshing twist that balances the sweetness and pairs beautifully with cinnamon.
- Cream Cheese Filling: For a tangy twist, whip up a quick cream cheese filling by mixing softened cream cheese with a bit of powdered sugar and vanilla. Spread this on the dough before rolling, and trust me, it’s heavenly!
- Glaze It Up: Instead of the classic icing, experiment with different glazes! A maple glaze or a lemon glaze can elevate the flavor profile and make your rolls even more irresistible.
Feel free to mix and match these ideas or even come up with your own unique twist! The beauty of baking is that you can let your creativity shine. No matter how you choose to alter the recipe, you can’t go wrong when making these delicious yeast cinnamon rolls homemade!
Storage & Reheating Instructions
Once you’ve baked these glorious yeast cinnamon rolls homemade, you might find yourself with a few leftovers (if you’re lucky!). Here’s how to keep them fresh and tasty for days, plus the best ways to reheat them when you’re ready to indulge again.
Storing Leftovers: Allow the rolls to cool completely before storing. Place them in an airtight container or wrap them tightly in plastic wrap. If you want to keep them extra fresh, pop them in the fridge. They’ll stay good for about 3-5 days, but let’s be honest—most likely, they won’t last that long!
If you want to save them for later, you can freeze the rolls before baking. Just wrap them tightly in plastic wrap and then place them in a freezer-safe bag. They can be frozen for up to 2 months. When you’re ready to bake, let them thaw in the fridge overnight, then let them rise for about 30 minutes before popping them in the oven.
Reheating: When you’re ready to enjoy your delicious cinnamon rolls again, the best way to reheat them is in the oven. Preheat your oven to 350°F (175°C) and place the rolls on a baking sheet. Cover them loosely with aluminum foil to prevent over-browning and heat for about 10-15 minutes, or until they’re warmed through and soft again.
If you’re in a hurry, you can also microwave them for about 20-30 seconds. Just be careful not to overdo it, or they might turn tough! A little drizzle of icing or a pat of butter before reheating can also give them that freshly baked feel.
With these storage and reheating tips, you’ll be able to savor every last bite of your homemade yeast cinnamon rolls without missing out on that warm, fluffy goodness!
Nutritional Information
As with any homemade recipe, the nutritional values can vary based on the specific ingredients and brands you use. While I strive to provide accurate information, please keep in mind that these values are approximate and may not reflect the exact nutritional content of your yeast cinnamon rolls homemade.
Here’s a typical breakdown per serving (1 roll):
- Calories: 250
- Sugar: 12g
- Sodium: 200mg
- Fat: 8g
- Saturated Fat: 5g
- Unsaturated Fat: 3g
- Trans Fat: 0g
- Carbohydrates: 38g
- Fiber: 1g
- Protein: 4g
- Cholesterol: 30mg
Enjoy these delicious rolls in moderation, and feel good knowing you baked them with love! Happy baking!
FAQ about Yeast Cinnamon Rolls Homemade
If you’re diving into the world of homemade yeast cinnamon rolls, you might have a few questions. Don’t worry; I’ve got you covered! Here are some common queries and tips to help you navigate this delicious journey.
Q1: Can I make the dough ahead of time?
Absolutely! You can prepare the dough the night before and let it rise in the fridge. Just be sure to cover it well. In the morning, let it come back to room temperature, then roll and bake as usual. It’s a great way to enjoy fresh rolls without all the morning fuss!
Q2: What’s the best way to store leftover rolls?
To keep your yeast cinnamon rolls homemade fresh, allow them to cool completely before storing them in an airtight container. They’ll last for about 3-5 days at room temperature or up to 2 months in the freezer. Just remember to wrap them tightly!
Q3: How do I know when my rolls are done baking?
You’ll want to look for a lovely golden-brown color on top. If you tap the bottom of a roll and it sounds hollow, that’s a good sign they’re ready! You can also use a toothpick—if it comes out clean, your rolls are perfect!
Q4: Can I use whole wheat flour instead of all-purpose flour?
Yes, you can substitute some of the all-purpose flour with whole wheat flour, but be aware that it may slightly change the texture. For the fluffiest results, I recommend using a mix of both. Start with about half whole wheat and half all-purpose to see how you like it!
Q5: What if my yeast doesn’t bubble?
If your yeast mixture doesn’t bubble after about 5 minutes, it’s likely that the yeast is expired or the milk was too hot or too cold. Don’t panic! Just try again with fresh yeast and warm milk that’s the right temperature—think cozy bath water!
Q6: Can I add different fillings to the rolls?
Absolutely! The classic cinnamon and brown sugar filling is fantastic, but you can get creative. Try adding chopped nuts, chocolate chips, or even a cream cheese layer for a delightful twist. The possibilities are endless!
These FAQs should help clear up any uncertainties you might have as you embark on your yeast cinnamon roll adventure. Enjoy every moment of the baking process, and remember, it’s all about bringing warmth and joy into your kitchen!
Print
Yeast Cinnamon Rolls Homemade: 7 Irresistible Secrets
- Total Time: 1 hour 30 minutes
- Yield: 12 rolls 1x
- Diet: Vegetarian
Description
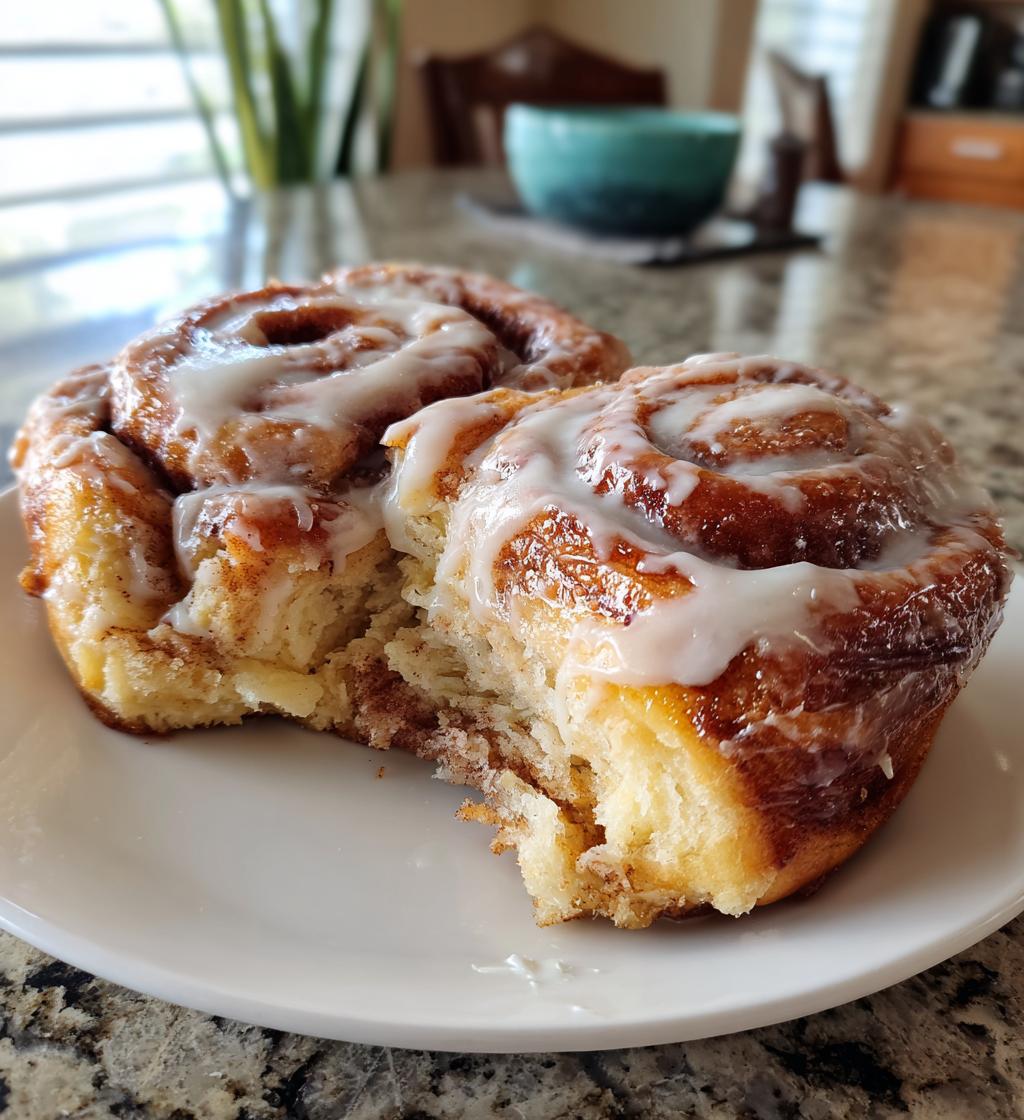
Homemade yeast cinnamon rolls that are soft and fluffy.
Ingredients
- 4 cups all-purpose flour
- 1/2 cup granulated sugar
- 1 packet active dry yeast
- 1 cup warm milk
- 1/2 cup unsalted butter, melted
- 2 large eggs
- 1 teaspoon salt
- 1 tablespoon ground cinnamon
- 1/2 cup brown sugar
- 1 cup powdered sugar (for icing)
- 2 tablespoons milk (for icing)
Instructions
- In a bowl, combine warm milk and yeast. Let it sit for 5 minutes.
- Add sugar, melted butter, eggs, and salt. Mix well.
- Gradually add flour until a dough forms.
- Knead the dough for 5-7 minutes until smooth.
- Let the dough rise in a warm place for 1 hour.
- Roll the dough into a rectangle.
- Spread melted butter, brown sugar, and cinnamon on the dough.
- Roll the dough tightly and cut into rolls.
- Place rolls in a greased baking dish and let rise for 30 minutes.
- Bake at 350°F (175°C) for 25-30 minutes.
- Mix powdered sugar and milk for icing, then drizzle over warm rolls.
Notes
- Use fresh yeast for best results.
- Store leftovers in an airtight container.
- Can be frozen before baking.
- Prep Time: 1 hour
- Cook Time: 30 minutes
- Category: Dessert
- Method: Baking
- Cuisine: American
Nutrition
- Serving Size: 1 roll
- Calories: 250
- Sugar: 12g
- Sodium: 200mg
- Fat: 8g
- Saturated Fat: 5g
- Unsaturated Fat: 3g
- Trans Fat: 0g
- Carbohydrates: 38g
- Fiber: 1g
- Protein: 4g
- Cholesterol: 30mg
Keywords: yeast cinnamon rolls homemade