Oh, let me tell you, there’s nothing quite like the magic of homemade chili crisp! This spicy, crunchy condiment is an absolute game changer, and once you try it, you’ll want to drizzle it on everything. Seriously, it’s so versatile! You can toss it on your noodles, sprinkle it over rice, or even use it to elevate your grilled veggies. The best part? You control the heat! This chili crisp recipe is all about balancing those flavors just the way you like them, making it perfect for any dish. Imagine the aroma of sizzling garlic and shallots wafting through your kitchen as you whip this up—it’s pure bliss! So, roll up your sleeves and let’s dive into this delightful adventure of flavor together!
Ingredients List
Here’s what you’ll need to create this mouthwatering chili crisp—trust me, these ingredients are simple but pack a punch!
- 1 cup vegetable oil: This is the base of your chili crisp, providing that lovely richness. I usually go for a neutral oil so the spices can really shine!
- 1/4 cup dried chili flakes: This is where the heat comes from! You can adjust the amount based on your spice tolerance. I love using a mixture of red pepper flakes and Korean gochugaru for a nice depth of flavor.
- 2 tablespoons minced garlic: Fresh garlic brings a fantastic aroma and taste. Don’t skimp on this—it’s key!
- 2 tablespoons minced shallots: Shallots add a hint of sweetness and complexity that regular onions just can’t match.
- 1 tablespoon sugar: Just a touch of sweetness balances the heat and enhances all the flavors. Trust me, it makes a difference!
- 1 teaspoon salt: Essential for bringing out all those delicious flavors.
- 1 teaspoon sesame seeds: These add a delightful crunch and nutty flavor that makes everything even better. Toasted sesame seeds are my favorite!
- 1/2 teaspoon black vinegar: A splash of this tangy vinegar gives your chili crisp a nice depth and a hint of acidity.
Gather these ingredients, and you’re halfway to crafting your new favorite condiment! Let’s get cooking!
How to Prepare the Chili Crisp Recipe
Alright, let’s get down to the nitty-gritty of making this incredible chili crisp! The process may seem simple, but each step contributes to that magical flavor explosion. Follow along closely, and you’ll have a jar of this crispy delight ready in no time!
Step-by-Step Instructions
- Heat the oil: Start by pouring your vegetable oil into a pan over medium heat. You want it hot, but not smoking—aim for around 350°F (175°C) if you have a thermometer. This will ensure everything cooks evenly and crisps up beautifully.
- Add garlic and shallots: Once the oil is shimmering, toss in the minced garlic and shallots. Stir them gently and keep an eye on them! You’re looking for a lovely golden brown color, which should take about 2-3 minutes. Don’t walk away; burnt garlic is a sad day!
- Stir in the spices: Now it’s time to add the dried chili flakes, sugar, and salt. Stir everything together so the spices get nicely coated in that flavorful oil. Cook for another 2-3 minutes until the mixture becomes aromatic—this is when your kitchen will start smelling absolutely divine!
- Remove from heat: Once you can’t resist the smell any longer, take the pan off the heat. This is crucial to prevent overcooking the spices. You want them fragrant, not bitter!
- Add sesame seeds and vinegar: Stir in the sesame seeds and black vinegar while the mixture is still warm. The warmth helps release the flavors, and you’ll get that delightful crunch from the sesame seeds. Give it a good mix!
- Cool and jar it up: Let your chili crisp cool completely before transferring it to a jar. This helps it maintain that crispy texture. Once it’s cool, seal it up tight and keep it in a cool, dark place. You’ve just made yourself a jar of pure joy!
And that’s it! You’re just a few simple steps away from elevating every meal you make. Enjoy the satisfaction of knowing you created this deliciously spicy condiment from scratch!
Why You’ll Love This Chili Crisp Recipe
Oh boy, where do I even start? This chili crisp recipe isn’t just a condiment; it’s an experience! Here are a few reasons why I absolutely adore it:
- Easy Preparation: Seriously, it takes just 20 minutes from start to finish! You can whip it up while your pasta is boiling or while waiting for your stir-fry to cook. No complicated steps, just pure deliciousness!
- Delicious Flavor: The combination of crispy garlic, shallots, and spicy chili flakes creates a symphony of flavors that will have your taste buds dancing. It’s the perfect balance of spice, crunch, and umami!
- Customizable Heat Level: Want it spicier? Go ahead and add more chili flakes! Prefer it milder? Just dial it back a notch. You’re the boss of your chili crisp, and that’s what makes it so special!
- Versatile Usage: Drizzle it on noodles, stir it into soups, or use it as a dip for fresh veggies. The possibilities are endless! You’ll find yourself reaching for it again and again.
- Perfect for Gifting: If you’re feeling generous, this homemade chili crisp makes a fantastic gift! Just pop it in a cute jar, add a little ribbon, and you’ve got a thoughtful present for friends and family.
Trust me, once you make this chili crisp, you’ll wonder how you ever lived without it. Get ready to add a whole new level of flavor to your meals!
Tips for Success
Now that you’re on the path to making your very own chili crisp, let me share some tips that’ll help you nail it every single time! These little nuggets of wisdom will ensure your chili crisp turns out perfectly crunchy and bursting with flavor.
- Keep an eye on the garlic and shallots: They can go from golden to burnt in the blink of an eye! Stir them often and don’t hesitate to lower the heat if things start cooking too quickly. We want that beautiful golden hue, not charred bits!
- Use fresh ingredients: Fresh garlic and shallots make a world of difference in flavor. Trust me, you’ll notice the richness and depth when you use fresh over pre-minced options. Your taste buds will thank you!
- Adjust the chili flakes wisely: If you’re unsure about your spice tolerance, start with less chili flakes than the recipe calls for. You can always add more later, but it’s tough to take the heat out once it’s in!
- Let it cool completely: Cooling your chili crisp before storing is crucial for maintaining its crunch. If you jar it up while it’s still warm, the steam can create moisture and make it soggy. Patience is key here!
- Experiment with oils: While vegetable oil is fantastic, don’t be afraid to try others like peanut or sesame oil for a unique twist. Each oil brings its own flavor profile, and you might just discover a new favorite!
- Storage matters: Make sure to store your chili crisp in a cool, dark place, like a pantry or cupboard. It’ll help preserve its flavors and texture longer. And remember, it’s best enjoyed within a month!
With these tips in your back pocket, you’re all set to create a chili crisp that’s not just good, but absolutely outstanding! Happy cooking!
Variations of the Chili Crisp Recipe
One of the best things about this chili crisp recipe is how easily you can customize it! You can play around with different spices and ingredients to create a version that’s uniquely yours. Here are some fun ideas to get your creative juices flowing:
- Add some heat with fresh chilis: If you’re a heat seeker, consider throwing in some finely chopped fresh chilis along with the garlic and shallots. Thai bird chilis or Fresno peppers bring a lovely kick without overpowering the other flavors.
- Incorporate herbs: Fresh herbs can add a whole new depth to your chili crisp! Try adding a tablespoon of finely chopped cilantro or basil right before removing the pan from heat. It adds freshness that complements the richness beautifully.
- Experiment with different seeds: Swap out the sesame seeds for other seeds like sunflower or pumpkin seeds for a different texture and flavor. Toasting them beforehand enhances their nuttiness!
- Infuse with spices: Want to spice things up even more? Toss in a teaspoon of ground spices like smoked paprika or cumin when you add the chili flakes. They’ll create a smoky flavor that’s absolutely divine!
- Sweeten it up: If you prefer a sweeter version, try adding a splash of honey or maple syrup when you mix in the sesame seeds and vinegar. It’ll give your chili crisp a delightful sweet-savory balance!
- Use different oils: As I mentioned earlier, switching up your oil can create different flavor profiles. Try using a chili-infused oil or even coconut oil for a unique twist that’ll surprise your taste buds!
Don’t be afraid to get adventurous with your chili crisp! Each variation can lead to a new favorite, and the best part is, you get to experiment and find what you love. Enjoy the process and happy cooking!
Storage & Reheating Instructions
Now that you’ve whipped up this amazing chili crisp, let’s talk about how to store it properly so it stays as fresh and crispy as the day you made it. Trust me, you’ll want to savor every last drop!
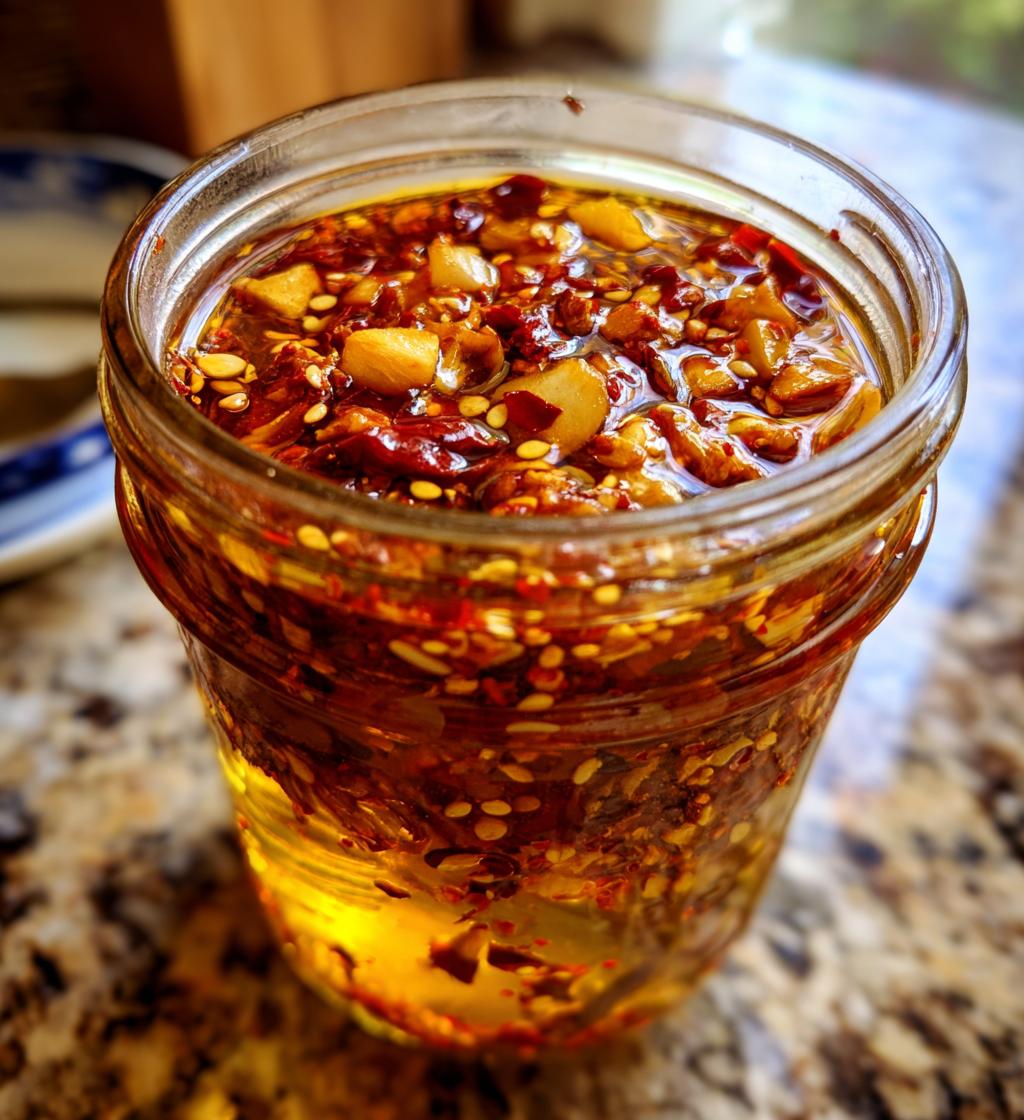
First, once your chili crisp has cooled completely, transfer it into an airtight jar or container. I love using a glass jar because it not only looks nice but also helps keep the flavors locked in. Make sure the lid is on tight to keep out any moisture!
Store your jar in a cool, dark place like a pantry or cupboard. Avoid leaving it out on the counter where it can be exposed to sunlight or heat, as this can affect the flavors and freshness. If stored properly, your chili crisp will stay delicious for about a month. But let’s be real—you’ll probably use it up way before that!
If you find that your chili crisp has lost a bit of its crunch over time, don’t worry! You can easily revive it. Just pop it in a small pan over low heat for a few minutes, stirring gently until it becomes fragrant and crisp again. Just keep an eye on it to prevent burning—nobody wants that!
And there you have it! With these simple storage and reheating tips, your homemade chili crisp will be ready to spice up your meals whenever you need it. Enjoy every flavorful bite!
Nutritional Information
Now that you’ve made this delicious chili crisp, let’s take a moment to appreciate what’s packed inside each tasty tablespoon. Here’s the estimated nutritional breakdown for one serving (about 1 tablespoon):
- Calories: 120
- Fat: 14g
- Saturated Fat: 2g
- Unsaturated Fat: 10g
- Trans Fat: 0g
- Carbohydrates: 1g
- Fiber: 0g
- Sugar: 1g
- Protein: 0g
- Sodium: 200mg
- Cholesterol: 0mg
These numbers show just how flavorful yet simple this chili crisp recipe is. It’s a great way to add some zing to your meals without packing on calories. Plus, with the ability to adjust the spice level, you can enjoy it guilt-free! Just remember, it’s all about balance, so use it as a tasty accent to your favorite dishes!
FAQ Section
Got questions about this chili crisp recipe? Don’t worry, I’ve got you covered! Here are some common queries I hear, along with my answers to help you make this spicy delight even better.
Q1: How should I store my chili crisp?
After your chili crisp has cooled completely, transfer it to an airtight container or jar. Store it in a cool, dark place like a pantry. This helps maintain its freshness and crunch. If stored properly, it should last for about a month, but let’s be honest, it’ll probably disappear much faster!
Q2: Can I adjust the heat level?
Absolutely! One of the best things about this recipe is that you can customize it to your taste. If you prefer a milder flavor, start with less chili flakes and add more as you go. If you’re feeling adventurous, throw in additional chili flakes for some extra heat. Just remember, you can always add more spice, but it’s tough to take it out once it’s in!
Q3: What are the best uses for chili crisp?
Oh, the possibilities are endless! You can drizzle it over noodles, stir it into soups, or use it as a dipping sauce for fresh veggies. I also love adding it to scrambled eggs or using it as a topping on roasted vegetables. Seriously, once you start using it, you’ll find a reason to add it to almost everything!
Q4: Can I make chili crisp in advance?
Definitely! In fact, making it ahead of time allows the flavors to meld together even more. You can whip up a batch and keep it on hand for whenever you need that extra kick in your meals. Just be sure to store it properly to keep it fresh!
Q5: What if my chili crisp loses its crunch?
If your chili crisp has lost some of its crunch over time, no need to panic! You can easily revive it by warming it gently in a pan over low heat for a few minutes. Stir it occasionally until it becomes fragrant and crispy again. Just keep an eye on it to prevent any burning!
Feel free to reach out with any other questions you might have about this chili crisp recipe. I’m here to help you make the most of this delightful condiment!
Print
Chili Crisp Recipe: 5 Steps to Flavorful Bliss
- Total Time: 20 minutes
- Yield: 1 cup 1x
- Diet: Vegan
Description
A spicy and crunchy chili crisp recipe.
Ingredients
- 1 cup vegetable oil
- 1/4 cup dried chili flakes
- 2 tablespoons minced garlic
- 2 tablespoons minced shallots
- 1 tablespoon sugar
- 1 teaspoon salt
- 1 teaspoon sesame seeds
- 1/2 teaspoon black vinegar
Instructions
- Heat the vegetable oil in a pan over medium heat.
- Add garlic and shallots, cooking until golden brown.
- Stir in chili flakes, sugar, and salt.
- Cook for 2-3 minutes until fragrant.
- Remove from heat and stir in sesame seeds and black vinegar.
- Let it cool before transferring to a jar.
Notes
- Store in a cool, dark place.
- Adjust chili flakes for desired heat.
- Best used within a month.
- Prep Time: 10 minutes
- Cook Time: 10 minutes
- Category: Condiment
- Method: Stovetop
- Cuisine: Asian
Nutrition
- Serving Size: 1 tablespoon
- Calories: 120
- Sugar: 1g
- Sodium: 200mg
- Fat: 14g
- Saturated Fat: 2g
- Unsaturated Fat: 10g
- Trans Fat: 0g
- Carbohydrates: 1g
- Fiber: 0g
- Protein: 0g
- Cholesterol: 0mg
Keywords: chili crisp recipe