Oh, fried chicken! Just saying those words brings a smile to my face. There’s something so magical about that crispy, golden-brown exterior and the tender, juicy meat inside. It’s like a warm hug from the kitchen, a classic dish that never fails to impress. Whether it’s a cozy dinner at home or a festive gathering with friends and family, fried chicken is the star of the show. I mean, who can resist that crunch? It’s comfort food at its finest—every bite takes me back to family cookouts and Sunday dinners where the aroma of fried chicken filled the air.
This recipe is my go-to for making the best fried chicken, and I promise you, it’s easier than it sounds! I love how marinating the chicken in buttermilk makes it so incredibly moist and flavorful. Plus, the crispy coating? Wow! It’s a delightful blend of spices that just elevates the whole experience. Trust me, once you get that frying technique down, you’ll be the hero at every meal. So, roll up your sleeves, and let’s dive into the delicious world of fried chicken!
Ingredients List
- 4 chicken thighs: Bone-in and skin-on for maximum flavor and juiciness.
- 4 chicken drumsticks: Perfect for that crispy, tender bite that everyone loves.
- 2 cups buttermilk: This is the secret to moist, flavorful chicken—don’t skip it!
- 2 cups all-purpose flour: The base for your crispy coating.
- 1 tablespoon paprika: Adds a lovely warmth and color to the crust.
- 1 teaspoon garlic powder: For that irresistible savory kick.
- 1 teaspoon onion powder: Enhances the overall flavor profile.
- Salt to taste: Essential for bringing out the flavors—don’t hold back!
- Pepper to taste: Adds just the right amount of heat.
- Oil for frying: Choose a high smoke point oil like vegetable or canola for best results.
How to Prepare Fried Chicken
Marinating the Chicken
Let’s start with the most crucial step: marinating the chicken in buttermilk. This is where the magic begins! Marinating not only tenderizes the chicken but also infuses it with that delicious flavor we all crave. You’ll want to let the chicken soak for at least 2 hours—though if you can swing it, overnight is even better. Just pop the chicken thighs and drumsticks into a bowl or a zip-top bag, pour in the buttermilk, and give it a gentle toss to coat. If you can, add a pinch of salt to the buttermilk for extra flavor. Trust me, this step is worth it!
Coating the Chicken
Now onto the fun part—creating that crispy coating! In a large bowl, mix together the flour, paprika, garlic powder, onion powder, salt, and pepper. Stir it all together until well combined. The paprika gives you that beautiful color, while the garlic and onion powder add fantastic depth. Once your chicken has marinated, take it out of the buttermilk and let any excess drip off. This is important; you don’t want it too wet for coating. Now, take each piece of chicken and dredge it in the flour mixture, ensuring every nook and cranny is covered. I like to give it a little shake to remove any excess flour. You want a nice, even coating that’s not too thick but still substantial enough to get that crunch!
Frying the Chicken
Okay, it’s frying time! Heat your oil in a deep pan or a heavy pot over medium-high heat. You want enough oil to submerge the chicken about halfway—around 2-3 inches should do the trick. To check if the oil is hot enough, drop in a little flour; if it sizzles, you’re ready to go! Carefully place the chicken in the hot oil, making sure not to overcrowd the pan. Fry in batches if needed. Cook each piece for about 15 minutes, flipping halfway through, until the chicken is golden brown and an internal temperature of 165°F is reached. I highly recommend using a meat thermometer—it’s a game changer for perfectly cooked chicken!
Draining and Serving
Once your chicken is beautifully golden, it’s time to drain it. Use tongs to carefully remove the chicken from the oil and place it on a plate lined with paper towels. This helps absorb any excess oil, keeping it crispy! Let the chicken rest for a few minutes before serving—this allows the juices to redistribute, making it even more succulent. Serve it hot, and watch everyone’s eyes light up with joy! Whether it’s with some classic sides or just on its own, this fried chicken is sure to be a hit!
Why You’ll Love This Recipe
- Quick Preparation: With just a little marinating time, you can have delicious fried chicken ready for the dinner table in under three hours!
- Unmatched Flavor: The buttermilk soak and spice blend create a flavor explosion that’s both savory and comforting—every bite is a delight.
- Crispy and Juicy: Achieving that perfect crunch on the outside while keeping the meat tender and juicy inside is what this recipe is all about.
- Classic Comfort Food: Whether it’s a family gathering or a cozy night in, fried chicken is always a crowd-pleaser that brings everyone together.
- Customizable: Feel free to tweak the spices or add your favorite dipping sauces to make this recipe truly your own!
Tips for Success
Now that you’re ready to fry up some delicious chicken, let’s ensure you get it just right! Here are my best tips to help you achieve that perfect, crispy fried chicken every single time.
Choose the Right Chicken
While thighs and drumsticks are my go-to, don’t hesitate to mix it up! You can use wings or even chicken breasts if that’s what you prefer. Just remember that cooking times may vary, especially with larger pieces like breasts. Be sure to adjust your frying time accordingly!
Season the Buttermilk
Don’t just use plain buttermilk! Add some herbs or spices to the buttermilk marinade, like a dash of hot sauce for heat or a sprinkle of dried herbs for extra flavor. This adds another layer of deliciousness that will make your fried chicken stand out.
Monitor Oil Temperature
Getting the oil temperature right is critical. If it’s too low, the chicken will absorb too much oil and become greasy. If it’s too high, you risk burning the outside before the inside is cooked through. Aim for around 350°F. A digital thermometer is your best friend here!
Don’t Overcrowd the Pan
It might be tempting to toss all your chicken into the pan at once, but resist that urge! Frying in batches allows for even cooking and that glorious crunch. If you overcrowd, the temperature will drop, resulting in soggy chicken. Yikes!
Let it Rest
As hard as it is to resist, let your fried chicken rest for a few minutes after frying. This step allows the juices to redistribute, ensuring you get that juicy bite with every piece. Trust me, it’s worth the wait!
Experiment with Coatings
If you’re feeling adventurous, try adding cornmeal or panko breadcrumbs to your flour mixture for extra crunch. You could even experiment with different spices, like cayenne for heat or Italian seasoning for a twist. The possibilities are endless!
Avoid Common Mistakes
One common mistake is not shaking off excess flour before frying. A thick coating can lead to soggy spots, so give each piece a gentle shake. And remember, patience is key—don’t rush the frying process!
With these tips in your back pocket, you’re all set to master the art of fried chicken. Enjoy the process, and happy frying!
Nutritional Information
Here’s a quick look at the nutritional values for this delicious fried chicken. Keep in mind that these are estimates and can vary based on the specific ingredients and brands you use.
- Serving Size: 1 piece
- Calories: 350
- Total Fat: 20g
- Saturated Fat: 5g
- Unsaturated Fat: 15g
- Trans Fat: 0g
- Cholesterol: 80mg
- Sodium: 600mg
- Total Carbohydrates: 20g
- Dietary Fiber: 1g
- Sugars: 1g
- Protein: 25g
These values can help you keep track of your nutritional intake while enjoying this comforting meal. So dig in and savor every bite of that crispy, juicy goodness!
FAQ Section
Q1. How do I make my fried chicken crispy?
To achieve that irresistible crispy texture, make sure to coat the chicken well in the flour mixture, and ensure your oil is hot enough before frying—around 350°F is ideal. Frying in batches also helps maintain that perfect crunch! Remember, patience is key; don’t rush the frying process!
Q2. Can I use skinless chicken for this recipe?
While using skin-on chicken thighs and drumsticks is recommended for maximum flavor and moisture, you can use skinless pieces. Just keep in mind that the texture may be slightly different, and you might want to adjust the seasoning in the buttermilk for added flavor.
Q3. What if my chicken is still raw inside after frying?
If your chicken is golden brown on the outside but not cooked through, it’s best to finish cooking it in the oven. Preheat your oven to 350°F, place the fried chicken on a baking sheet, and bake until it reaches an internal temperature of 165°F. A meat thermometer is your best friend here!
Q4. How can I store leftover fried chicken?
To store leftover fried chicken, let it cool completely, then place it in an airtight container in the fridge. It should last about 3-4 days. For longer storage, you can freeze it wrapped tightly in plastic wrap and then foil. Just be sure to reheat it in the oven for that crispy texture!
Q5. Can I add different spices to the coating?
Absolutely! Feel free to experiment with different spices in your flour mixture. Adding cayenne pepper for a kick or even some dried herbs can give your fried chicken a unique twist. Just remember to keep the basic ratios the same for that perfect crunch!
Storage & Reheating Instructions
Alright, so you’ve made this delicious fried chicken, and now you’ve got some leftovers (if you’re lucky!). Proper storage is key to keeping that crispy goodness intact for as long as possible. Here’s how to do it right!
First things first, let your fried chicken cool completely before you store it. This helps prevent moisture buildup, which can make the coating soggy. Once it’s cooled, place your chicken pieces in an airtight container. If you have a lot of pieces, you can layer them with parchment paper in between to keep the coating crispy. I like to use a shallow container to give each piece some breathing room.
In the fridge, your fried chicken will last about 3 to 4 days. If you want to keep it longer, you can freeze it! Just wrap each piece tightly in plastic wrap, then in aluminum foil or a freezer-safe bag. This way, it can last up to 2-3 months in the freezer. Just remember to label it—you don’t want to play guessing games later!
Now, onto reheating! The best way to bring that fried chicken back to life is in the oven. Preheat your oven to 375°F (190°C) and place the chicken on a baking sheet. For extra crispiness, you can put a wire rack on top of the baking sheet, allowing hot air to circulate all around. Bake for about 15-20 minutes, or until heated through and crispy again. If it’s frozen, you might need to add an extra 10-15 minutes to the time.
If you’re in a hurry, you can also use the microwave, but it’s not my favorite method since it tends to make the chicken a bit soggy. If you go this route, place the chicken on a microwave-safe plate and cover it with a damp paper towel, then heat in short bursts of 30 seconds until warmed through. Just be careful not to overdo it!
With these storage and reheating tips, you’ll be able to enjoy your fried chicken just as much the second time around. Happy eating!
Serving Suggestions
Now that you’ve got that golden, crispy fried chicken ready to shine, let’s talk about what to serve alongside it! The right sides can really elevate the meal and create a comforting, soul-satisfying experience. Here are my favorite pairings:
- Classic Coleslaw: The crunchy, tangy flavors of coleslaw perfectly balance the richness of the fried chicken. Plus, it adds a refreshing crunch!
- Mashed Potatoes: Creamy, buttery mashed potatoes are a traditional favorite. Don’t forget the gravy—it’s a must!
- Corn on the Cob: Sweet, buttery corn on the cob is the ultimate summer side, and it complements the savory flavors of the chicken beautifully.
- Biscuit or Cornbread: Fluffy biscuits or a slice of warm cornbread are perfect for soaking up any leftover juices—absolute comfort food!
- Pickles: A side of dill pickles adds a great tangy contrast and helps cut through the richness of the fried chicken.
For beverages, you can’t go wrong with a classic sweet tea or a crisp lemonade to wash it all down. If you’re feeling a bit fancy, a light white wine or a cold beer also pairs wonderfully. Enjoy your feast!
Print
Fried Chicken: 7 Secrets for Crispy, Juicy Perfection
- Total Time: 150 minutes
- Yield: 4 servings 1x
- Diet: None
Description
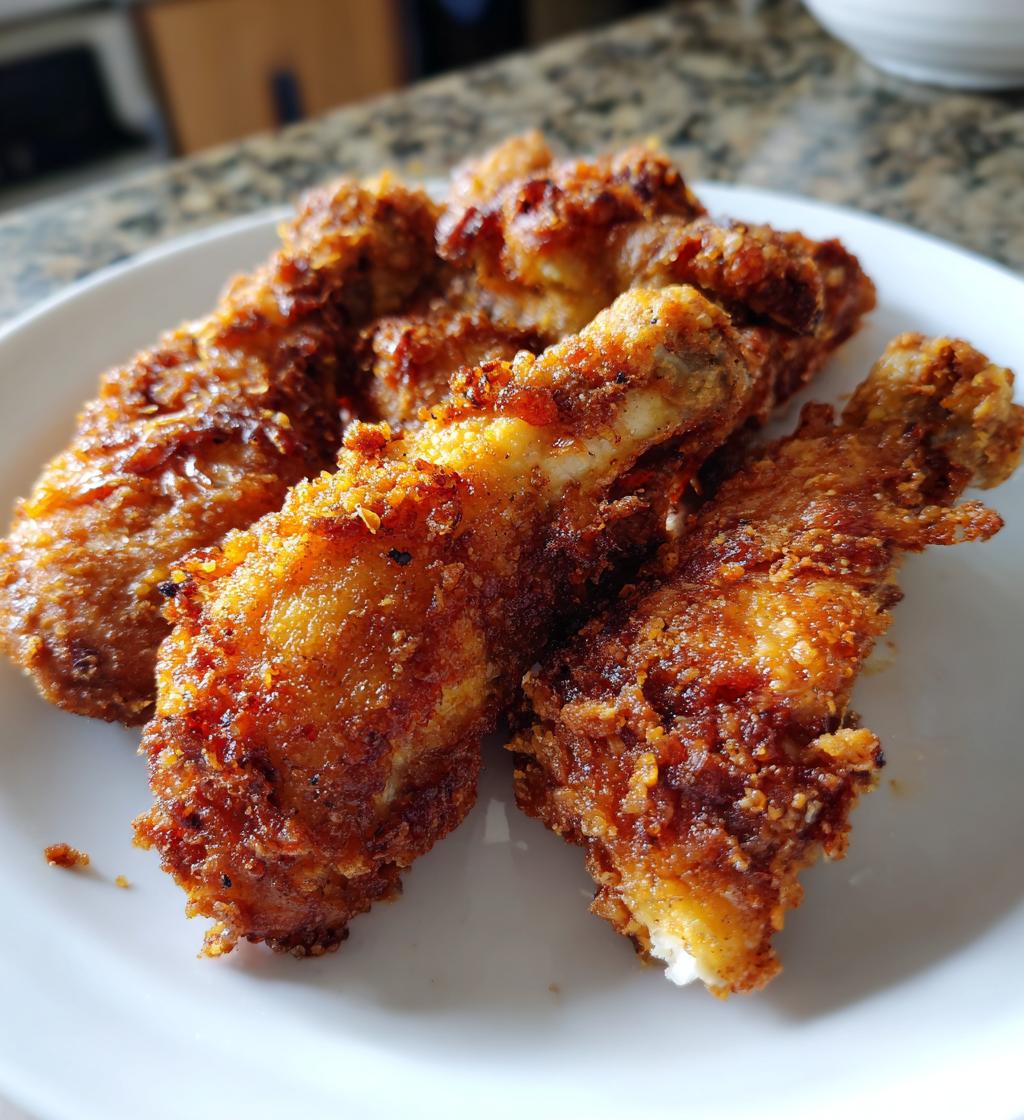
A classic dish featuring crispy, golden-brown chicken.
Ingredients
- 4 chicken thighs
- 4 chicken drumsticks
- 2 cups buttermilk
- 2 cups all-purpose flour
- 1 tablespoon paprika
- 1 teaspoon garlic powder
- 1 teaspoon onion powder
- Salt to taste
- Pepper to taste
- Oil for frying
Instructions
- Marinate chicken in buttermilk for at least 2 hours.
- In a bowl, mix flour, paprika, garlic powder, onion powder, salt, and pepper.
- Remove chicken from buttermilk and coat with flour mixture.
- Heat oil in a deep pan over medium-high heat.
- Fry chicken in batches until golden brown and cooked through, about 15 minutes.
- Drain on paper towels before serving.
Notes
- Use a meat thermometer to ensure chicken reaches 165°F internally.
- Let the chicken rest for a few minutes before serving.
- Prep Time: 120 minutes
- Cook Time: 30 minutes
- Category: Main Course
- Method: Frying
- Cuisine: American
Nutrition
- Serving Size: 1 piece
- Calories: 350
- Sugar: 1g
- Sodium: 600mg
- Fat: 20g
- Saturated Fat: 5g
- Unsaturated Fat: 15g
- Trans Fat: 0g
- Carbohydrates: 20g
- Fiber: 1g
- Protein: 25g
- Cholesterol: 80mg
Keywords: fried chicken, crispy chicken, comfort food