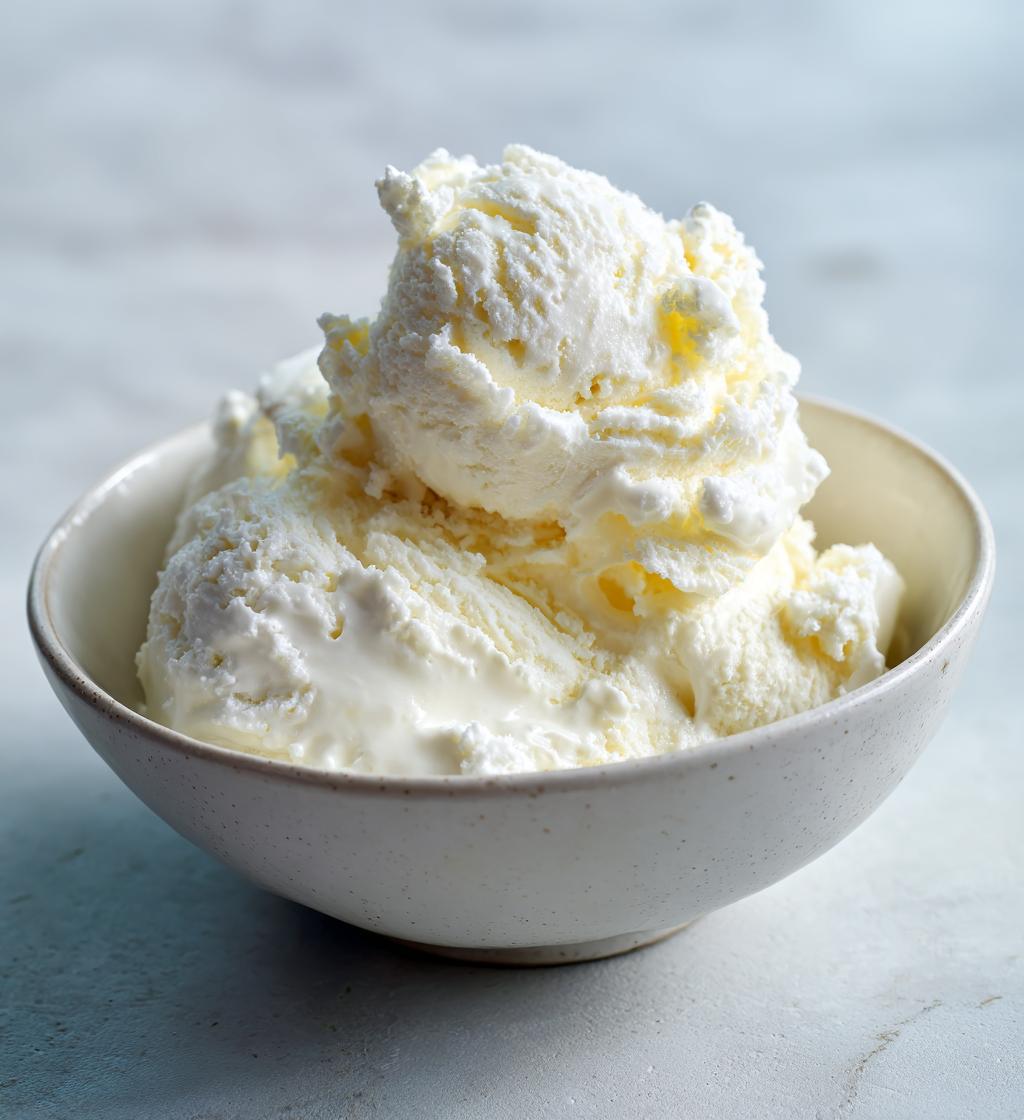
There’s something utterly magical about a dessert that captures the essence of summer while being cool and refreshing. That’s why I’m so excited to share my recipe for ice cream snow! It’s one of those delightful treats that combines the creamy richness of ice cream with the light, fluffy texture of fresh snow—yes, you heard that right! Just imagine scooping up this dreamy dessert on a hot day, the sweetness melting in your mouth while a soft chill envelops you. It’s pure bliss!
What I love most about this recipe is how easy it is to whip up. All you need are a few simple ingredients, and the best part? You can enjoy this delightful concoction in just a couple of hours! Whether you’re hosting a summer gathering or just indulging in a sweet treat for yourself, ice cream snow is sure to impress. Trust me, once you take that first bite, you’ll be hooked! Let’s dive into the details and get you started on this delicious adventure.
Ingredients List
- 2 cups heavy cream
- 1 cup whole milk
- 3/4 cup granulated sugar
- 1 teaspoon vanilla extract
- 1/4 cup snow (clean and fresh)
When you’re gathering these ingredients, make sure your snow is freshly collected—think of it as the special touch that makes this dessert truly unique! If you can, head out just after a fresh snowfall to get that light, fluffy texture. And don’t worry, you can adjust the sugar a bit if you prefer it sweeter or less sweet; it’s all about what tickles your taste buds! Now, let’s get ready to create some magic!
How to Prepare Ice Cream Snow
Making ice cream snow is a delightful journey, and I promise it’s easier than you might think! Let’s walk through the steps together, so you can enjoy this refreshing treat in no time.
Step 1: Mix the Base
First things first, grab a large mixing bowl and combine the heavy cream, whole milk, granulated sugar, and vanilla extract. Now, this step is super important: you want to whisk everything together until the sugar dissolves completely. I usually mix it for about 2-3 minutes. This ensures a smooth base without any gritty bits of sugar lurking around! The mixture should be creamy and slightly frothy, inviting you to dive right in!
Step 2: Chill the Mixture
Once your base is ready, it’s time to chill! Cover the bowl and pop it into the refrigerator for 30 minutes. This step is crucial because it helps the mixture thicken and enhances the flavors. If you skip this, your ice cream snow might end up a bit too soft or icy. Trust me, the wait will be worth it!
Step 3: Churn the Mixture
After your mixture has chilled, it’s time for the fun part! Pour it into your ice cream maker and churn it according to the manufacturer’s instructions. Most machines take about 20-25 minutes to get that perfect, soft-serve-like consistency. Keep an eye on it; you want it thickened but still smooth. You’ll know it’s ready when it resembles a rich, fluffy cloud!
Step 4: Fold in Fresh Snow
Now comes the magic ingredient! Once your mixture has thickened, gently fold in the clean, fresh snow. Use a spatula and be careful not to overmix; you want to maintain that light, airy texture. This step is where the ice cream snow gets its unique charm, making it feel like a soft scoop of joy!
Step 5: Freeze Before Serving
Finally, transfer your delightful creation into an airtight container and freeze it for at least 2 hours. This step is essential for achieving the right consistency when serving. The ice cream snow needs time to set properly, so don’t rush it! Once it’s nicely firm, scoop it out and enjoy the fluffy, refreshing goodness you’ve created. You’re going to love it!
Why You’ll Love This Recipe
- Quick and Easy: You can whip up ice cream snow in just a few simple steps, making it perfect for last-minute cravings or unexpected guests.
- Refreshing Treat: This dessert is incredibly light and fluffy, ideal for hot summer days when you need something cool and sweet.
- Unique Flavor: The combination of creamy ice cream and fresh snow creates a delightful texture and taste that you won’t find in traditional ice creams.
- Customizable: You can easily adjust the sweetness or add your favorite mix-ins like chocolate chips or fresh fruit for a personal touch!
- Perfect for Sharing: With a yield of four servings, it’s a fantastic dessert to enjoy with family and friends, sparking smiles all around.
Tips for Success
Getting your ice cream snow just right is all about a few simple tricks! Here are my tried-and-true tips to ensure you create the perfect batch every time:
- Use the Right Snow: Only use clean, fresh snow! It’s best collected right after a snowfall. Avoid snow that’s been on the ground too long or has any debris in it. Think of it as your secret ingredient that adds that magical lightness!
- Chill Everything: Besides chilling the mixture, consider chilling your mixing bowl and whisk too! A cold bowl helps maintain the right texture, especially when you’re incorporating the snow.
- Don’t Overmix: When folding in the snow, be gentle! Overmixing can deflate the airiness you’ve worked so hard to create. Just a few folds until it’s combined is all you need!
- Experiment with Flavors: Don’t hesitate to get creative! Add a splash of almond extract or a hint of cocoa powder to change things up. You can even mix in some fresh fruit or chocolate chips for added flavor and texture.
- Serve Right Away: For the best experience, serve the ice cream snow immediately after scooping. It’s light and fluffy straight from the freezer, and you’ll enjoy that delightful texture!
With these tips in your back pocket, you’re all set to impress your friends and family with this enchanting treat. Happy mixing!
Nutritional Information
When it comes to enjoying dessert, knowing what’s in it can be super helpful! Here’s the estimated nutritional breakdown for each serving of my delightful ice cream snow:
- Serving Size: 1/2 cup
- Calories: 250
- Fat: 18g
- Saturated Fat: 11g
- Unsaturated Fat: 7g
- Trans Fat: 0g
- Cholesterol: 70mg
- Sodium: 50mg
- Carbohydrates: 22g
- Sugar: 20g
- Fiber: 0g
- Protein: 3g
Keep in mind that these values are estimates and can vary based on the specific ingredients you use. It’s always a good idea to adjust to your taste and dietary preferences. Now, dig in and enjoy your refreshing treat without any guilt!
FAQ Section
Q1: Can I use snow that’s been on the ground for a while?
Nope! It’s best to use only clean, fresh snow. Snow that’s been on the ground too long might contain dirt or debris, which wouldn’t make for a delightful dessert. Aim to collect your snow right after a fresh snowfall for the best results!
Q2: What if I don’t have an ice cream maker?
Don’t worry! You can still make ice cream snow without one. Just pour your chilled mixture into a shallow dish and place it in the freezer. Every 30 minutes, stir it with a fork to break up any ice crystals until it reaches that soft, fluffy texture. It might take a bit longer, but it’ll still be delicious!
Q3: How long can I store ice cream snow in the freezer?
You can store ice cream snow in an airtight container in the freezer for about a week. Just remember that it’s best enjoyed fresh for that light, fluffy texture. If it hardens too much, let it sit at room temperature for a few minutes before scooping to soften it up!
Q4: Can I add flavors or mix-ins to my ice cream snow?
Absolutely! This recipe is super versatile. Feel free to add a splash of your favorite extracts or mix in chocolate chips, fresh fruit, or even a swirl of caramel for a fun twist. Just be careful not to overmix after adding your goodies to keep that fluffy texture!
Q5: Is ice cream snow suitable for kids?
Definitely! Ice cream snow is a fun and light treat that kids will love. Just keep an eye on the sugar content if you’re concerned about sweetness. It’s a great way to introduce them to a unique dessert that feels like a sweet adventure!
Storage & Reheating Instructions
Storing your ice cream snow properly is key to keeping it fresh and delightful! Once you’ve enjoyed your first scoop, transfer any leftovers to an airtight container. This will help prevent ice crystals from forming and keep that fluffy texture intact. You can store it in the freezer for up to a week, but trust me, it’s best enjoyed within the first few days for maximum flavor and lightness!
If your ice cream snow happens to harden a bit too much in the freezer, don’t fret! Just let it sit at room temperature for about 5-10 minutes before serving. This little waiting game will allow it to soften up, making it easier to scoop and enjoy. Just remember, the goal is to keep that airy, soft texture, so avoid letting it sit out for too long.
And if you’re feeling adventurous, you can even try whipping it up again! Just add a splash of cream or milk and gently stir until it reaches that fluffy consistency. It’s like giving your dessert a little refresh! So, go ahead and savor every last bit of your ice cream snow without any worries about storage. You’re going to love it!
Print
Ice Cream Snow: 5 Steps to Magical Summer Bliss
- Total Time: 2 hours 40 minutes
- Yield: 4 servings 1x
- Diet: Vegetarian
Description
A refreshing dessert that combines the flavors of ice cream and the texture of snow.
Ingredients
- 2 cups heavy cream
- 1 cup whole milk
- 3/4 cup granulated sugar
- 1 teaspoon vanilla extract
- 1/4 cup snow (clean and fresh)
Instructions
- In a bowl, mix heavy cream, whole milk, sugar, and vanilla extract until sugar dissolves.
- Chill the mixture in the refrigerator for 30 minutes.
- Pour the mixture into an ice cream maker and churn according to the manufacturer’s instructions.
- Once thickened, fold in the fresh snow gently.
- Transfer to a container and freeze for at least 2 hours before serving.
Notes
- Use only clean, fresh snow.
- Adjust sugar according to taste.
- Serve immediately for a light texture.
- Prep Time: 30 minutes
- Cook Time: 10 minutes
- Category: Dessert
- Method: Churning
- Cuisine: American
Nutrition
- Serving Size: 1/2 cup
- Calories: 250
- Sugar: 20g
- Sodium: 50mg
- Fat: 18g
- Saturated Fat: 11g
- Unsaturated Fat: 7g
- Trans Fat: 0g
- Carbohydrates: 22g
- Fiber: 0g
- Protein: 3g
- Cholesterol: 70mg
Keywords: ice cream snow, dessert, summer treat