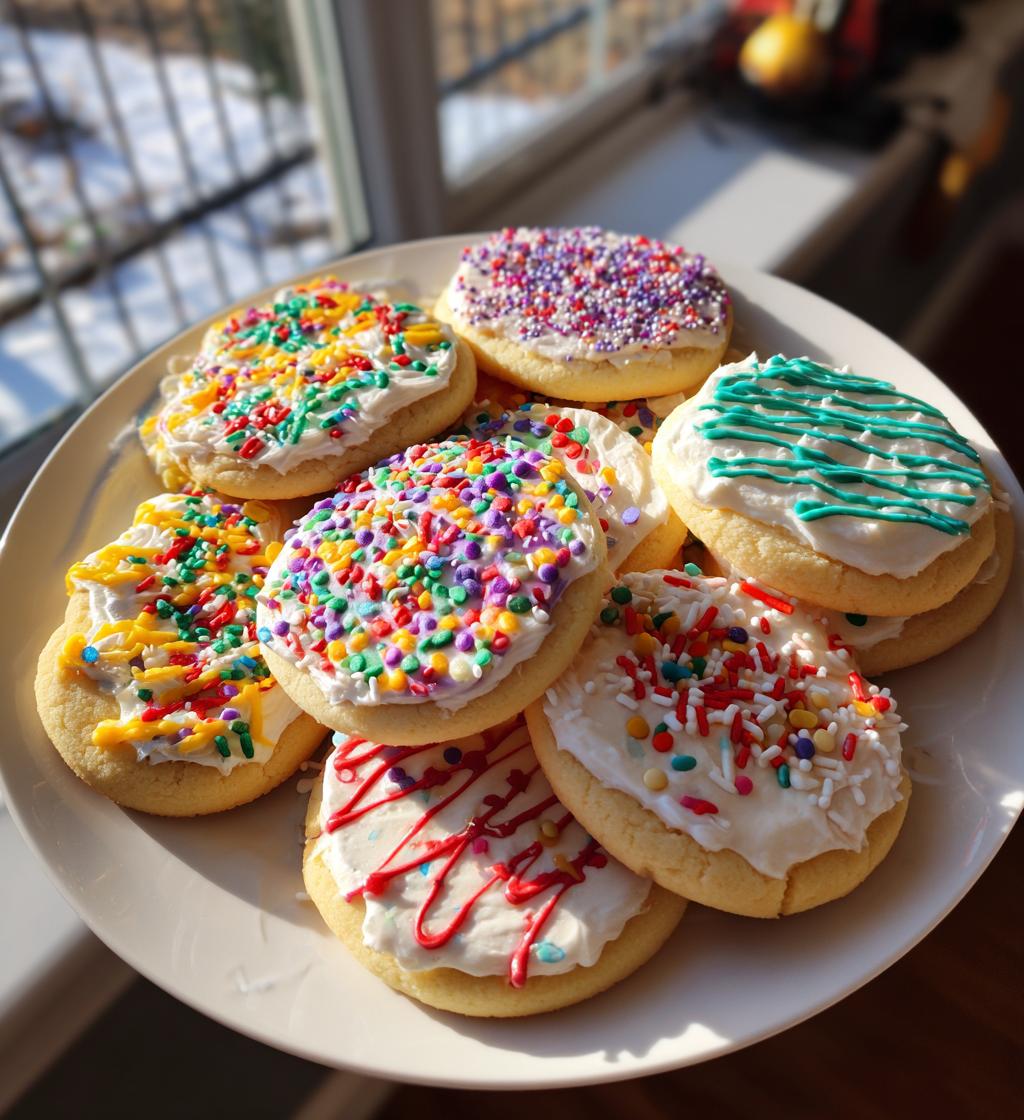
Ah, the holiday season! It’s that magical time of year when the air is filled with the scents of cinnamon and pine, and laughter echoes through homes. One of my absolute favorite traditions is baking *round Christmas cookies decorated* with my family. This isn’t just about mixing flour and sugar; it’s a chance to gather together, share stories, and create something beautiful that brings joy to others. I remember sitting at my mom’s kitchen table, icing cookies with my siblings, each of us trying to outdo the other with our sprinkles and designs. The thrill of seeing those colorful cookies come to life was pure joy! Plus, there’s nothing quite like the moment when you share those cookies with friends and neighbors, spreading cheer one bite at a time. Baking these cookies isn’t just a recipe; it’s a celebration of love, creativity, and togetherness that I cherish every single year.
Ingredients List
- 2 3/4 cups all-purpose flour, sifted to ensure a light texture
- 1 teaspoon baking soda, to help the cookies rise beautifully
- 1/2 teaspoon baking powder, working alongside the soda for that perfect fluff
- 1 cup unsalted butter, softened to room temperature for easy creaming
- 1 1/2 cups white sugar, giving just the right amount of sweetness
- 1 large egg, adding richness and binding the ingredients together
- 1 teaspoon vanilla extract, for that warm, comforting flavor
- 1/2 teaspoon almond extract, bringing a lovely hint of nuttiness
- 3 cups powdered sugar, for crafting the smoothest icing
- 2 tablespoons milk, to achieve the perfect consistency for the icing
- Food coloring, to make your cookies festive and fun!
- Sprinkles, because what’s a decorated cookie without a little sparkle?
How to Prepare Round Christmas Cookies Decorated
Preheat and Mix Dry Ingredients
Let’s kick things off by preheating your oven to 375°F (190°C). This is super important because you want those cookies to bake evenly and come out perfectly golden! While the oven is warming up, grab a mixing bowl and combine the 2 3/4 cups of sifted all-purpose flour, 1 teaspoon of baking soda, and 1/2 teaspoon of baking powder. Sifting the flour helps keep your cookies light and fluffy, which is exactly what we’re aiming for!
Cream Butter and Sugar
Now, let’s get to the fun part! In another bowl, cream together 1 cup of softened unsalted butter and 1 1/2 cups of white sugar until the mixture is smooth and fluffy. I usually use a hand mixer, but a sturdy wooden spoon works, too. This step is crucial because it incorporates air into the mixture, giving your cookies that delightful texture. Once it’s light and creamy, add in 1 large egg, 1 teaspoon of vanilla extract, and 1/2 teaspoon of almond extract. Mix everything together until it’s combined – oh, that smell is heavenly!
Combine Mixtures
Next, it’s time to bring everything together! Gradually add your dry ingredients into the creamed mixture. I like to do this in three parts, mixing gently after each addition. This technique helps to avoid overmixing, which can lead to tough cookies. You want the dough to be just combined, with no visible flour remaining.
Shape and Bake Cookies
Now, let’s shape those cookies! Roll rounded teaspoonfuls of dough into little balls, about the size of a walnut, and place them on ungreased cookie sheets, making sure to leave some space between them. They’ll spread as they bake, so don’t crowd them! Pop them in the oven and bake for about 8 to 10 minutes. Keep an eye on them; when the edges are lightly golden, they’re ready to come out!
Cool and Decorate
Once baked, allow your cookies to cool on wire racks. This step is essential because it helps them firm up and makes decorating easier. While they cool, whip up your icing by mixing 3 cups of powdered sugar and 2 tablespoons of milk until smooth. Add a splash of food coloring for that festive touch! When your cookies are completely cool, let your decorating creativity shine! Use the icing to create beautiful designs and top them off with sprinkles for that extra sparkle. Wow, these round Christmas cookies decorated will be a hit at your holiday gatherings!
Tips for Success
With a little care and attention, your round Christmas cookies decorated will turn out absolutely delightful! Here are some of my top tips to ensure your baking experience is a success.
Proper Storage for Freshness
Once your cookies are beautifully decorated and the icing has dried, store them in an airtight container. This keeps them fresh and prevents them from becoming stale. If you’re stacking cookies, place a sheet of parchment paper between layers to avoid any smudges or damage to your icing. Trust me, nobody wants a crushed cookie! Also, they can last up to a week on the counter, but if you need to keep them longer, consider freezing them. Just make sure they’re fully cooled before wrapping them tightly in plastic wrap and placing them in a freezer-safe bag.
Perfecting Your Icing Technique
When it comes to icing, a steady hand is key! For a smooth finish, use a piping bag or a squeeze bottle. If you don’t have either, a zip-top bag with a corner snipped off works just as well. For detailed designs, you can thin your icing with a tiny bit of milk until it reaches a pourable consistency. This is great for flooding the cookies. Just remember to let the icing dry completely before stacking or storing them.
Timing Your Decorating
Timing is everything! Once your cookies have cooled, I recommend decorating them the same day to ensure the icing adheres properly. If you’re planning a decorating party, you can bake the cookies ahead of time and store them in an airtight container until you’re ready to ice them. This way, you can focus on the fun part with family and friends!
Finally, don’t be afraid to get creative! Mix and match food colors or try different sprinkle styles. The more festive, the better! Enjoy the process, and remember, a little imperfection adds character to each cookie.
Nutritional Information
Let’s talk about the deliciousness packed into each of these round Christmas cookies decorated! Each cookie has a delightful balance of flavors, but it’s good to be mindful of what you’re indulging in. Here’s the estimated nutritional data for one cookie:
- Calories: 150
- Fat: 7g
- Saturated Fat: 4g
- Unsaturated Fat: 2g
- Trans Fat: 0g
- Cholesterol: 20mg
- Sodium: 50mg
- Carbohydrates: 20g
- Sugar: 10g
- Fiber: 0g
- Protein: 1g
Keep in mind that these values can vary based on the specific ingredients you choose to use. For instance, if you swap in different types of butter or sugar, the nutritional profile will change a bit. But that just means more room for creativity in the kitchen! Enjoy these festive treats as part of your holiday celebrations, and savor every sweet bite!
FAQ Section
How do I store decorated cookies?
Storing your decorated round Christmas cookies is simple, and keeping them fresh is key! Once the icing has fully dried, place the cookies in an airtight container. I usually use a layer of parchment paper between layers to prevent any smudging or sticking. If you’re planning to keep them for more than a week, consider wrapping them tightly in plastic wrap and then placing them in a freezer-safe bag to preserve their freshness. They’ll still taste delicious even after some time in the freezer!
Can I use different colors for icing?
Absolutely! The world is your oyster when it comes to icing colors. You can use various food colorings to create vibrant designs that really pop! Just add a few drops of food coloring to your icing and mix until you achieve the desired shade. You can even combine colors for a marbled effect or create a gradient on your cookies. The more colors you use, the more festive your cookies will look, so don’t hold back on the creativity!
What can I substitute for almond extract?
If you don’t have almond extract on hand or prefer not to use it, there are plenty of alternatives! Vanilla extract is a fantastic substitute that will keep the flavor profile similar. You can also try using hazelnut extract for a nutty twist or even a splash of orange or lemon zest to add a refreshing citrus note. Just remember, each substitute will slightly alter the flavor, but that’s part of the fun in making these cookies your own!
Why You’ll Love This Recipe
- Easy to Make: With simple ingredients and straightforward steps, this recipe is perfect for bakers of all skill levels. You’ll feel like a pro in no time!
- Delightful Flavors: The combination of vanilla and almond extracts adds a warm, inviting taste that’ll have everyone coming back for seconds.
- Festive Spirit: Decorating these round Christmas cookies decorated becomes a fun family activity, allowing you to unleash your creativity while spreading holiday cheer.
- Customizable: You can easily personalize the icing colors and sprinkle choices, making each batch uniquely yours and perfect for any holiday gathering.
- Perfect for Sharing: These cookies make fantastic gifts or treats to bring to parties, helping you spread joy and deliciousness to friends, family, and neighbors.
- Memorable Tradition: Baking these cookies can become a cherished family tradition, creating memories that will last a lifetime with your loved ones.
Equipment List
- Mixing Bowls: You’ll need a couple of sturdy mixing bowls, one for the dry ingredients and another for creaming the butter and sugar. Make sure they’re big enough to handle all that delicious dough!
- Measuring Cups and Spoons: Accurate measurements are key in baking! Having a set of dry measuring cups for flour and sugar, along with measuring spoons for baking soda and extracts, will ensure your cookies turn out just right.
- Electric Mixer or Wooden Spoon: An electric mixer makes creaming the butter and sugar a breeze, but if you prefer a good workout, a wooden spoon works just as well! Just be prepared to put in a little elbow grease.
- Baking Sheets: You’ll need a few ungreased baking sheets where those beautiful cookie balls will bake. Flat, rimmed ones work best to prevent any dough from rolling off the sides.
- Wire Cooling Racks: These are essential for letting your cookies cool properly once they come out of the oven. Cooling racks help prevent sogginess by allowing air to circulate around the cookies.
- Piping Bags or Squeeze Bottles: For the icing, having a piping bag or squeeze bottle makes decorating so much easier! You can also use a zip-top bag with a corner snipped off if you’re in a pinch.
- Spatula: A good spatula is key for transferring cookies from the baking sheet to the cooling rack without breaking them. A silicone one is my go-to for its flexibility and durability.
- Parchement Paper (optional): If you want to make cleanup a breeze and prevent sticking, lining your baking sheets with parchment paper is a fantastic idea. It also helps your cookies hold their shape.
Serving Suggestions
When it comes to enjoying your delicious round Christmas cookies decorated, the possibilities are endless! Here are some delightful ideas to enhance your cookie experience and create a festive atmosphere.
- Hot Cocoa: A warm mug of rich hot cocoa pairs perfectly with these sweet cookies. You can even top your cocoa with whipped cream and a sprinkle of cocoa powder to elevate the experience.
- Eggnog: For a classic holiday drink, serve these cookies with a chilled glass of eggnog. The creamy, spiced flavor of eggnog complements the sweetness of the cookies beautifully.
- Tea or Coffee: Brew a pot of your favorite tea or coffee for a cozy treat. The warmth of the drink balances out the sweetness of the cookies, making for a perfect afternoon snack.
- Fruit Platter: Consider adding a fresh fruit platter alongside your cookies. Slices of crisp apples or juicy oranges provide a refreshing contrast to the rich flavors of the cookies.
- Cheese Board: Create a simple cheese board with a variety of cheeses, nuts, and dried fruits. The savory elements of the cheese and the sweetness of the cookies create a delightful balance.
- Ice Cream: For a fun twist, serve your cookies with a scoop of vanilla or peppermint ice cream. Crumble the cookies on top for a delicious dessert sundae that’ll impress your guests!
Whatever you choose to serve, remember that the joy of these round Christmas cookies decorated comes not only from their deliciousness but also from sharing them with loved ones. Enjoy the festive flavors together and make lasting memories this holiday season!
Print
Round Christmas Cookies Decorated: 7 Joyful Ways to Share
- Total Time: 30 minutes
- Yield: 24 cookies 1x
- Diet: Vegetarian
Description
Delicious round Christmas cookies decorated with icing and sprinkles.
Ingredients
- 2 3/4 cups all-purpose flour
- 1 teaspoon baking soda
- 1/2 teaspoon baking powder
- 1 cup unsalted butter, softened
- 1 1/2 cups white sugar
- 1 egg
- 1 teaspoon vanilla extract
- 1/2 teaspoon almond extract
- 3 cups powdered sugar
- 2 tablespoons milk
- Food coloring
- Sprinkles
Instructions
- Preheat your oven to 375°F (190°C).
- In a bowl, mix flour, baking soda, and baking powder.
- In another bowl, cream together the butter and sugar until smooth.
- Beat in the egg, vanilla extract, and almond extract.
- Gradually blend the dry ingredients into the creamed mixture.
- Roll rounded teaspoonfuls of dough into balls, and place them on ungreased cookie sheets.
- Bake for 8 to 10 minutes in the preheated oven.
- Allow cookies to cool on wire racks.
- In a separate bowl, mix powdered sugar and milk to make icing.
- Decorate cookies with icing, food coloring, and sprinkles.
Notes
- Store cookies in an airtight container.
- Use different colors of icing for variety.
- Allow icing to dry before stacking cookies.
- Prep Time: 20 minutes
- Cook Time: 10 minutes
- Category: Dessert
- Method: Baking
- Cuisine: American
Nutrition
- Serving Size: 1 cookie
- Calories: 150
- Sugar: 10g
- Sodium: 50mg
- Fat: 7g
- Saturated Fat: 4g
- Unsaturated Fat: 2g
- Trans Fat: 0g
- Carbohydrates: 20g
- Fiber: 0g
- Protein: 1g
- Cholesterol: 20mg
Keywords: round christmas cookies, decorated cookies, holiday baking