Oh, let me tell you about my all-time favorite winter treat: snow ice cream! It’s the kind of simple joy that takes me right back to my childhood, when snow days meant endless fun and creativity. I remember rushing outside with my siblings, scooping up the freshest, fluffiest snow we could find, and transforming it into a deliciously creamy dessert with just a few ingredients. Trust me, this snow ice cream recipe is as easy as it sounds and perfect for all ages. In just ten minutes, you can whip up a batch that’s not only delightful but also a fantastic way to enjoy the beauty of a snowy day. Plus, it’s a fun way to engage kids in the kitchen while making sweet memories! So grab your bowl and let’s dive into this frosty adventure!
Oh, let me tell you about my all-time favorite winter treat: snow ice cream! It’s the kind of simple joy that takes me right back to my childhood, when snow days meant endless fun and creativity. I remember rushing outside with my siblings, scooping up the freshest, fluffiest snow we could find, and transforming it into a deliciously creamy dessert with just a few ingredients. Trust me, this snow ice cream recipe is as easy as it sounds and perfect for all ages. In just ten minutes, you can whip up a batch that’s not only delightful but also a fantastic way to enjoy the beauty of a snowy day. Plus, it’s a fun way to engage kids in the kitchen while making sweet memories! So grab your bowl and let’s dive into this frosty adventure!
Ingredients List
Gather these simple ingredients to create your delightful snow ice cream:
- 4 cups fresh snow: Make sure to use clean, white snow for the best results. Look for snow that’s freshly fallen and fluffy, avoiding any that’s yellow or dirty!
- 1 cup milk: You can use whole milk for creaminess or opt for a low-fat version if you prefer.
- 1/2 cup sugar: This sweetener balances the flavors perfectly – feel free to adjust to your taste!
- 1 tsp vanilla extract: This adds a lovely depth of flavor that makes every bite taste just right.
How to Prepare Instructions
Now that you’ve got your ingredients ready, let’s dive into the fun part: making your snow ice cream! Follow these easy steps, and you’ll have a delightful treat in no time.
Step 1: Gather Fresh Snow
First things first, head outside and scoop up some fresh, clean snow! I can’t stress enough how important it is to use pure white snow. Look for that light, fluffy stuff that just fell from the sky. Avoid any snow that looks yellow or has bits of debris – yuck! Grab about four cups of this snowy goodness and place it in a large mixing bowl. You want enough snow to give your ice cream that perfect fluffy texture.
Step 2: Prepare Milk Mixture
Next, in a separate bowl, combine one cup of milk, half a cup of sugar, and a teaspoon of vanilla extract. Now, here’s a little tip: stir the mixture gently until the sugar completely dissolves. This shouldn’t take more than a minute or two! The goal is to create a sweet, creamy base that will blend beautifully with the snow. You want to make sure every spoonful of your snow ice cream is bursting with flavor!
Step 3: Combine Milk Mixture with Snow
Now, it’s time for the magic! Carefully pour the milk mixture over your bowl of snow. I like to do this slowly, giving the snow a chance to absorb the liquid without getting too mushy. Use a spatula or spoon to gently fold the mixture into the snow until it’s all combined and creamy. Be careful not to overmix – you want to keep that delightful texture intact!
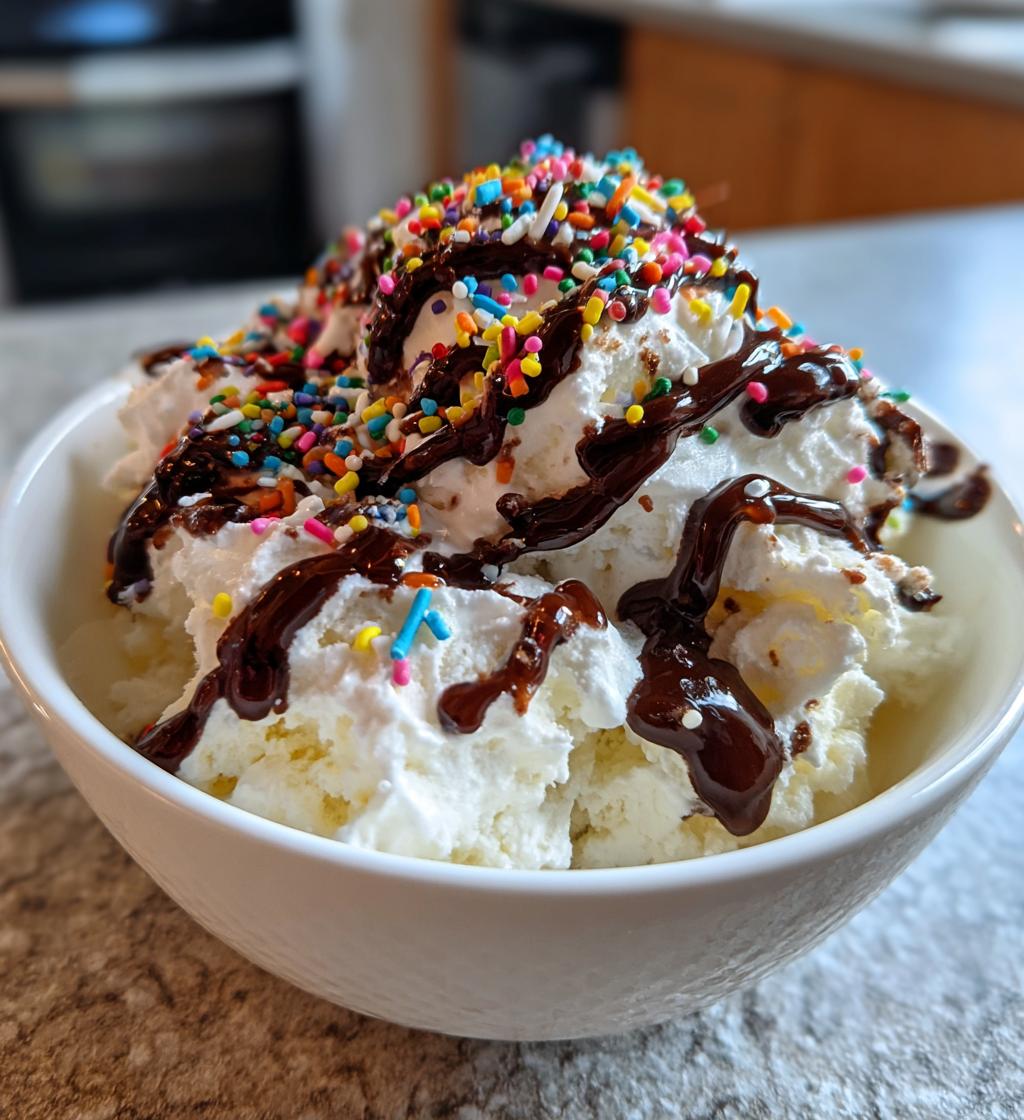
Step 4: Serve
Finally, scoop your snow ice cream into bowls and serve it right away. It’s best enjoyed fresh and cold! If you want to get fancy, you can add toppings like chocolate syrup, sprinkles, or even fresh fruit. I always say, the more fun, the better! Grab your spoons, gather your friends or family, and dig into this delightful winter treat!
Nutritional Information Section
Let’s take a peek at the nutritional values of this delightful snow ice cream! Keep in mind that these are estimates and can vary based on the specific ingredients you use.
- Serving Size: 1 cup
- Calories: 150
- Fat: 4g
- Saturated Fat: 2g
- Unsaturated Fat: 1g
- Trans Fat: 0g
- Cholesterol: 10mg
- Sodium: 100mg
- Carbohydrates: 24g
- Fiber: 0g
- Sugar: 20g
- Protein: 4g
This icy treat is a fun indulgence, and with simple ingredients, it’s a sweet way to enjoy a snowy day! Just remember, the joy of making it is what counts most, so dig in and enjoy every spoonful!
Why You’ll Love This Recipe
- Quick and Easy: You can whip up this delightful snow ice cream in just ten minutes! Perfect for when you want a sweet treat without all the fuss.
- Fun for Everyone: Making snow ice cream is an adventure! Kids and adults alike will love gathering fresh snow and mixing it into a creamy dessert.
- Customizable: The base recipe is simple, allowing you to get creative with flavors and toppings. Whether you prefer chocolate syrup, sprinkles, or fresh fruit, the choice is yours!
- Perfect for Winter Days: It’s a fantastic way to embrace the snowy weather and turn a chilly day into a fun-filled experience.
- Childhood Memories: This recipe is a nostalgic trip back to simpler times, reminding us of the joy of playing in the snow and sharing treats with loved ones.
Tips for Success
To ensure your snow ice cream turns out perfectly every time, here are some of my favorite tips and tricks that I’ve picked up along the way:
- Choose the Right Snow: Always use fresh, clean snow! The best kind is light and fluffy, just waiting to be transformed into a sweet treat. Avoid any snow that looks dirty or has been on the ground for a while – trust me, you want to skip that!
- Adjust the Sweetness: Don’t be afraid to taste the milk mixture before pouring it over the snow. If you like it sweeter, go ahead and add a bit more sugar. Remember, everyone’s taste buds are different, and you want it to be just right for you!
- Mix Gently: When combining the milk mixture with snow, use a gentle hand. You want to keep that light, airy texture, so fold the ingredients together carefully. Overmixing can lead to a mushy mess – and nobody wants that!
- Experiment with Toppings: Get creative with your toppings! Chocolate syrup, sprinkles, fresh fruit, or even crushed cookies can elevate your snow ice cream experience. I love adding a drizzle of caramel for an extra treat!
- Serve Immediately: Snow ice cream is best when served fresh. The longer it sits, the more it can lose that delightful texture, so gather your friends and dig in right away!
- Have Fun with Flavors: Feel free to add a twist to your snow ice cream! A spoonful of cocoa powder for a chocolate version or a splash of fruit puree can create a whole new flavor experience. The sky’s the limit!
With these tips in mind, you’re all set to make the best snow ice cream ever! Enjoy the process, and remember that the joy is in both making and sharing this frosty delight!
Variations
Now that you’ve mastered the classic snow ice cream recipe, let’s have some fun with variations! The beauty of this dessert is its versatility, so don’t hesitate to get creative. Here are some of my favorite ideas to take your snow ice cream to the next level:
- Chocolate Snow Ice Cream: For a rich and decadent twist, add 1/4 cup of cocoa powder to your milk mixture. This will give your snow ice cream a delightful chocolate flavor that’s sure to impress any chocoholic!
- Fruit-Infused Snow Ice Cream: Want to brighten things up? Try adding a splash of fruit puree to the milk mixture. Strawberries, blueberries, or raspberries work beautifully! Just blend fresh or frozen fruit until smooth before mixing it in.
- Coconut Snow Ice Cream: Swap the regular milk for coconut milk for a tropical vibe. The creamy coconut flavor pairs perfectly with the snow, giving you a delightful treat that feels like a mini vacation in a bowl!
- Mint Chocolate Chip Snow Ice Cream: Add a few drops of peppermint extract to the milk mixture for a refreshing mint flavor. Then, fold in some mini chocolate chips for that classic mint chocolate chip combination!
- Caramel Swirl Snow Ice Cream: Drizzle some caramel sauce into your snow ice cream just before serving. It creates a beautiful swirl and adds a sweet, buttery flavor that takes this treat to a whole new level.
- Nutty Delight: If you love crunch in your desserts, consider adding crushed nuts like almonds or walnuts into the mix. They add a lovely texture and a nutty flavor that complements the creaminess of the snow ice cream.
These variations not only keep things interesting but also allow you to customize your snow ice cream to suit your taste. So go ahead, mix and match, and enjoy experimenting with flavors – the possibilities are endless!
Storage & Reheating Instructions
Let’s be real: snow ice cream is best enjoyed fresh! The delightful texture and creamy consistency are at their peak right after you make it. So, I highly recommend gathering your family or friends and diving into this frosty treat as soon as it’s ready!
However, if you do find yourself with any leftovers (which is rare but can happen), here are a few tips to keep in mind:
- Storing Leftovers: If you absolutely must save some, transfer the snow ice cream into an airtight container. Make sure to press it down gently to minimize air pockets, which can lead to freezer burn.
- Keep it Cool: Store the container in the coldest part of your freezer. The goal is to keep it as frozen as possible, although it might lose some of its creamy texture over time.
- Consume Quickly: Try to eat any leftovers within a day or two. The longer it sits in the freezer, the icier and less enjoyable it will become. You want to capture that fresh, fluffy goodness!
- Reheating: Snow ice cream doesn’t need reheating, but if it’s become too hard, let it sit at room temperature for a few minutes to soften up before serving again. Just don’t leave it out for too long, or it might melt into a puddle!
In essence, while you can store snow ice cream for a short time, it’s truly a treat best made and enjoyed right away! So gather your loved ones, and make some sweet memories with this delightful winter dessert!
What to Serve with Snow Ice Cream
Now that you’ve whipped up some delightful snow ice cream, let’s talk about how to elevate your treat even further! While snow ice cream is a star on its own, pairing it with other desserts or snacks can create a wonderful experience for everyone at your table. Here are some of my favorite ideas:
- Warm Brownies: There’s nothing quite like the contrast of warm, fudgy brownies against cold snow ice cream. The rich chocolate flavor complements the sweetness of the ice cream perfectly!
- Fruit Salad: A refreshing fruit salad is a great way to balance the sweetness of snow ice cream. Try combining berries, melons, and citrus for a bright and vibrant side that adds a pop of color to your dessert spread.
- Homemade Cookies: Whether it’s classic chocolate chip or oatmeal raisin, cookies are a fantastic addition to your snow ice cream. You can even crumble some cookies on top for an added crunch!
- Pancakes or Waffles: For a fun breakfast twist, serve snow ice cream over warm pancakes or waffles. Drizzle with syrup, and you’ve got yourself a cozy brunch that’s sure to impress!
- Chocolate Fondue: Set up a chocolate fondue station with fruits, marshmallows, and pretzels for dipping. Serve the snow ice cream alongside, and let your guests create their own sweet combinations!
- Hot Chocolate: Pairing snow ice cream with a steaming mug of hot chocolate creates a delightful contrast. The cold ice cream slowly melting into the warm drink is an experience you won’t want to miss!
These serving suggestions not only enhance the experience of enjoying snow ice cream but also bring a sense of fun and excitement to your dessert table. So go ahead, mix and match, and create a delightful spread that everyone will love!
Print
snow ice cream recipe: 5 delightfully easy variations to try
- Total Time: 10 minutes
- Yield: 4 servings 1x
- Diet: Vegetarian
Description
A simple recipe for making snow ice cream using fresh snow.
Ingredients
- 4 cups fresh snow
- 1 cup milk
- 1/2 cup sugar
- 1 tsp vanilla extract
Instructions
- Gather fresh snow in a large bowl.
- In a separate bowl, mix milk, sugar, and vanilla extract until sugar dissolves.
- Pour the milk mixture over the snow.
- Stir gently until combined and creamy.
- Serve immediately in bowls.
Notes
- Use clean, white snow for best results.
- Adjust sugar to taste.
- Add toppings like chocolate syrup or sprinkles if desired.
- Prep Time: 10 minutes
- Cook Time: 0 minutes
- Category: Dessert
- Method: No-cook
- Cuisine: American
Nutrition
- Serving Size: 1 cup
- Calories: 150
- Sugar: 20g
- Sodium: 100mg
- Fat: 4g
- Saturated Fat: 2g
- Unsaturated Fat: 1g
- Trans Fat: 0g
- Carbohydrates: 24g
- Fiber: 0g
- Protein: 4g
- Cholesterol: 10mg
Keywords: snow ice cream recipe