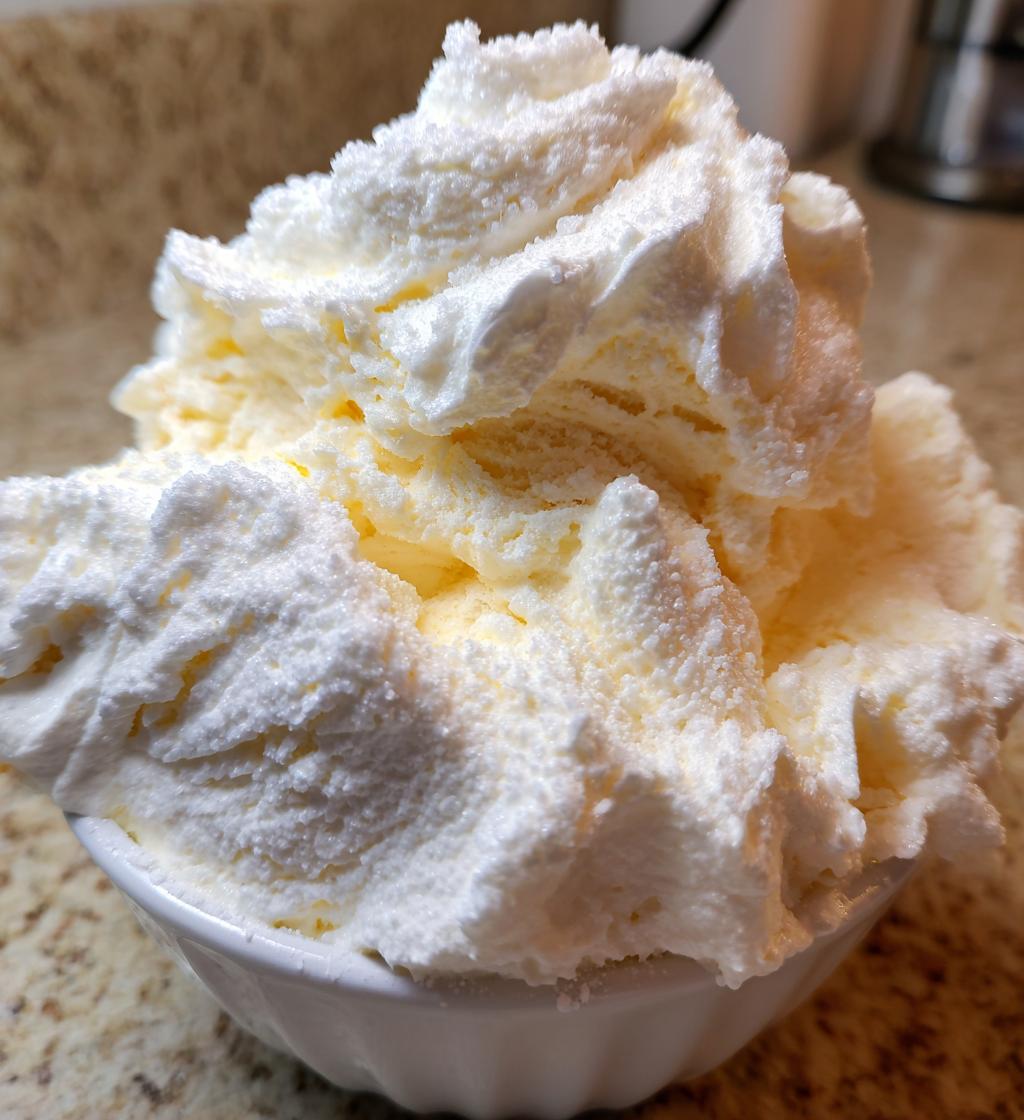
There’s something magical about making snow ice cream on a fresh winter day! Just picture this: fluffy, white snowflakes falling gently outside as you gather a big bowl of that pristine snow. This snow ice cream recipe easy is not only fun to make, but it’s also a delightful way to indulge in a sweet treat that brings back childhood memories. It takes just minutes to whip up, making it the perfect last-minute dessert to surprise your family or friends. The best part? You only need a handful of simple ingredients, most of which you likely have on hand. Just mix milk, sugar, and a dash of vanilla with that fresh snow, and voilà! You’ve got a creamy, dreamy dessert that’s sure to impress. So, grab your mittens and let’s dive into this easy and joyous winter treat!
Ingredients for Snow Ice Cream Recipe Easy
- 4 cups of fresh snow: Make sure it’s clean, white snow! Avoid any yellow or discolored patches. The fluffier, the better!
- 1 cup of milk: You can use whole milk for a creamier texture, or any milk you prefer. Almond or soy milk works too for a dairy-free option!
- 1/2 cup of sugar: Adjust the sweetness to your taste! If you want it less sweet, feel free to use a bit less.
- 1 teaspoon of vanilla extract: This adds a lovely flavor to your snow ice cream, making it taste even more delightful!
How to Prepare Snow Ice Cream Recipe Easy
Making snow ice cream is a breeze, and I’m here to guide you through each delightful step! Trust me, you’ll be amazed at how simple it is to create this fun winter treat. Just follow these steps, and you’ll be savoring your very own snow ice cream in no time!
Step 1: Gather Fresh Snow
First things first, you’ll want to collect about 4 cups of fresh, clean snow. Make sure it’s white and fluffy—no yellow patches allowed! I always recommend picking your snow from an area that’s away from any dirt or debris. This keeps your snow ice cream safe and delicious!
Step 2: Mix the Milk Mixture
In a separate bowl, combine 1 cup of milk, 1/2 cup of sugar, and 1 teaspoon of vanilla extract. Stir it well until the sugar dissolves completely. This step is super important because you want that sweetness to blend beautifully with the snow. I usually give it a good 1-2 minutes of mixing to ensure everything’s well combined!
Step 3: Combine with Snow
Now for the fun part! Slowly pour your milk mixture over the snow. Use a spatula or a large spoon to gently stir everything together. You want to combine it until it’s nice and creamy, but be careful not to over-mix. The snow should maintain its fluffy texture, giving you that dreamy ice cream feel!
Step 4: Serve Immediately
Quickly scoop your snow ice cream into bowls and enjoy it right away. The texture is best fresh, so don’t wait too long! This sweet treat melts fast, but trust me, it’s worth it! You’ll love every spoonful of this simple and delightful dessert!
Tips for Success
- Choose the right snow: Fresh, fluffy snow is key! Avoid snow that’s been on the ground for too long or has been disturbed.
- Work quickly: Snow ice cream is best when served immediately, so have your bowls ready before you start mixing!
- Adjust sweetness: Feel free to tweak the sugar amount based on your taste preferences. You can even try adding a sprinkle of cocoa powder for a chocolatey twist!
- Experiment with flavors: Try adding a dash of food coloring or a different extract like almond for a unique flavor.
Nutritional Information for Snow Ice Cream Recipe Easy
So, let’s talk numbers! This snow ice cream recipe easy serves about four people, and each serving is roughly 1 cup. Here’s a quick breakdown of the estimated nutritional values:
- Calories: 150
- Fat: 5g
- Saturated Fat: 3g
- Carbohydrates: 22g
- Sugar: 20g
- Protein: 3g
- Sodium: 50mg
Keep in mind that these values are estimates and can vary based on the exact ingredients you use. But hey, it’s a delicious winter treat, so enjoy it while keeping these numbers in mind!
FAQ Section
Q1. Can I use store-bought snow?
Unfortunately, no! This recipe calls for fresh, clean snow to ensure the best flavor and texture. Plus, it’s all about the fun of gathering your own!
Q2. What if it snows too much and I collect more than 4 cups?
No worries! Just scale up your milk mixture accordingly. For every extra cup of snow, add an additional 1/4 cup of milk and 2 tablespoons of sugar to keep the balance.
Q3. Can I make snow ice cream ahead of time?
It’s best enjoyed fresh! Snow ice cream tends to melt quickly, so I recommend making it right before you plan to serve it.
Q4. What if I don’t have vanilla extract?
You can substitute it with any flavor extract you love, like almond or even peppermint for a winter twist!
Q5. Is this recipe safe for kids?
Absolutely! Just supervise them while gathering the snow and mixing, and they’ll have a blast making this delicious treat!
Why You’ll Love This Recipe
- Quick and Easy: This snow ice cream recipe can be whipped up in just 5 minutes, making it a perfect last-minute dessert!
- Fun for Kids: Kids will have a blast gathering snow and mixing the ingredients, turning a simple treat into a playful adventure.
- Deliciously Unique: The combination of fresh snow, creamy milk, and sweet vanilla creates a delightful flavor that’s unlike any other dessert.
- Customizable: You can easily tweak the recipe to include your favorite flavors or toppings, making it a versatile treat!
- Perfect for Winter: There’s nothing like enjoying a sweet, cold dessert on a snowy day—it brings joy and warmth to chilly afternoons!
Storage & Reheating Instructions
Now, let’s talk about what to do if you have any leftover snow ice cream (though I doubt it’ll last long!). Ideally, it’s best enjoyed fresh, but if you do have some left, store it in an airtight container in the freezer. Just remember, it may lose its fluffy texture once frozen, so be prepared for a more icy treat upon re-serving.
When you’re ready to enjoy it again, let it sit at room temperature for a few minutes to slightly soften before scooping. This way, you can bring back some of that creamy goodness. Happy indulging!
Serving Suggestions
Snow ice cream is already a delightful treat on its own, but why not take it up a notch? Here are some fun ideas to enhance your experience!
- Top with Fresh Fruit: Add slices of strawberries, bananas, or blueberries for a burst of color and flavor. The sweetness pairs beautifully with the creamy snow ice cream!
- Drizzle with Chocolate Sauce: A warm chocolate drizzle brings a touch of decadence that’s hard to resist. It creates a lovely contrast with the cold ice cream!
- Sprinkle with Nuts: Chopped nuts like almonds or walnuts add a satisfying crunch and a nutty flavor that complements the sweetness.
- Create Sundaes: Layer your snow ice cream with your favorite toppings, like whipped cream and maraschino cherries, for a classic sundae experience!
These simple additions can elevate your snow ice cream to a whole new level of deliciousness. Enjoy experimenting!
Print
snow ice cream recipe easy: 4 Steps to Winter Bliss
- Total Time: 5 minutes
- Yield: 4 servings 1x
- Diet: Vegetarian
Description
A simple recipe for making snow ice cream using fresh snow.
Ingredients
- 4 cups of fresh snow
- 1 cup of milk
- 1/2 cup of sugar
- 1 teaspoon of vanilla extract
Instructions
- Gather fresh snow in a large bowl.
- In a separate bowl, mix milk, sugar, and vanilla extract until dissolved.
- Slowly pour the milk mixture over the snow.
- Stir gently until combined.
- Scoop into bowls and serve immediately.
Notes
- Use clean, white snow.
- Adjust sugar to taste.
- Serve right away for best texture.
- Prep Time: 5 minutes
- Cook Time: 0 minutes
- Category: Dessert
- Method: Mixing
- Cuisine: American
Nutrition
- Serving Size: 1 cup
- Calories: 150
- Sugar: 20g
- Sodium: 50mg
- Fat: 5g
- Saturated Fat: 3g
- Unsaturated Fat: 1g
- Trans Fat: 0g
- Carbohydrates: 22g
- Fiber: 0g
- Protein: 3g
- Cholesterol: 15mg
Keywords: snow ice cream recipe easy