Oh, the joy of making snow ice cream! It’s one of those magical winter treats that takes you right back to childhood. I remember rushing outside with my siblings, our cheeks rosy from the cold, scooping up fresh, fluffy snow and racing back inside to whip up this delightful dessert. There’s something so fun and simple about snow ice cream – it’s like bringing the essence of winter right to your table in just a few minutes! You’ll be amazed at how easy it is to transform those pristine snowflakes into a creamy, sweet treat that’s perfect for chilly days. Trust me, once you try making snow ice cream, you’ll want to keep this delightful recipe in your winter arsenal!
Ingredients List
- 8 cups of fresh snow: Make sure it’s clean and fluffy! The best snow for this recipe is that light, powdery kind that falls after a fresh snowfall.
- 1 cup of milk: Whole milk works best for a creamy texture, but feel free to use any milk you prefer.
- 1/2 cup of sugar: This adds just the right amount of sweetness. You can adjust it to taste if you like things a bit sweeter or less sweet.
- 1 teaspoon of vanilla extract: Pure vanilla extract adds a lovely depth of flavor that complements the sweetness perfectly.
How to Prepare Snow Ice Cream
Getting ready to make snow ice cream is a breeze! Just follow these simple steps, and you’ll have a delightful dessert in no time. Trust me, the process is almost as fun as eating it!
Step 1: Gather Fresh Snow
First things first, you’ll want to grab that fresh, clean snow! This is super important because you only want the fluffiest, purest snowflakes for your treat. Ideally, wait for a nice snowfall, preferably one that leaves a light powder on the ground. Avoid snow that’s been on the ground too long, or that’s been mixed with dirt or debris. Just scoop up about 8 cups of that gorgeous, fluffy snow and make sure it’s all clean. You can use a large bowl or a clean container to gather it, and don’t forget to have some fun while you’re at it!
Step 2: Mix the Sweet Ingredients
Now, let’s sweeten things up! In a mixing bowl, combine 1 cup of milk, 1/2 cup of sugar, and 1 teaspoon of vanilla extract. Stir them together until the sugar has completely dissolved. You can use a whisk or a fork, but I love using a whisk because it makes everything come together beautifully. If you want to get fancy, feel free to taste the mixture and adjust the sugar to your liking. Just remember, this mixture is what transforms your snow into creamy goodness, so make sure it’s just right!
Step 3: Combine the Mixture with Snow
Here comes the fun part! Carefully pour the sweet milk mixture over your bowl of snow. Grab a spatula or a spoon and gently stir it all together. You want to be delicate here, so the snow retains its fluffy texture. Aim for a uniform consistency where every bit of snow is coated in that delicious mixture. If it looks a little too runny, just add a bit more snow until you get that perfect, creamy texture. It should look like a dreamy, fluffy dessert ready to eat!
Step 4: Serve Immediately
Now, here’s the secret to the ultimate snow ice cream experience: you’ve got to serve it right away! This treat is best enjoyed fresh, as the longer it sits, the more it melts. Scoop generous portions into bowls, and if you’re feeling extra festive, you can top it off with sprinkles or chocolate syrup. Gather your family or friends and dig in while it’s still fluffy and cold. Trust me, this is a moment you won’t want to miss!
Why You’ll Love This Recipe
- Quick and Easy: You can whip up snow ice cream in just 5 minutes! It’s the perfect last-minute dessert when you want something sweet but don’t want to spend hours in the kitchen.
- Fun for All Ages: Making snow ice cream is a delightful activity for the whole family. Kids love gathering the snow and mixing it up, making it a fun, hands-on winter project!
- Unique Winter Treat: How many desserts let you use the snow outside? Snow ice cream is a rare treat that truly captures the spirit of winter, making it a memorable experience every time.
- Customizable Flavors: You can easily switch things up by adding different flavors like cocoa powder or fruit purees. This means every batch can be a new adventure!
- Light and Refreshing: Unlike heavier desserts, snow ice cream is light and fluffy, making it a refreshing treat on a chilly day.
Tips for Success
Want to make sure your snow ice cream turns out perfectly? I’ve got you covered with some pro tips that will have you mastering this delightful treat in no time!
- Use the right snow: Always opt for fresh, clean snow. The best kind is light and fluffy, which usually falls right after a snowfall. Avoid any snow that looks dirty or has been on the ground for too long. Trust me, it makes all the difference!
- Mix it quickly: Once you pour the sweet mixture over the snow, stir gently but quickly. You want to keep that fluffy texture, so don’t overmix! Just enough to coat the snow is perfect.
- Taste before serving: Feel free to taste the milk mixture before adding it to the snow. If you want it sweeter, add a little more sugar. Remember, you can always tweak it to match your preferences!
- Be mindful of the temperature: If it’s too warm outside, your snow ice cream might melt faster. Try to make it in a cooler spot or enjoy it indoors. You want that icy treat to stay fluffy and not turn into a slushy puddle!
- Adjust for flavors: If you’re experimenting with different flavors, start by adding small amounts of cocoa powder or fruit puree. You can always add more, but you can’t take it out once it’s in there!
- Serve in chilled bowls: For an extra special touch, chill your bowls in the freezer before scooping in the snow ice cream. It helps keep the treat cold and enhances that refreshing experience.
These little tips will help you avoid common pitfalls and ensure your snow ice cream is a hit every time. Enjoy the process, and don’t forget to have fun while making it!
Variations on Snow Ice Cream
One of the best things about snow ice cream is how easy it is to get creative with flavors! Once you’ve nailed the basic recipe, you can start experimenting to find your perfect combination. Here are some fun variations to inspire your next batch:
- Cocoa Delight: For a chocolatey twist, add 1/4 cup of cocoa powder to the milk mixture before pouring it over the snow. This adds a rich, chocolaty flavor that will satisfy any chocolate cravings!
- Berry Bliss: Blend in a few tablespoons of fruit puree—like strawberry, raspberry, or blueberry—into the milk mixture. This not only adds a beautiful color but also a burst of fresh, fruity flavor.
- Minty Fresh: Add a few drops of peppermint extract to the milk mixture for a refreshing mint flavor. You can even sprinkle crushed mint candies on top for an extra treat!
- Coconut Dream: Swap out regular milk for coconut milk and add a handful of shredded coconut to the snow. This gives your snow ice cream a tropical vibe that’s perfect for winter days!
- Vanilla Bean Heaven: If you want to elevate the vanilla flavor, use real vanilla bean instead of extract. Just scrape the seeds from half a bean into the milk mixture for a more intense vanilla experience.
Feel free to mix and match these ideas or come up with your own unique flavors! The possibilities are endless, so let your imagination run wild. Snow ice cream is all about having fun, so don’t be afraid to try something new!
Storage & Reheating Instructions
Okay, here’s the scoop about storing snow ice cream! Honestly, it’s best enjoyed fresh, right after you make it, when it’s still fluffy and icy. But if you happen to have leftovers (which is rare!), you can store them in an airtight container in the freezer for a short time. Just remember, the longer it sits in the freezer, the more it loses that delightful texture, turning into a slushy treat.
If you find yourself with some leftover snow ice cream, try to eat it within a day or two for the best experience. As for reheating—well, snow ice cream isn’t really meant to be reheated. You’ll lose all that lovely fluffiness, and it’ll just turn into a watery mess. Instead, consider repurposing it into a fun smoothie or milkshake by blending it with a bit of milk and your favorite fruits! Just know that fresh is always the way to go when it comes to this delightful winter treat.
Nutritional Information
Here’s the scoop on the nutritional values for a serving of this delightful snow ice cream! Keep in mind that these values are estimates and can vary based on specific ingredients and measurements used. But this should give you a good idea of what to expect:
- Serving Size: 1 cup
- Calories: 150
- Total Fat: 3g
- Saturated Fat: 2g
- Unsaturated Fat: 1g
- Trans Fat: 0g
- Cholesterol: 10mg
- Sodium: 50mg
- Total Carbohydrates: 25g
- Dietary Fiber: 0g
- Sugars: 20g
- Protein: 4g
So, there you have it! A light and sweet treat that’s perfect for those snowy days. Enjoy every fluffy bite, knowing you’re indulging in something simple yet delicious!
Frequently Asked Questions
Got questions about snow ice cream? I’ve got answers! Here are some of the most common queries people have about this delightful winter treat, along with my personal insights to help you enjoy it to the fullest.
Is snow ice cream safe to eat?
Absolutely! As long as you use fresh, clean snow, it’s perfectly safe to eat. Just make sure to avoid snow that’s been on the ground for too long or has any dirt, debris, or yellowish tint. The cleaner the snow, the better your snow ice cream will be. And remember, always have fun while gathering it!
Can I use snow that has fallen after a storm?
Yes, you can! However, it’s best to wait a bit after a storm when the snow has settled and is fluffy. The fresh, light, powdery snow that falls after a winter storm is ideal for making snow ice cream. Just ensure it’s clean and free from any contaminants!
What if I don’t have enough snow?
No worries! If you’re short on snow, you can simply adjust the recipe. Just scale back the amount of milk, sugar, and vanilla to match the snow you have. You could also combine it with crushed ice for a similar texture, but fresh snow is always the best option for that lightness.
Can I make snow ice cream using flavored milk?
Definitely! Using flavored milk can add a fun twist to your snow ice cream. Chocolate milk, for example, can create a delicious cocoa version of the treat. Just adjust the sugar accordingly, as flavored milks are often sweeter. Get creative with it!
How long can I store snow ice cream?
While I recommend enjoying snow ice cream fresh, you can store any leftovers in an airtight container in the freezer for a day or two. Just remember, the longer it sits, the more it loses its fluffy texture. Snow ice cream is a treat best enjoyed right away for the ultimate experience!
Can I make snow ice cream with toppings?
You bet! Once you’ve made your snow ice cream, feel free to get creative with toppings. Sprinkles, chocolate syrup, or even crushed cookies can add a fun flair. Just remember to keep it light so the snow ice cream stays fluffy and delicious!
There you go! I hope these FAQs help you as you embark on your snow ice cream adventure. It’s all about having fun and enjoying the process, so don’t hesitate to experiment and make it your own! Happy snow gathering!
Print
Snow Ice Cream: 5 Magical Ways to Enjoy Winter’s Treat
- Total Time: 5 minutes
- Yield: 4 servings 1x
- Diet: Vegetarian
Description
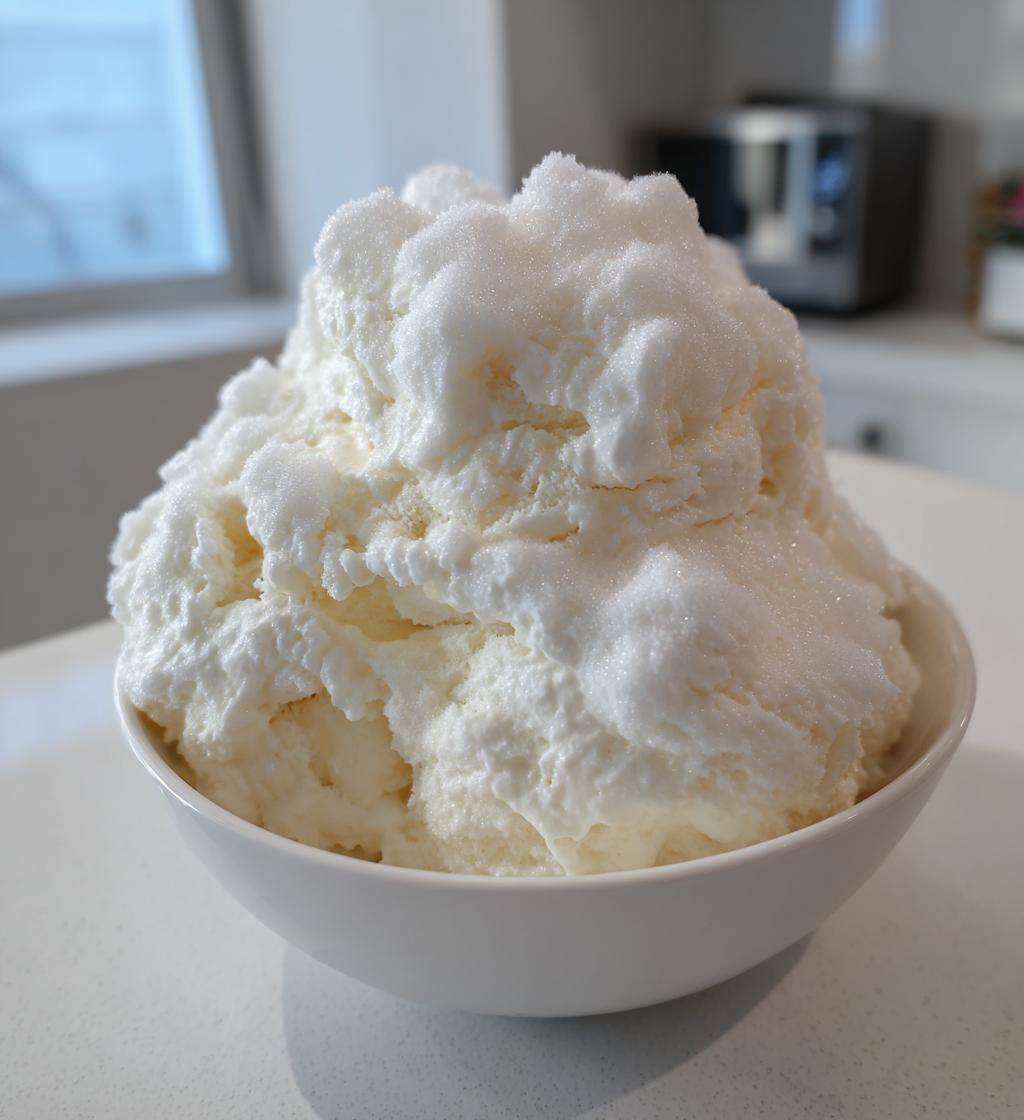
A simple and fun treat made from fresh snow and sweet ingredients.
Ingredients
- 8 cups of fresh snow
- 1 cup of milk
- 1/2 cup of sugar
- 1 teaspoon of vanilla extract
Instructions
- Gather fresh, clean snow.
- In a bowl, mix milk, sugar, and vanilla extract until sugar dissolves.
- Pour the mixture over the snow.
- Stir gently until well combined.
- Serve immediately in bowls.
Notes
- Use only fresh, clean snow.
- Adjust sugar to taste.
- For flavor variations, add cocoa powder or fruit puree.
- Prep Time: 5 minutes
- Cook Time: 0 minutes
- Category: Dessert
- Method: No-cook
- Cuisine: American
Nutrition
- Serving Size: 1 cup
- Calories: 150
- Sugar: 20g
- Sodium: 50mg
- Fat: 3g
- Saturated Fat: 2g
- Unsaturated Fat: 1g
- Trans Fat: 0g
- Carbohydrates: 25g
- Fiber: 0g
- Protein: 4g
- Cholesterol: 10mg
Keywords: snow ice cream, snow dessert, winter treat