There’s something incredibly joyful about making homemade treats, especially when it comes to chocolates for Valentine’s Day! These little delights aren’t just sweets; they’re tokens of love, crafted with care and sprinkled with a touch of creativity. I remember the first time I decided to make chocolates for my partner. I wanted to surprise them, and I thought, “Why not whip up something special that says ‘I love you’ in the sweetest way possible?” As I melted the chocolate and mixed in the nuts, the aroma filled my kitchen, making me giddy with excitement. The best part? Watching their eyes light up when they took that first bite – pure bliss! Trust me, there’s nothing like the joy of giving handmade chocolates to make your loved ones feel cherished. These Valentine’s Day chocolates are not just treats; they’re a heartfelt expression of affection that anyone can make, and I can’t wait to share my recipe with you!
Ingredients List
- 1 cup dark chocolate chips
- 1/2 cup heavy cream
- 1/4 cup powdered sugar
- 1 teaspoon vanilla extract
- 1/2 cup crushed nuts
How to Prepare Instructions
Making these stunning Valentine’s Day chocolates is a breeze! Follow these simple steps, and you’ll have a delightful batch ready to impress your loved ones.
Step 1: Melt the Chocolate
First things first, let’s melt those chocolate chips! Grab a double boiler – if you don’t have one, no worries! Just put a heatproof bowl over a pot of simmering water. Make sure the bowl doesn’t touch the water. Add your chocolate chips and stir gently until they’re completely melted. Be careful not to rush this step; if the chocolate starts to burn, it’ll seize up and ruin your chocolates! You want it silky smooth.
Step 2: Prepare the Cream Mixture
While the chocolate is melting away, it’s time to whip up your cream mixture. In a separate bowl, combine the heavy cream, powdered sugar, and vanilla extract. Use a whisk or electric mixer to blend them together until it’s nice and smooth. You want it to be light and fluffy, so don’t skimp on this step!
Step 3: Combine Mixtures
Now comes the fun part! Carefully pour the melted chocolate into your cream mixture. Use a spatula to fold the two together gently. This step is crucial – you want to mix them well without losing that lovely airy texture you just created. Keep folding until the chocolate and cream are fully blended.
Step 4: Add Nuts
Next, it’s time to add those crunchy crushed nuts! Sprinkle them into the chocolate mixture and give it a good stir. You want to make sure the nuts are evenly distributed throughout, so every bite has that delightful crunch!
Step 5: Mold the Chocolates
Now, grab your chocolate molds! Carefully pour the chocolate mixture into each mold, filling them about three-quarters full. If you’re feeling fancy, you can tap the molds gently on the countertop to release any air bubbles and create a smooth surface.
Step 6: Refrigerate
Patience is key here! Place your filled molds in the refrigerator and let them chill for at least 2 hours, or until they’re firm and set. This step is super important for that perfect chocolate texture!
Step 7: Serve
Once your chocolates have set, it’s time for the grand reveal! Carefully remove them from the molds by gently pressing on the bottom. Serve them up on a lovely plate, and watch as your loved ones’ faces light up with joy!
Why You’ll Love This Recipe
- Quick Prep Time: With just 20 minutes of prep, you can whip up these chocolates in no time!
- Easy to Make: This no-bake recipe is perfect for cooks of all skill levels. If I can do it, so can you!
- Perfect for Gifting: Handmade chocolates make for thoughtful gifts that show you care. Who wouldn’t love receiving these sweet treats?
- Customizable Flavors: Feel free to switch up the nuts or add fun flavors like mint or orange to make them extra special!
- Deliciously Indulgent: The rich chocolate combined with creamy filling and crunchy nuts creates a delightful treat that’s hard to resist.
Tips for Success
To ensure your Valentine’s Day chocolates turn out absolutely perfect, here are some pro tips that I swear by!
- Use High-Quality Chocolate: Trust me, the quality of your chocolate makes a huge difference! Go for good dark chocolate chips that you’d enjoy eating on their own. You’ll taste that rich flavor in every bite!
- Make Sure Your Molds Are Dry: Before pouring in the chocolate mixture, double-check that your molds are completely dry. Any moisture can mess with the chocolate’s texture and make it tricky to remove later.
- Experiment with Flavors: Don’t be afraid to get creative! Try adding a splash of peppermint extract or a dash of orange zest to your cream mixture for a fun twist. It’s all about personalizing these chocolates to your taste!
- Be Patient When Refrigerating: I know it’s tempting to rush this step, but let those chocolates chill for the full 2 hours. This ensures they set properly and have that delightful snap when you bite into them.
- Use a Silicone Mold: If you can, opt for silicone molds. They make it so much easier to pop the chocolates out without breaking them. You’ll thank me later!
With these tips, you’ll be well on your way to impressing everyone with your homemade Valentine’s Day chocolates! Happy creating!
Variations
One of the best things about making your own Valentine’s Day chocolates is the endless possibilities for customization! Here are some fun variations to take your chocolates to the next level:
- Different Types of Chocolate: Why stick to just dark chocolate? Try using milk chocolate or white chocolate for a sweeter treat. You can even mix them together for a marbled effect!
- Nutty Goodness: Switch up the nuts based on your preference! Almonds, pecans, or walnuts all work beautifully. You could even toast them lightly for an added layer of flavor!
- Fruit Infusions: Consider adding dried fruits like cranberries or cherries. They bring a lovely tartness that pairs wonderfully with the chocolate.
- Flavor Twists: Get adventurous! Add a few drops of peppermint extract for a refreshing mint chocolate vibe, or stir in some orange zest for a citrusy burst that brightens up the flavors.
- Spicy Kick: If you’re feeling bold, try adding a pinch of cayenne pepper or cinnamon to the chocolate mixture. It adds an unexpected kick that will surprise and delight!
These variations not only make your chocolates unique but also let you tailor them to suit the taste buds of your loved ones. So, go ahead and get creative – the only limit is your imagination!
Storage & Reheating Instructions
Storing your homemade Valentine’s Day chocolates is super simple! Just keep them in an airtight container at room temperature if you plan to enjoy them within a week. If you want to keep them fresh for longer, pop them in the refrigerator. Just remember to let them sit at room temperature for a few minutes before serving, so they regain that delightful melt-in-your-mouth quality!
Now, here’s the best part – these chocolates don’t require any reheating! They’re ready to be enjoyed straight from the fridge or the counter. Just grab a piece, savor the deliciousness, and watch the smiles light up on your loved ones’ faces. Trust me, there’s no need for any extra fuss; they’re perfect as they are!
Nutritional Information Section
Let’s talk numbers! Here’s a breakdown of the typical nutritional values for each piece of these delightful homemade Valentine’s Day chocolates. Keep in mind that these values are estimates based on the ingredients I’ve shared, so they might vary a bit depending on your specific ingredients and portion sizes.
- Calories: 120
- Total Fat: 8g
- Saturated Fat: 4g
- Unsaturated Fat: 3g
- Trans Fat: 0g
- Cholesterol: 0mg
- Sodium: 5mg
- Total Carbohydrates: 12g
- Dietary Fiber: 1g
- Sugar: 10g
- Protein: 1g
These chocolates are a sweet treat that can be enjoyed in moderation, making them a lovely indulgence for your special occasions. So go ahead, treat yourself and your loved ones to these lovingly crafted goodies!
What to Do Next
Now that you’ve got the recipe for these delightful Valentine’s Day chocolates, I’d love to hear from you! Have you tried making them? What flavors did you choose? Please leave a comment below and share your experiences – I’m all ears for your stories and any little tweaks you made to the recipe!
Also, if you enjoyed this chocolate-making adventure, consider rating the recipe! Your feedback means the world to me and helps others find this sweet treat. Whether you wrapped them up as gifts or indulged with a loved one, I can’t wait to hear how they turned out for you!
Happy chocolate making, and remember – the joy is in the love you put into these treats! Can’t wait to see your creations!
Print
Valentines Day Chocolates: 7 Ways to Delight Your Love
- Total Time: 2 hours 30 minutes
- Yield: 12 chocolates 1x
- Diet: Vegetarian
Description
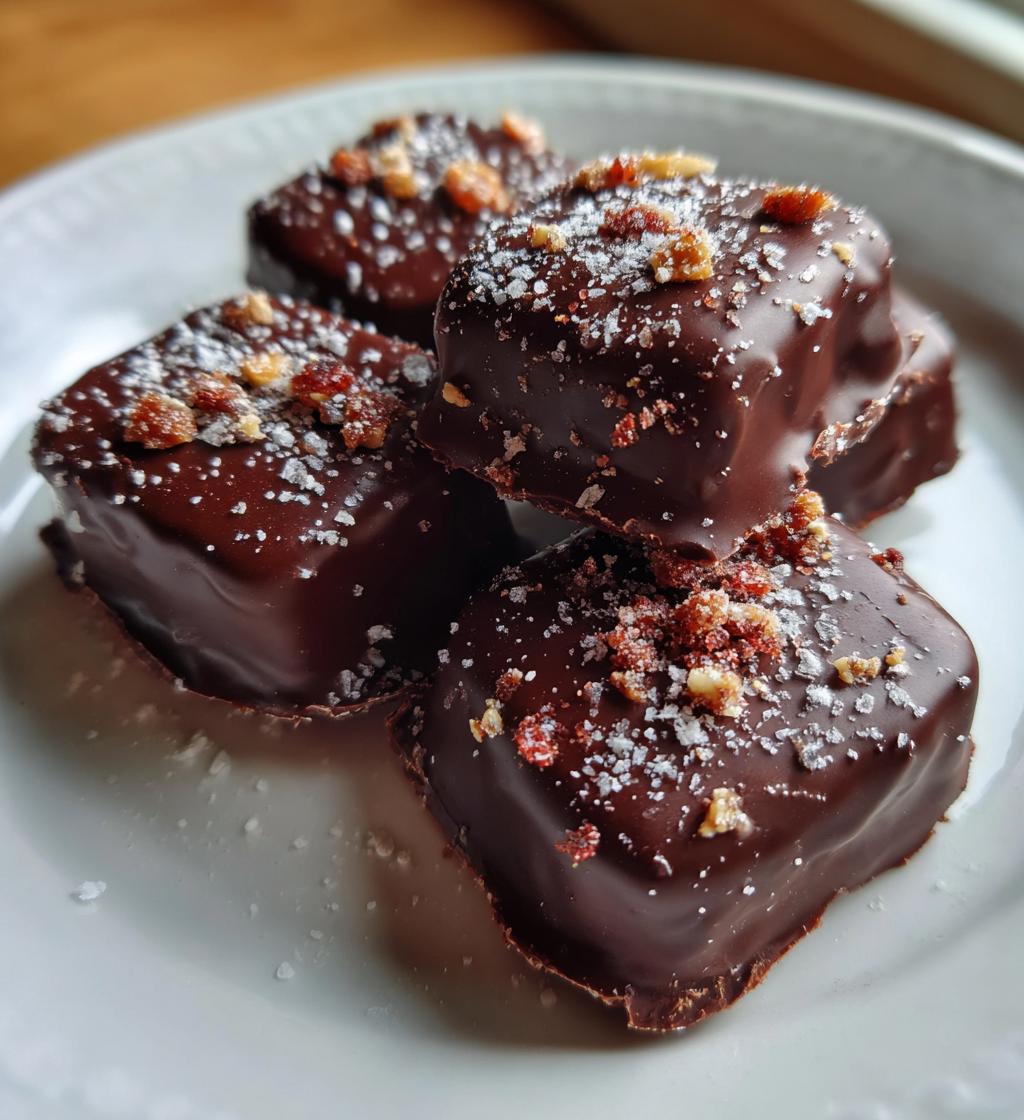
Delicious homemade chocolates perfect for Valentine’s Day.
Ingredients
- 1 cup dark chocolate chips
- 1/2 cup heavy cream
- 1/4 cup powdered sugar
- 1 teaspoon vanilla extract
- 1/2 cup crushed nuts
Instructions
- Melt the dark chocolate chips in a double boiler.
- In a separate bowl, mix heavy cream, powdered sugar, and vanilla extract.
- Combine the melted chocolate with the cream mixture.
- Add crushed nuts and mix well.
- Pour the mixture into chocolate molds.
- Refrigerate for 2 hours or until set.
- Remove from molds and serve.
Notes
- Store in a cool place.
- Use different types of chocolate for variety.
- Add flavors like mint or orange for a twist.
- Prep Time: 20 minutes
- Cook Time: 10 minutes
- Category: Dessert
- Method: No-bake
- Cuisine: American
Nutrition
- Serving Size: 1 chocolate
- Calories: 120
- Sugar: 10g
- Sodium: 5mg
- Fat: 8g
- Saturated Fat: 4g
- Unsaturated Fat: 3g
- Trans Fat: 0g
- Carbohydrates: 12g
- Fiber: 1g
- Protein: 1g
- Cholesterol: 0mg
Keywords: valentines day chocolates, homemade chocolates, chocolate recipe