Valentine’s Day is such a special time of year, isn’t it? The excitement of creating sweet treats to share with loved ones always fills my heart with joy. There’s something magical about baking up a batch of cookies that not only satisfies your sweet tooth but also warms the soul. This recipe for Valentine’s Day sweets is so simple yet incredibly delicious – you’ll want to make it again and again! With just a handful of everyday ingredients, you can whip up these delightful cookies in no time. Imagine the smell of melting chocolate wafting through your kitchen as they bake, turning your home into a cozy haven. These cookies are perfect for gifting or enjoying with your favorite people, and trust me, they’ll put a smile on anyone’s face. So, let’s dive into this easy recipe that’s sure to make your Valentine’s Day extra sweet!
Ingredients List
Gather these simple ingredients to create your delicious Valentine’s Day sweets:
- 1 cup sugar: Regular granulated sugar works best for sweetness.
- 1/2 cup butter: Softened to room temperature for easy blending.
- 2 eggs: Large eggs are perfect for binding the mixture.
- 1 teaspoon vanilla extract: Pure vanilla will add a lovely aroma and flavor.
- 1 1/2 cups all-purpose flour: This will give the cookies structure.
- 1/2 teaspoon baking powder: Helps the cookies rise and become fluffy.
- 1/4 teaspoon salt: Just a pinch enhances the overall flavor.
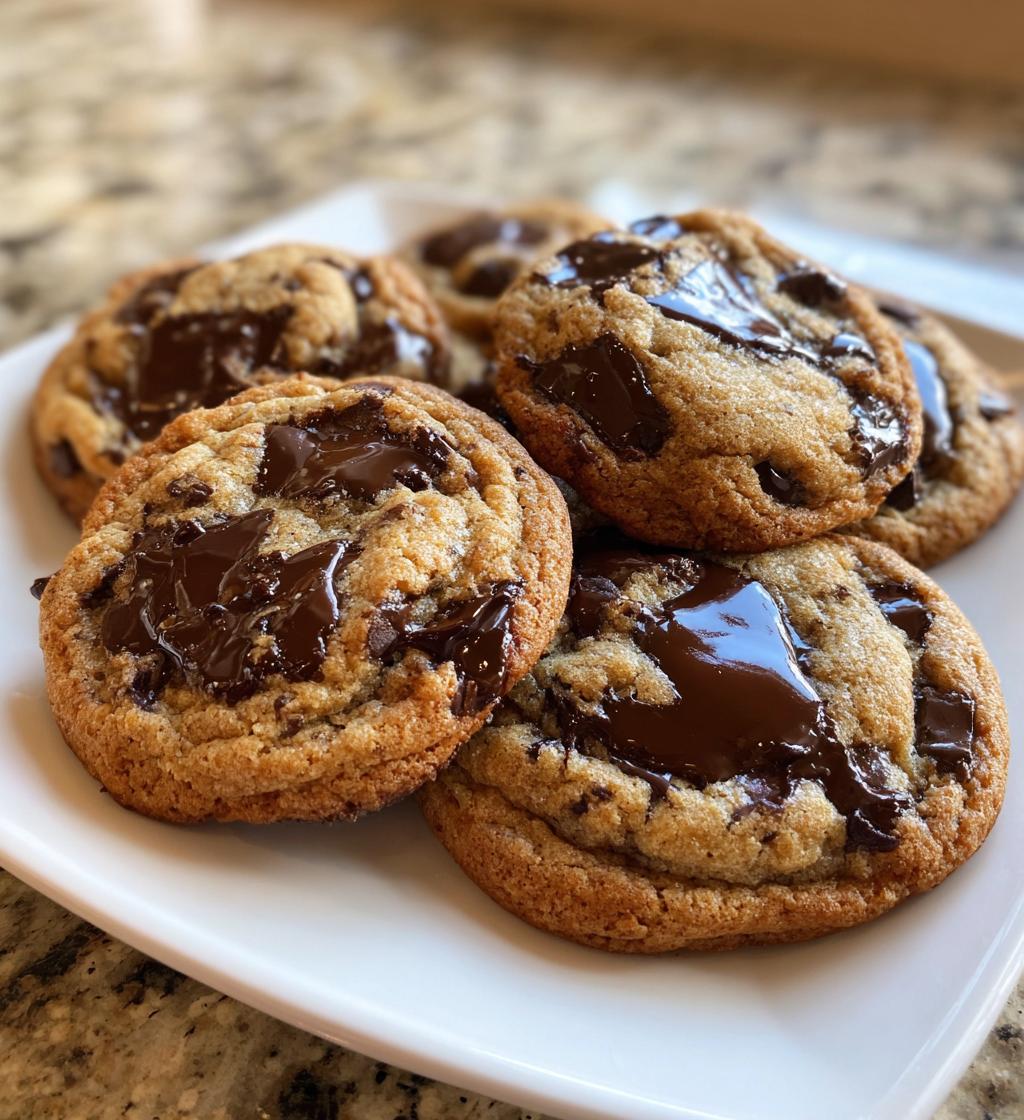
- 1/2 cup chocolate chips: Semi-sweet or dark chocolate chips can be used for that delightful melty goodness.
How to Prepare Valentine’s Day Sweets
Now that you’ve gathered your ingredients, let’s jump right into the fun part – making these scrumptious Valentine’s Day sweets! Follow these easy steps, and you’ll have a batch of delightful cookies ready to share in no time.
Preheat and Cream
First things first, preheat your oven to 350°F (175°C). This is super important because you want your cookies to bake evenly. While that’s heating up, grab a large mixing bowl. It’s time to cream together the sugar and butter. Use a hand mixer or a sturdy wooden spoon and beat them together until the mixture is smooth and creamy. You’re looking for a light, fluffy texture – think clouds of sweetness! This step is key for getting that perfect cookie texture.
Mix Wet Ingredients
Next, it’s time to add in the eggs and vanilla extract. Crack those eggs into the bowl and pour in the vanilla. Mix everything together well until it’s all combined. You want a cohesive mixture that looks rich and inviting. Don’t worry if it seems a bit loose; that’s just how it’s supposed to be!
Combine Dry Ingredients
Now, grab another bowl and combine your flour, baking powder, and salt. Whisk them together to ensure they’re mixed nicely. This helps to evenly distribute the baking powder, which will make your cookies rise beautifully. Gradually add this dry mixture to your wet ingredients in the larger bowl, stirring gently as you go. Be careful not to overmix; a few flour streaks are completely okay!
Add Chocolate Chips
Alright, here comes the exciting part – adding those chocolate chips! Pour them into the dough and use a spatula to fold them in gently. Make sure every bite has a bit of chocolatey goodness. Yum!
Baking Process
Now it’s time to drop spoonfuls of the cookie dough onto ungreased baking sheets. I like to use a cookie scoop for evenness, but a regular spoon works just fine too! Make sure to leave some space between each scoop, as they’ll spread a little while baking. Pop them in the oven and bake for about 10-12 minutes, or until the edges are just lightly golden. Your kitchen will smell heavenly!
Cooling and Serving
Once they’re done baking, take the cookies out and let them cool on the baking sheet for a few minutes. This helps them set. After that, transfer them to a wire rack to cool completely. Trust me, letting them cool is so important; warm cookies can be a bit too soft to handle. Once they’re cool, you can enjoy these lovely treats or package them up to share with your favorite people!
Why You’ll Love This Recipe
- Quick Preparation: With just 15 minutes of prep time, you’ll have these delicious cookies baking in no time!
- Easy to Make: The straightforward steps mean anyone can whip up a batch, whether you’re a seasoned baker or a novice.
- Perfect for Sharing: These cookies are great for gifting! Pack them up in a cute box, and you’ve got a heartfelt present for friends or loved ones.
- Customizable: Feel free to switch things up with different types of chocolate chips or add in your favorite nuts for extra texture and flavor.
- Deliciously Irresistible: The combination of buttery goodness and melty chocolate makes these cookies a crowd-pleaser for any occasion.
- Versatile Treat: Great for Valentine’s Day, holidays, or just because – these sweets fit any celebration!
Tips for Success
To help you make the absolute best Valentine’s Day sweets, I’ve gathered some tried-and-true tips that will elevate your cookie game. Trust me, these little nuggets of wisdom will make all the difference!
Perfecting the Creaming Process
First off, don’t rush the creaming of your butter and sugar! This step is crucial for creating a light and fluffy texture. Make sure your butter is at room temperature – it should be soft but not melted. When you cream them together, aim for a pale, fluffy mixture that resembles whipped honey. This aerates the batter, giving your cookies that delightful lift!
Checking for Doneness
Keep an eye on those cookies while they bake! They might not look done right when the timer goes off, but if the edges are just turning golden and the centers look a bit soft, they’re perfect. Remember, cookies continue to cook a bit while cooling, so don’t wait until they look fully set in the oven. Trust your instincts; they’ll be just right!
Watch the Mixing
When you’re combining your dry and wet ingredients, mix just until everything is incorporated. Overmixing can lead to tough cookies. You want a nice, tender bite, so if you see a few flour streaks, that’s totally fine! It’s better to err on the side of under-mixing than overdoing it.
Experiment with Chocolate
Feel free to get creative with your chocolate chips! Dark chocolate, milk chocolate, or even white chocolate can each bring a unique flavor profile to your cookies. You can also try adding a mix of chocolate types for a fun twist. And if you’re feeling adventurous, throw in some chopped nuts or dried fruits for extra texture!
Don’t Forget the Cooling Rack
Once your cookies are out of the oven, let them cool on the baking sheet for a few minutes before moving them to a wire rack. This helps them firm up so they don’t fall apart. If you skip this step, you might end up with delicious yet crumbly cookies. Patience is key here!
With these tips in your back pocket, you’re all set to bake up a storm! Enjoy the process, and happy baking!
Storage & Reheating Instructions
Once you’ve baked your scrumptious Valentine’s Day sweets, you’ll want to make sure they stay fresh and delicious for as long as possible. Here’s how to store your cookies properly:
First, let the cookies cool completely on a wire rack. This step is super important because if you store them while they’re still warm, they can get soggy. Once they’re cooled, transfer them to an airtight container. I recommend using a container that’s not too big so that the cookies don’t shift around too much. You can layer them with parchment paper in between to keep them from sticking together.
If stored this way, your cookies will stay fresh for about a week at room temperature. Just make sure to keep them in a cool, dry place away from direct sunlight. If you want to keep them for a longer time, you can freeze them! Just place the cookies in a freezer-safe container or a resealable freezer bag, separating layers with parchment. They’ll be good for up to three months in the freezer.
When you’re ready to enjoy a cookie from the freezer, simply take it out and let it thaw at room temperature for a bit. If you prefer them warm, pop them in the microwave for about 10-15 seconds. Just be careful not to overdo it, or you might end up with a melted mess instead of a delightful treat!
With these easy storage and reheating tips, you can make sure each bite of your Valentine’s Day sweets is just as delicious as the first!
Nutritional Information Section
Here’s a quick look at the estimated nutritional values for each scrumptious cookie in this Valentine’s Day sweets recipe. Knowing what’s in your treats can help you enjoy them even more!
- Serving Size: 1 cookie
- Calories: 100
- Sugar: 8g
- Sodium: 50mg
- Fat: 4g
- Saturated Fat: 2g
- Unsaturated Fat: 2g
- Trans Fat: 0g
- Carbohydrates: 15g
- Fiber: 1g
- Protein: 1g
- Cholesterol: 20mg
These values are approximate and can vary based on ingredient brands and sizes. Enjoy your cookies guilt-free, knowing they’re made with love and deliciousness!
Frequently Asked Questions
Got some questions about making these delightful Valentine’s Day sweets? Don’t worry, I’ve got you covered! Here are some common inquiries I’ve come across, along with my answers to help you succeed in the kitchen.
Can I substitute the butter with margarine or a dairy-free alternative?
Absolutely! While I love the richness that real butter brings to these cookies, you can use margarine or a dairy-free substitute if you prefer. Just ensure that whatever alternative you choose is suitable for baking. The texture might vary slightly, but the cookies will still be delicious!
What can I use instead of chocolate chips?
If you’re not a fan of chocolate or want to mix it up, feel free to get creative! You can use butterscotch chips, white chocolate chips, or even dried fruits like cranberries or cherries for a fruity twist. Nuts, like walnuts or pecans, also make a fantastic addition, adding a nice crunch!
Why are my cookies flat instead of thick and chewy?
Flat cookies can happen for a few reasons. One common culprit is if the butter was too warm when creamed. Make sure it’s softened but not melted. Also, check that you’re measuring your flour correctly – too little flour can lead to spreading. Lastly, avoid overmixing the dough once the dry ingredients are added; this can affect the texture as well.
Can I make the dough ahead of time and freeze it?
Definitely! You can prepare the cookie dough and scoop it into balls, then freeze them on a baking sheet. Once frozen, transfer the dough balls to a freezer-safe container or bag. When you’re ready to bake, just add a couple of minutes to the baking time, and you’ll have fresh cookies whenever the craving strikes!
How do I store the cookies for maximum freshness?
To keep your Valentine’s Day sweets fresh, let them cool completely and then store them in an airtight container at room temperature. They’ll stay delicious for about a week. If you want to keep them longer, freezing is a great option! Just remember to layer them with parchment paper to prevent sticking.
Print
Valentine’s Day sweets: 5 Irresistible Treats to Bake
- Total Time: 27 minutes
- Yield: 24 cookies 1x
- Diet: Vegetarian
Description
Delicious sweets perfect for Valentine’s Day.
Ingredients
- 1 cup sugar
- 1/2 cup butter
- 2 eggs
- 1 teaspoon vanilla extract
- 1 1/2 cups all-purpose flour
- 1/2 teaspoon baking powder
- 1/4 teaspoon salt
- 1/2 cup chocolate chips
Instructions
- Preheat your oven to 350°F (175°C).
- Cream together sugar and butter until smooth.
- Add eggs and vanilla; mix well.
- Combine flour, baking powder, and salt; gradually add to the creamed mixture.
- Stir in chocolate chips.
- Drop by spoonfuls onto ungreased baking sheets.
- Bake for 10-12 minutes.
- Let cool before serving.
Notes
- Store in an airtight container.
- Add sprinkles for extra flair.
- Use different types of chocolate chips for variety.
- Prep Time: 15 minutes
- Cook Time: 12 minutes
- Category: Dessert
- Method: Baking
- Cuisine: American
Nutrition
- Serving Size: 1 cookie
- Calories: 100
- Sugar: 8g
- Sodium: 50mg
- Fat: 4g
- Saturated Fat: 2g
- Unsaturated Fat: 2g
- Trans Fat: 0g
- Carbohydrates: 15g
- Fiber: 1g
- Protein: 1g
- Cholesterol: 20mg
Keywords: Valentine’s day sweets, cookies, dessert