Valentine’s Day is one of those magical moments when love fills the air, and what better way to express your affection than by whipping up some delightful *valentines treats*? I get so excited about this day every year! It’s like a sweet excuse to spread joy through baking. I remember the first time I made these treats; the kitchen was filled with the rich aroma of chocolate, and the colorful sprinkles brought such a cheerful vibe. It made me realize that baking isn’t just about the end product; it’s about creating memories and sharing smiles. Each treat becomes a little love note, perfect for friends, family, or that special someone.
What I love most about these treats is how easy they are to make! With just a handful of simple ingredients, you can whip up a batch in no time. Plus, they’re so adaptable – you can sprinkle in your favorite mix-ins or even swap out flavors to make them uniquely yours. So, whether you’re hosting a Valentine’s gathering or just wanting to brighten someone’s day, these *valentines treats* are a heartfelt way to show you care. Trust me, they’re as fun to make as they are to enjoy!
Ingredients List
To create these scrumptious *valentines treats*, you’ll need just a few simple ingredients to make your baking experience a breeze. Here’s what you’ll need:
- 1 cup all-purpose flour – the base for our treats, giving them structure.
- 1/2 cup granulated sugar – for that perfect touch of sweetness that balances everything.
- 1/4 cup unsweetened cocoa powder – because who can resist the rich, chocolatey flavor?
- 1/2 cup softened butter – this adds that velvety texture we all love, making the treats melt in your mouth.
- 1 large egg – binds everything together and adds a little bit of lift.
- 1 tsp pure vanilla extract – it’s not just a flavor, it’s love in liquid form!
- 1/2 cup chocolate chips – because more chocolate is always a good idea!
- 1/4 cup colorful sprinkles – these bring joy and festivity to our treats, making them perfect for Valentine’s Day.
Gather these ingredients, and you’re well on your way to creating a batch of delightful treats that will spread smiles and sweetness everywhere!
How to Prepare *Valentines Treats*
Getting ready to make these delightful *valentines treats* is as easy as pie! I love how each step feels like a little adventure in my kitchen, and I’m here to guide you through the process. Let’s dive right in!
Step-by-Step Instructions
First things first, let’s preheat that oven to 350°F (175°C). This is crucial because we want our treats to bake evenly and come out perfectly fluffy. While that’s heating up, grab a mixing bowl and combine the dry ingredients: 1 cup of all-purpose flour, 1/2 cup of granulated sugar, and 1/4 cup of unsweetened cocoa powder. Just whisk them together until they’re well blended. Trust me, this step is essential for ensuring that your treats don’t have any clumps of cocoa or sugar!
Next, it’s time to add in the good stuff! Toss in the 1/2 cup of softened butter, 1 large egg, and 1 teaspoon of pure vanilla extract. Now, mix it all together until you get a smooth batter. It should be thick but not dry; think of it like a soft cookie dough consistency. If it’s too stiff, just a splash of milk can help loosen it up a bit.
Once that’s mixed, fold in the 1/2 cup of chocolate chips. I love this part because the chocolate just melts into the batter as it bakes, creating those lovely gooey pockets of chocolate that are pure bliss. Now, let’s talk about the fun part: shaping the treats! Using a spoon, drop heaping spoonfuls of the batter onto a baking sheet lined with parchment paper. Make sure to leave a little space between each one because they’ll spread out while baking.
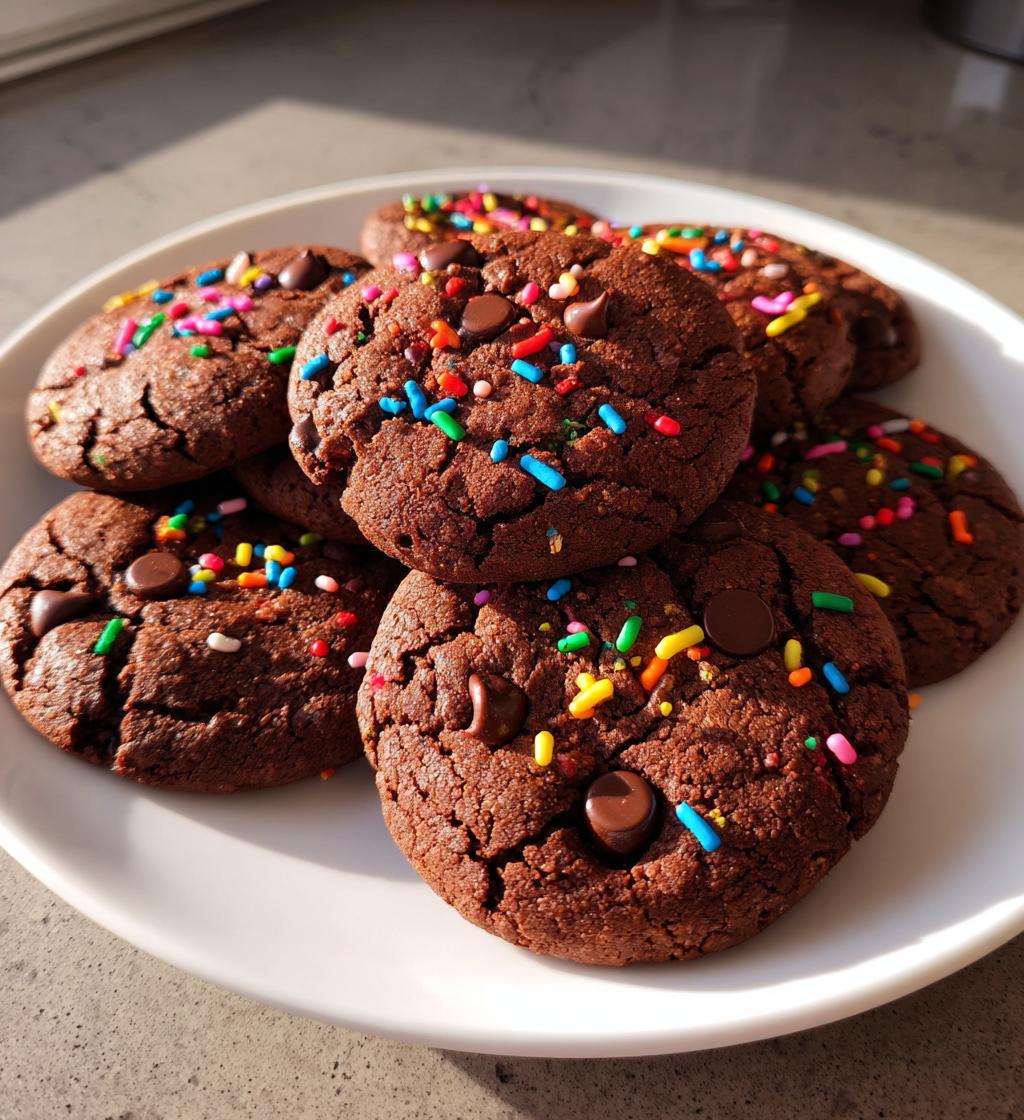
Before popping them into the oven, sprinkle a few extra chocolate chips and colorful sprinkles on top. This adds a festive touch and makes them look oh-so-tempting! Bake these little beauties for about 10-12 minutes. You’ll know they’re done when they look set but still soft in the middle. A gentle touch should leave an imprint; if they spring back, they’re ready to come out!
Let the treats cool on the baking sheet for a few minutes before transferring them to a wire rack. This helps them firm up a bit, making them easier to handle. And voilà! You’ve just created a batch of delicious *valentines treats* that are perfect for sharing or enjoying all on your own. I can already smell the chocolate wafting through the air – it’s pure magic!
Why You’ll Love This Recipe
- Quick Preparation: You can whip up these *valentines treats* in just 15 minutes of prep time! Perfect for when you need a sweet fix in a hurry.
- Simple Ingredients: With just a handful of everyday ingredients, you won’t have to hunt down anything fancy. It’s all about what you probably already have in your pantry!
- Delicious Taste: Trust me, the combination of rich chocolate and buttery goodness will have everyone asking for seconds (and thirds!).
- Perfect for Sharing: These treats are great for parties, gatherings, or just surprising someone you love. They’re little bites of happiness that spread joy wherever they go!
- Great for Kids and Adults Alike: Whether you’re baking with little helpers or enjoying them with friends, everyone will adore these sweet creations. They truly are a treat for all ages!
Tips for Success
Getting the perfect batch of *valentines treats* is all about those little details! I’ve gathered some of my favorite pro tips to ensure your treats turn out absolutely scrumptious every single time. Trust me, these will make all the difference!
Use Room Temperature Ingredients
Always start with room temperature butter and egg. This helps create a smoother batter and ensures everything blends together beautifully. If you forget to take them out ahead of time, no worries! Just pop the butter in the microwave for about 10 seconds to soften it, and you can warm the egg in a bowl of warm water for a few minutes.
Don’t Overmix!
When combining the wet and dry ingredients, mix just until everything is incorporated. Overmixing can lead to a tough texture, and we want these treats to be soft and tender. It’s okay if there are a few small lumps; they’ll bake out!
Experiment with Add-Ins
Feel free to get creative with your *valentines treats*! You can swap out chocolate chips for white chocolate or even add in some crushed nuts or toffee bits. Just make sure to keep the overall amount of mix-ins similar to the original recipe so that the texture remains consistent.
Check for Doneness Carefully
Ovens can vary, so start checking your treats a minute or two before the suggested baking time. Remember, they should look set but slightly soft in the center. They’ll continue to firm up as they cool on the baking sheet. If you wait until they look completely firm, they might end up a bit dry!
Let Them Cool Completely
Once out of the oven, give your treats some time to cool on the baking sheet before transferring them to a wire rack. This cooling period lets them set up properly, preventing any crumbling when you move them. Plus, the aroma wafting through the kitchen during this time is simply heavenly!
With these tips in mind, you’re all set to create the ultimate *valentines treats*. Enjoy the process, and remember – it’s all about spreading love and sweetness through your baking!
Storage & Reheating Instructions
Once you’ve whipped up a delicious batch of *valentines treats*, you’ll want to make sure they stay fresh and delightful for as long as possible! Here’s how to store them properly:
First, let your treats cool completely on a wire rack. This step is essential because it prevents any condensation from forming inside your storage container, which could make them soggy. Once they’re cool, transfer your *valentines treats* to an airtight container. I love using a simple glass jar or a plastic container with a tight-fitting lid. This keeps them fresh and prevents any unwanted odors from seeping in.
These treats can be stored at room temperature for about 3-4 days, but trust me, they won’t last that long if you have chocolate lovers around! If you want to keep them for a bit longer, you can freeze them! Just wrap each treat in plastic wrap or aluminum foil, then place them in a freezer-safe bag or container. They’ll stay good for up to 2 months in the freezer. When you’re ready to enjoy them, simply let them thaw at room temperature for about 30 minutes or pop them in the microwave for a quick 10-15 seconds to warm them up.
For reheating, I recommend the microwave for a quick treat fix. Just be careful not to overdo it! A few seconds should do the trick, making them warm and gooey again. You can also pop them back in the oven at 350°F (175°C) for about 5 minutes to refresh them, which helps restore that lovely, fresh-baked texture.
With these storage and reheating tips, you can enjoy your *valentines treats* whenever the craving strikes! Happy baking!
Nutritional Information
When it comes to enjoying your *valentines treats*, it’s always nice to know what’s in them! Here’s a breakdown of the estimated nutritional data per serving (1 treat):
- Calories: 120
- Sugar: 8g
- Sodium: 50mg
- Fat: 6g
- Saturated Fat: 3g
- Unsaturated Fat: 2g
- Trans Fat: 0g
- Carbohydrates: 15g
- Fiber: 1g
- Protein: 2g
- Cholesterol: 20mg
Please note that these values are estimates and can vary based on specific ingredients used and portion sizes. Enjoy your treats knowing they’re a delightful indulgence that fits right into your Valentine’s celebrations!
FAQ Section
As you dive into making these delightful *valentines treats*, you might have a few questions along the way. Don’t worry, I’ve got you covered! Here are some common queries and answers to help you navigate your baking adventure.
Can I substitute the all-purpose flour for a gluten-free option?
Absolutely! You can use a gluten-free all-purpose flour blend in place of regular flour. Just make sure it has xanthan gum or another binding agent included, as this will help mimic the texture you’d get with traditional flour. Your treats will still be delicious!
What can I use instead of butter?
If you need a dairy-free option, you can swap the butter for a plant-based alternative like coconut oil or vegan butter. Just remember that the flavor might change slightly, but you’ll still end up with tasty treats!
Can I make these *valentines treats* vegan?
Sure thing! To make them vegan, you can replace the egg with a flax egg (1 tablespoon of ground flaxseed mixed with 2.5 tablespoons of water, let it sit until it thickens) or applesauce. This will keep the treats moist and delicious while keeping them completely plant-based!
How should I store leftover treats?
Once they’re cool, store your *valentines treats* in an airtight container at room temperature for up to 3-4 days. If you want to keep them longer, pop them in the freezer! Just wrap each treat individually and place them in a freezer-safe bag for up to 2 months.
Can I add other mix-ins to the batter?
Definitely! Feel free to get creative! You can add nuts, dried fruit, or even different flavored chocolate chips. Just keep the overall amount of mix-ins similar to the recipe so the texture stays spot on!
How can I adjust the sweetness of the treats?
If you prefer your treats a little less sweet, you can reduce the sugar by a couple of tablespoons. Alternatively, you could use a sugar substitute like stevia or monk fruit sweetener, but be sure to check the conversion ratios on the packaging!
I hope these answers help clear up any questions you have about making your *valentines treats*. Happy baking, and remember, it’s all about spreading love and joy through each delicious bite!
Print
valentines treats: 7 Deliciously Sweet Ways to Share Love
- Total Time: 27 minutes
- Yield: 24 treats 1x
- Diet: Vegetarian
Description
Delicious treats for Valentine’s Day.
Ingredients
- 1 cup all-purpose flour
- 1/2 cup sugar
- 1/4 cup cocoa powder
- 1/2 cup butter, softened
- 1 egg
- 1 tsp vanilla extract
- 1/2 cup chocolate chips
- 1/4 cup sprinkles
Instructions
- Preheat the oven to 350°F (175°C).
- In a bowl, mix flour, sugar, and cocoa powder.
- Add softened butter, egg, and vanilla extract. Mix well.
- Fold in chocolate chips.
- Drop spoonfuls of batter onto a baking sheet.
- Sprinkle with additional chocolate chips and sprinkles.
- Bake for 10-12 minutes.
- Let cool before serving.
Notes
- Store in an airtight container.
- Can be frozen for later use.
- Adjust sweetness to taste.
- Prep Time: 15 minutes
- Cook Time: 12 minutes
- Category: Dessert
- Method: Baking
- Cuisine: American
Nutrition
- Serving Size: 1 treat
- Calories: 120
- Sugar: 8g
- Sodium: 50mg
- Fat: 6g
- Saturated Fat: 3g
- Unsaturated Fat: 2g
- Trans Fat: 0g
- Carbohydrates: 15g
- Fiber: 1g
- Protein: 2g
- Cholesterol: 20mg
Keywords: valentines treats, desserts, baking, chocolate