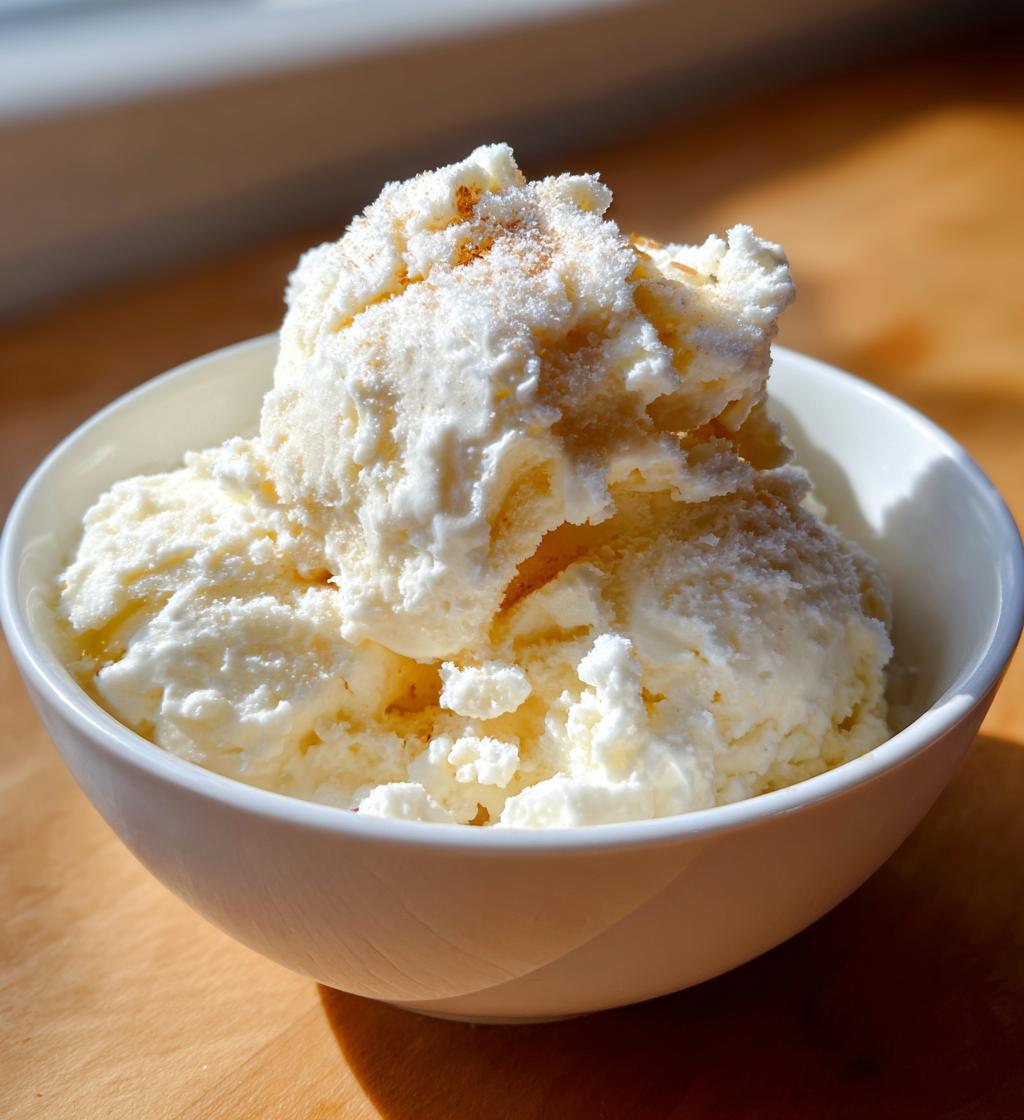
Ah, snow ice cream! It’s one of those magical treats that takes you back to childhood, where the simplest things bring the biggest smiles. Picture this: a fresh blanket of snow, and you’ve got everything you need to whip up a delicious, creamy dessert right from your backyard. Making snow ice cream is not only easy but also a whole lot of fun, especially when you’ve got the kids helping out! All you need is 8 cups of fresh, clean snow, some milk, sugar, and a splash of vanilla extract for flavor. This delightful winter treat comes together in just 10 minutes, making it the perfect last-minute dessert for your snow-day adventures. Trust me, once you try it, you’ll be hooked! There’s just something about the fluffy texture and sweet taste that makes it a must-try snow dessert. So grab your bowl and let’s dive into this snowy delight!
Ingredients List
Gathering the ingredients for snow ice cream is super simple, and you probably have most of them on hand already! Here’s what you’ll need:
- 8 cups of fresh snow: Make sure to collect clean, uncontaminated snow. The fluffier the snow, the better your ice cream will be!
- 1 cup of milk: You can use any milk you like—whole, almond, or oat milk all work beautifully for a creamy texture.
- 1/2 cup of sugar: This sweetener will help balance the flavors, but feel free to adjust according to your taste!
- 1 teaspoon of vanilla extract: This adds a delightful hint of flavor that complements the snow perfectly.
With these simple ingredients, you’re just a few steps away from creating a delightful winter treat that’s guaranteed to bring smiles!
How to Prepare Snow Ice Cream
Making snow ice cream is as easy as pie—well, easier! With just a few simple steps, you’ll have a delicious dessert that’s perfect for any winter day. Here’s how to prepare it:
Step-by-Step Instructions
- Collect your snow: The first step is crucial—head outside and gather 8 cups of fresh, clean snow in a large bowl. Aim for fluffy snow, as it gives the best texture. Avoid any yellow or dirty patches; safety first!
- Mix the milk and sugar: In a separate bowl, combine 1 cup of milk, 1/2 cup of sugar, and 1 teaspoon of vanilla extract. Whisk it together until the sugar is fully dissolved. This should take just a couple of minutes—don’t rush!
- Combine the mixtures: Now for the fun part! Pour the milk mixture over the snow, and give it a gentle stir. You want to mix it enough to combine everything but not so much that it turns into slush. Keep an eye on the texture—it should still look fluffy!
- Serve immediately: Once everything is mixed, scoop the snow ice cream into bowls. This dessert is best enjoyed right away, so dig in with your family or friends and savor the moment!
And there you have it! A delightful, snowy treat ready to be enjoyed. Just remember, this is a no-cook recipe, so all the magic happens in your mixing bowl! If it starts to melt a bit, no worries—just enjoy the creamy goodness as it is!
Why You’ll Love This Recipe
Snow ice cream is a delightful treat that brings joy and laughter to any winter day. Here’s why you’ll love making it:
- Quick and Easy: You can whip up this dessert in just 10 minutes—perfect for spontaneous snow days!
- Fun for Kids: Involve your little ones in collecting snow and mixing ingredients; it’s a great way to create lasting memories!
- Deliciously Unique: The fluffy texture combined with sweet creaminess offers a taste sensation that’s unlike any other dessert.
- Customizable: You can easily adjust the sweetness or add flavors to suit your family’s preferences!
With these fantastic benefits, snow ice cream is sure to become a favorite winter tradition!
Tips for Success
Making the best snow ice cream is all about a few simple tricks that ensure you get that perfect texture and flavor. Here are my top tips:
- Choose the Right Snow: Fresh, fluffy snow is key! Look for snow that’s light and airy—this creates the best texture. Avoid snow that’s been packed down or has any debris.
- Don’t Overmix: When combining the milk mixture with the snow, stir gently. You want to keep that fluffy texture; overmixing can lead to a slushy mess!
- Adjust Sweetness: Taste the mixture before serving. If you prefer it sweeter, feel free to add a bit more sugar or even a splash of maple syrup for a unique twist.
- Serve Immediately: Snow ice cream is best enjoyed fresh! Serve it right away for that delightful, creamy experience. If it starts to melt, just embrace the deliciousness!
With these tips in your back pocket, you’ll be well on your way to creating the perfect snow ice cream every time!
Variations of Snow Ice Cream
Once you’ve got the basic snow ice cream recipe down, the fun really starts! There are so many creative ways to give this snowy treat a twist. Here are some of my favorite variations that can truly enhance the flavor:
- Cocoa Delight: For all the chocolate lovers out there, simply add a few tablespoons of cocoa powder to the milk mixture before combining it with the snow. This will create a rich, chocolatey snow ice cream that’s just divine!
- Fruit Puree: Try mixing in some fruit puree, like strawberry or mango, for a refreshing touch. Just stir in a few tablespoons after you combine the milk and snow for a burst of fruity flavor.
- Nutty Twist: Want a little crunch? Toss in some chopped nuts, like almonds or walnuts, after you’ve mixed everything together. It adds a lovely texture and a nutty flavor that contrasts beautifully with the creaminess.
- Spice it Up: For an extra kick, add a pinch of cinnamon or nutmeg to the milk mixture. It brings a warm, cozy flavor that’s perfect for chilly days.
These variations are super easy to whip up and let you customize your snow ice cream to fit your taste buds. Enjoy experimenting!
Storage & Reheating Instructions
Storing snow ice cream is a bit tricky since it’s best enjoyed fresh. However, if you have leftovers, you can keep them in an airtight container in the freezer for up to a couple of hours. Just remember, it may lose some of its fluffy texture as it freezes. If you notice it’s gotten too hard, let it sit at room temperature for a few minutes before scooping. But honestly, this treat is so quick to make, I recommend whipping up a fresh batch instead of storing leftovers. Trust me, the taste is unbeatable when it’s freshly made!
Nutritional Information
Wondering about the nutritional benefits of snow ice cream? Here’s a quick rundown of the estimated values based on the ingredients used for one serving (about 1 cup):
- Calories: 150
- Fat: 4g
- Saturated Fat: 2g
- Unsaturated Fat: 1g
- Trans Fat: 0g
- Cholesterol: 10mg
- Sodium: 100mg
- Carbohydrates: 26g
- Fiber: 0g
- Protein: 3g
- Sugar: 24g
Keep in mind that these values can vary depending on the type of milk and any additional ingredients you choose to add. It’s a fun and tasty treat that you can feel good about enjoying on a snowy day!
FAQ Section
Got questions about snow ice cream? Don’t worry, I’ve got you covered! Here are some common queries that pop up:
- What type of snow should I use? Always go for fresh, clean snow! The fluffier the snow, the better your ice cream will turn out. Avoid any snow that’s yellow or looks dirty—safety first!
- Can I adjust the sweetness? Absolutely! If you prefer a sweeter snow ice cream, just add a little more sugar to the milk mixture. You can also experiment with honey or maple syrup for a unique flavor.
- How long can I store leftover snow ice cream? While it’s best enjoyed fresh, you can keep leftovers in an airtight container in the freezer for a couple of hours. Just know it might lose some of that delightful fluffiness!
- Can I make snow ice cream vegan? Yes! Just use your favorite plant-based milk, and you’re all set for a delicious vegan snow dessert!
Feel free to get creative and enjoy this fun winter treat!
Print
Snow Ice Cream: 4 Magical Steps to Creamy Winter Bliss
- Total Time: 10 minutes
- Yield: 4 servings 1x
- Diet: Vegan
Description
Snow ice cream is a simple, fun treat made using fresh snow, sugar, and milk.
Ingredients
- 8 cups of fresh snow
- 1 cup of milk
- 1/2 cup of sugar
- 1 teaspoon of vanilla extract
Instructions
- Collect fresh, clean snow in a large bowl.
- In a separate bowl, mix milk, sugar, and vanilla extract.
- Pour the milk mixture over the snow.
- Stir gently until combined.
- Scoop into bowls and serve immediately.
Notes
- Use only clean, uncontaminated snow.
- Adjust sugar to taste.
- For flavor variations, add cocoa powder or fruit puree.
- Prep Time: 10 minutes
- Cook Time: 0 minutes
- Category: Dessert
- Method: No-cook
- Cuisine: American
Nutrition
- Serving Size: 1 cup
- Calories: 150
- Sugar: 24g
- Sodium: 100mg
- Fat: 4g
- Saturated Fat: 2g
- Unsaturated Fat: 1g
- Trans Fat: 0g
- Carbohydrates: 26g
- Fiber: 0g
- Protein: 3g
- Cholesterol: 10mg
Keywords: snow ice cream, snow dessert, winter treat